thousandwords
-
Posts
58 -
Joined
-
Last visited
-
Days Won
1
thousandwords's Achievements
Trials Monkey (2/9)
6
Reputation
-
Rear wheel (rim) moving to one side when squeeze brake
thousandwords replied to DYAKOV's topic in Trials Chat
could it be that the axle is less tight on one end allowing it to move along the dropout and thus pushing the whole wheel towards the other side? -
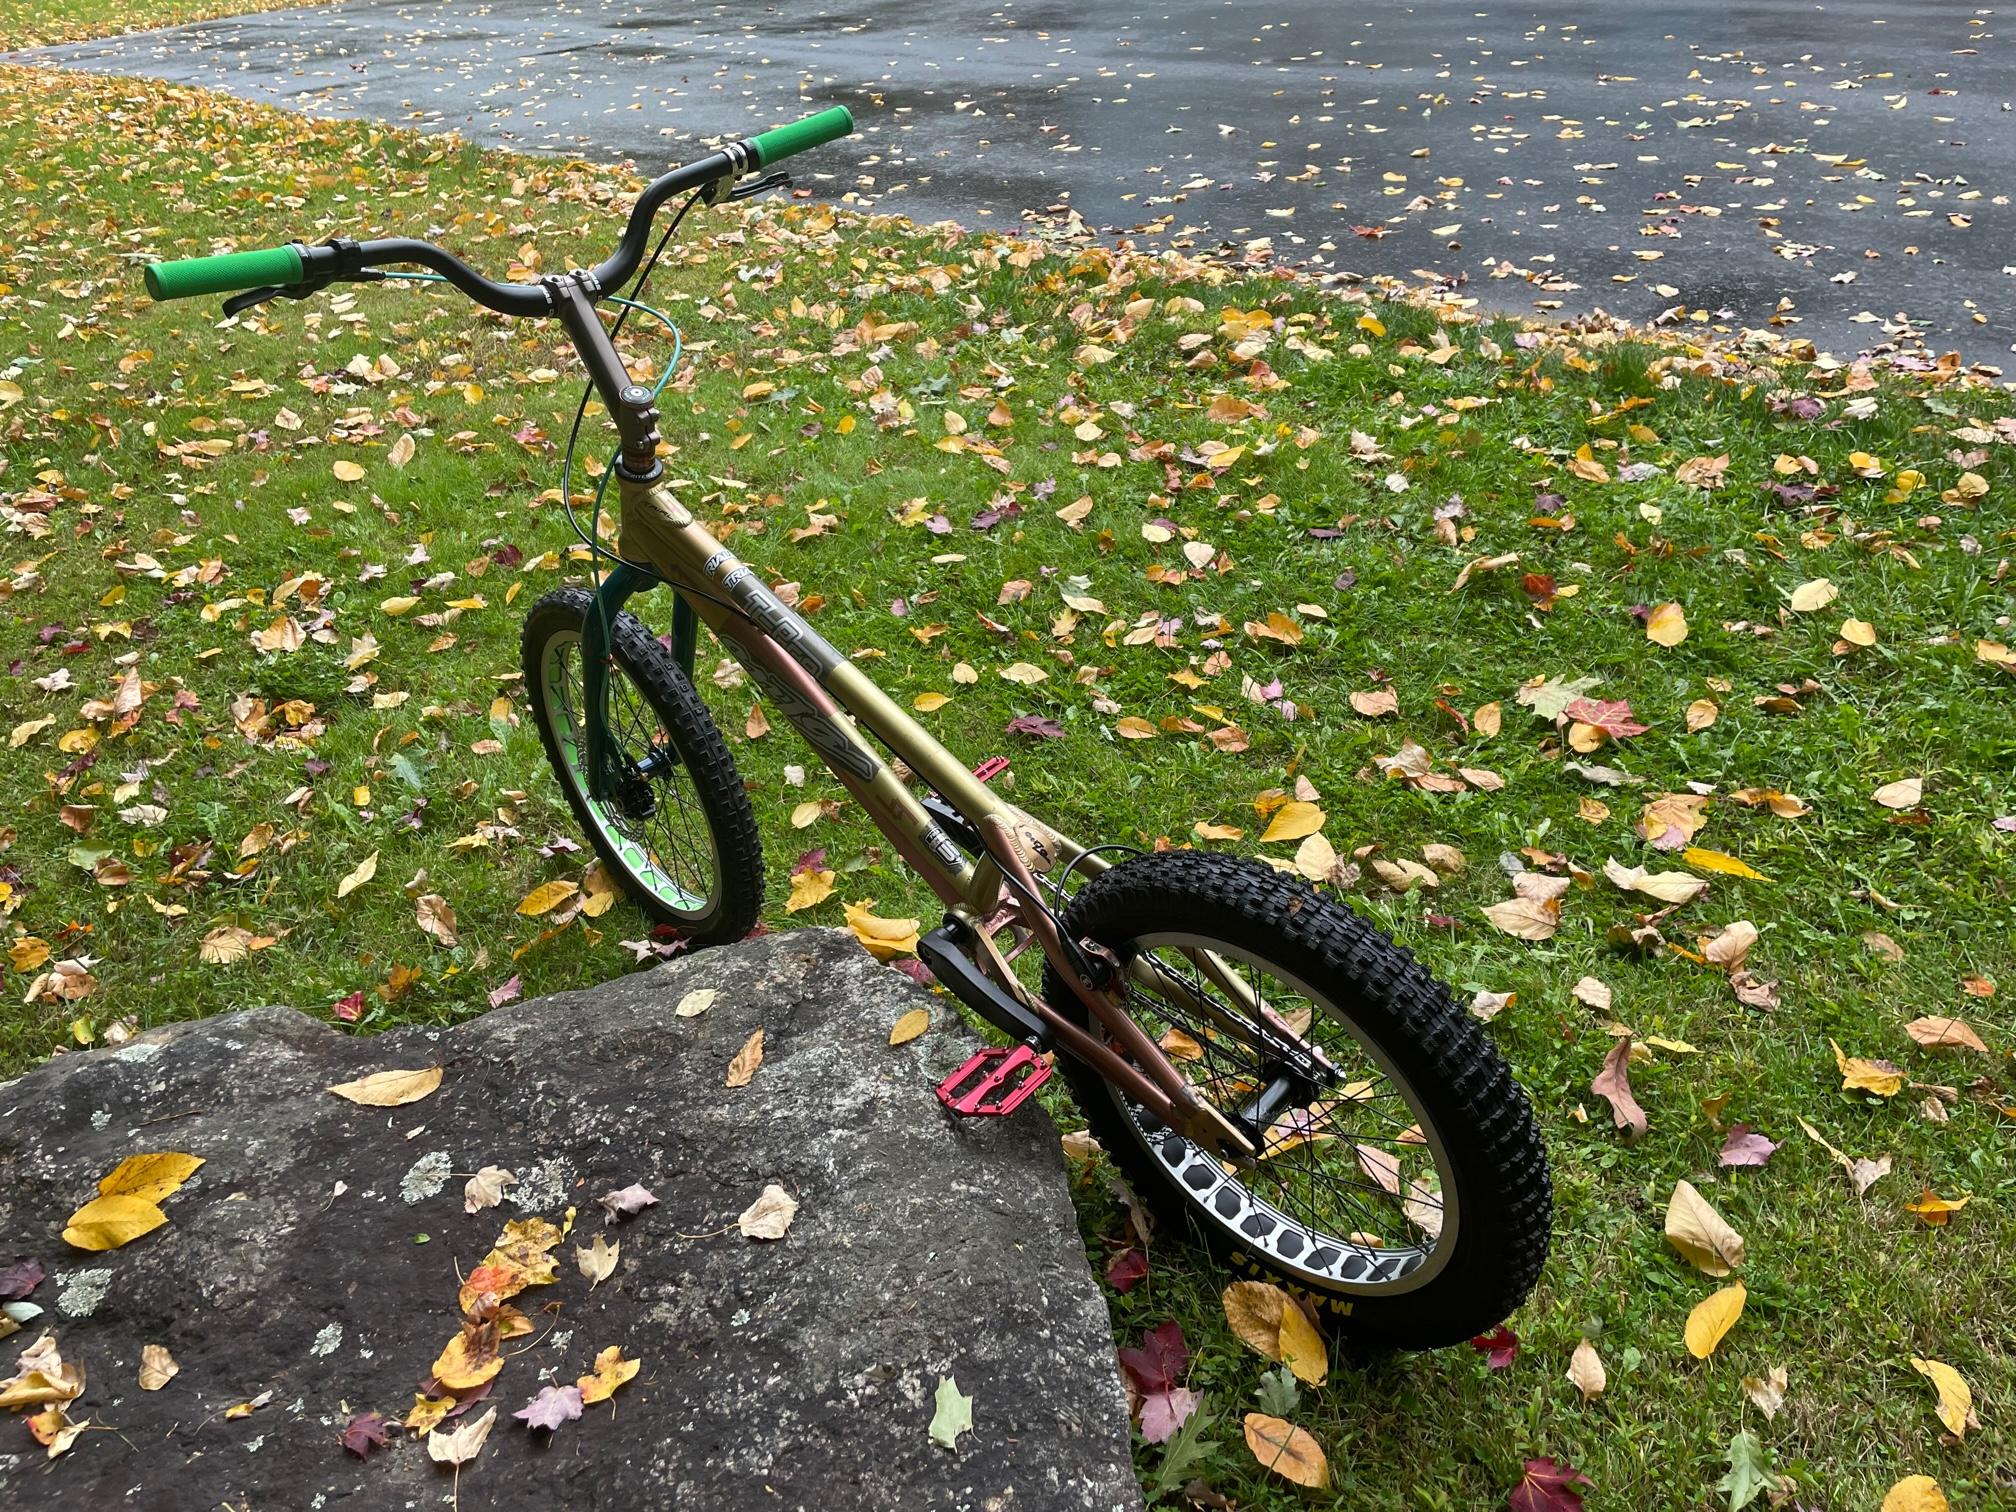
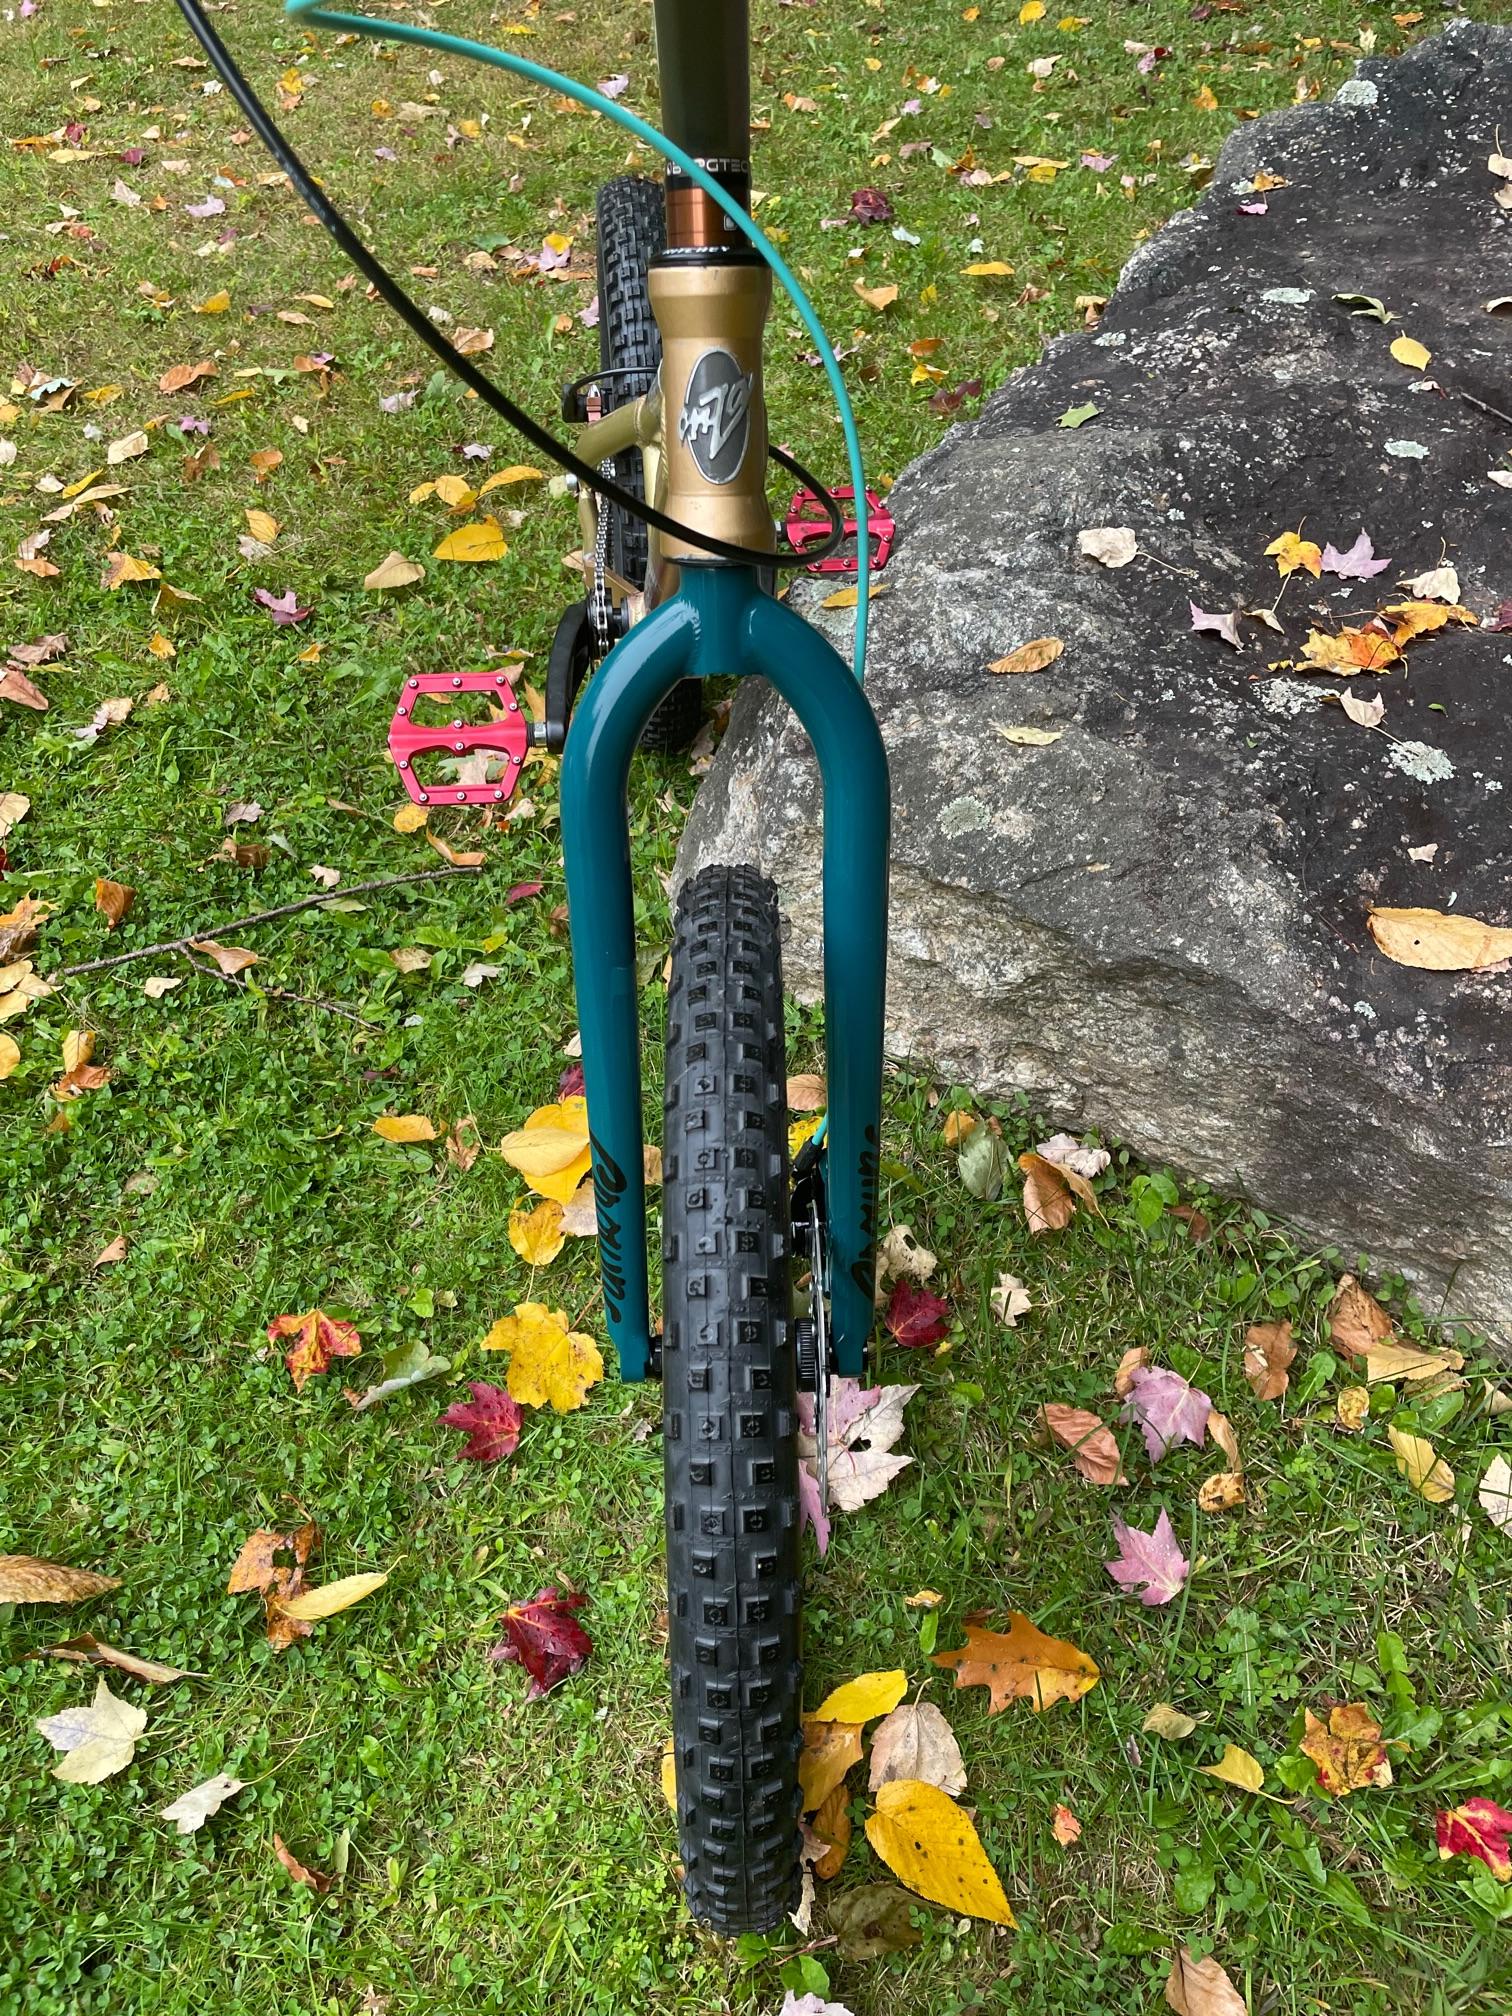
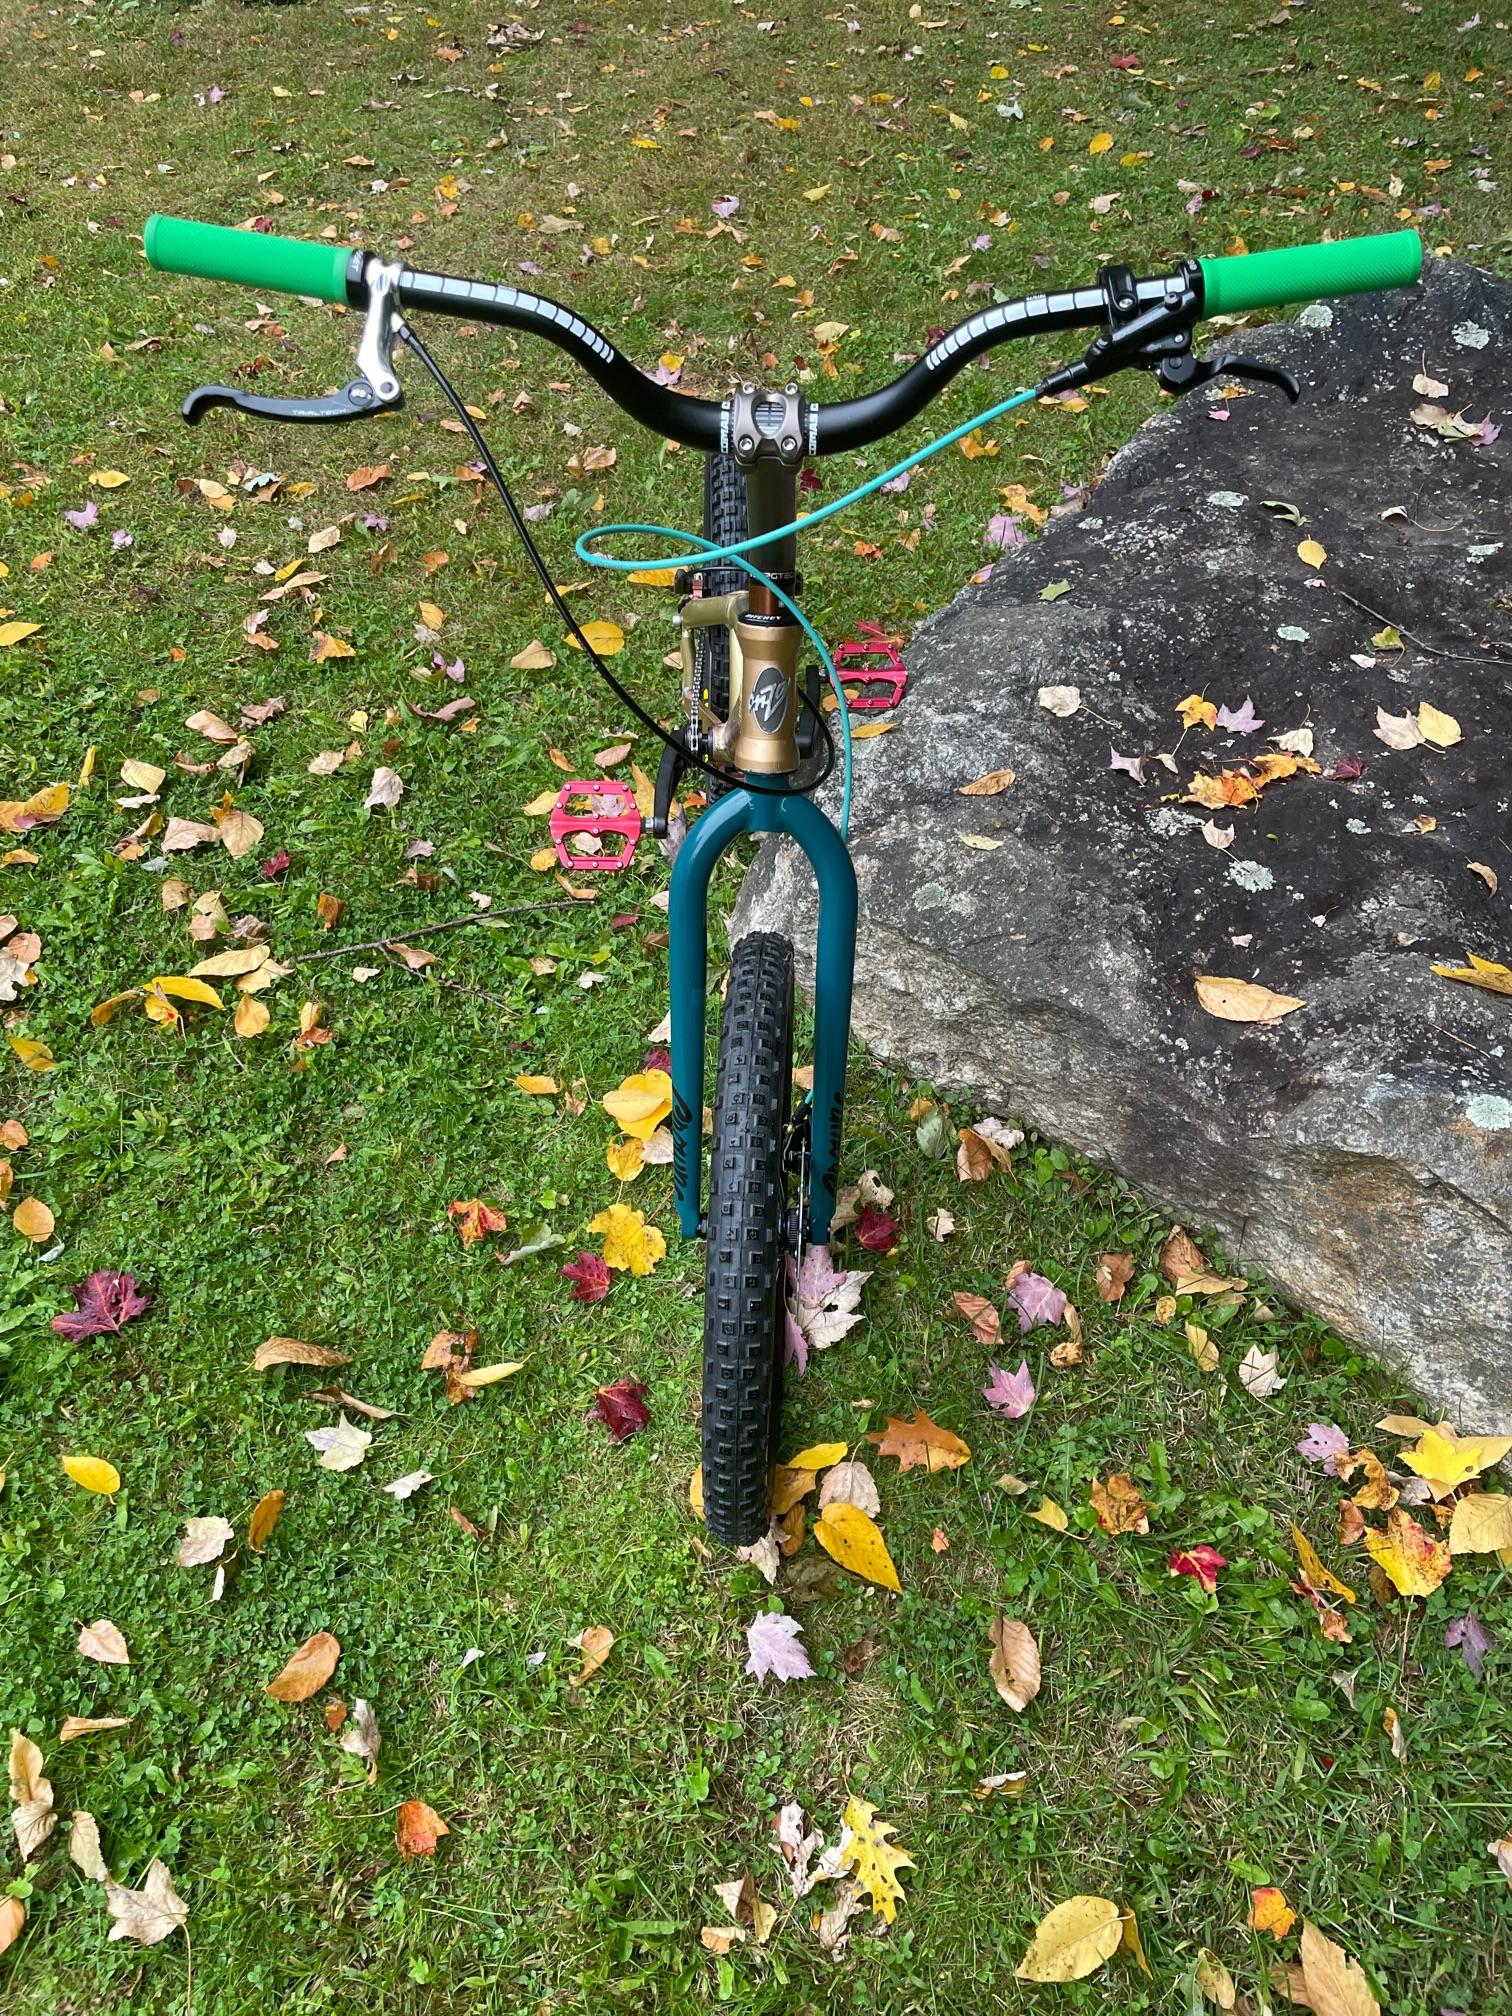
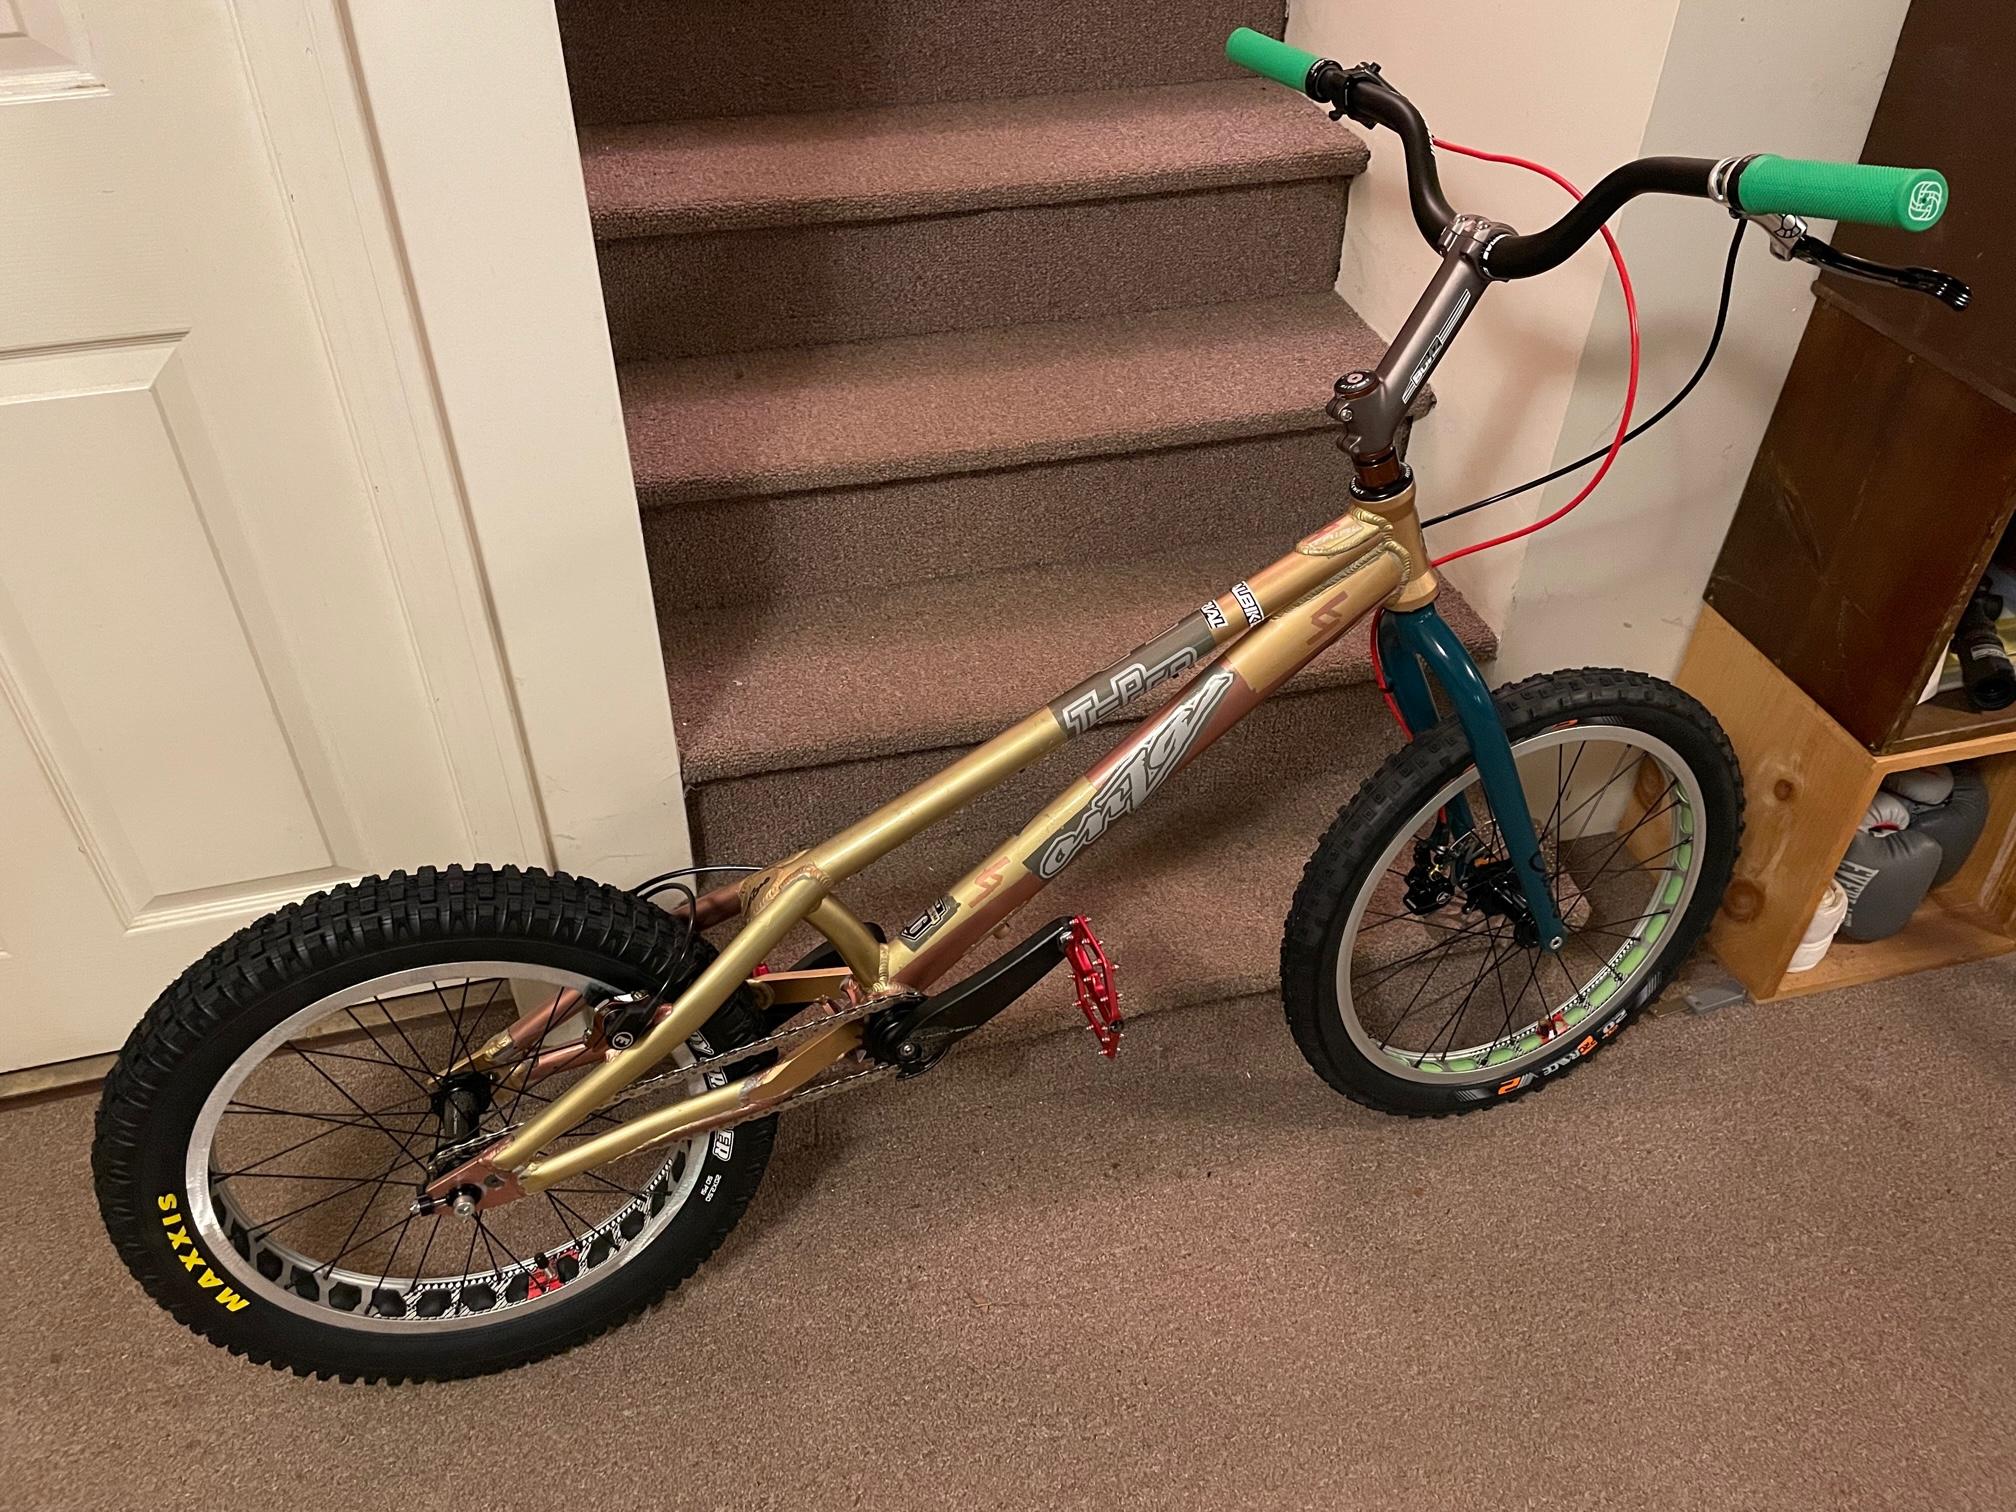
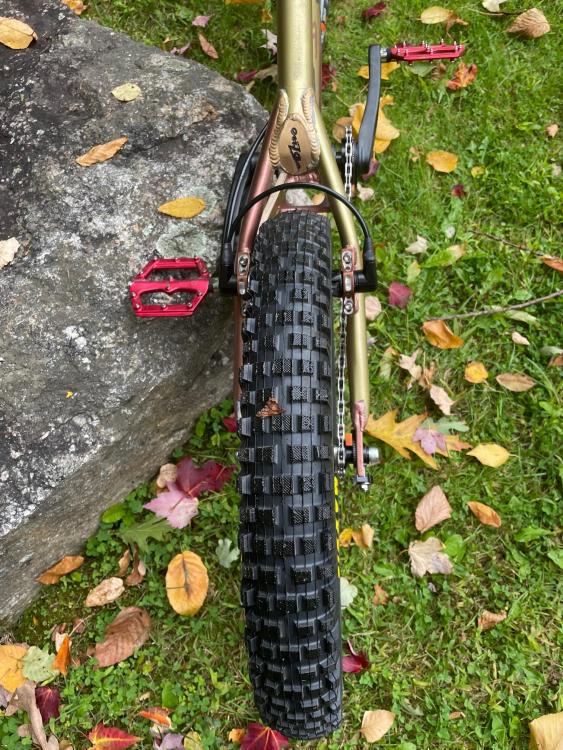
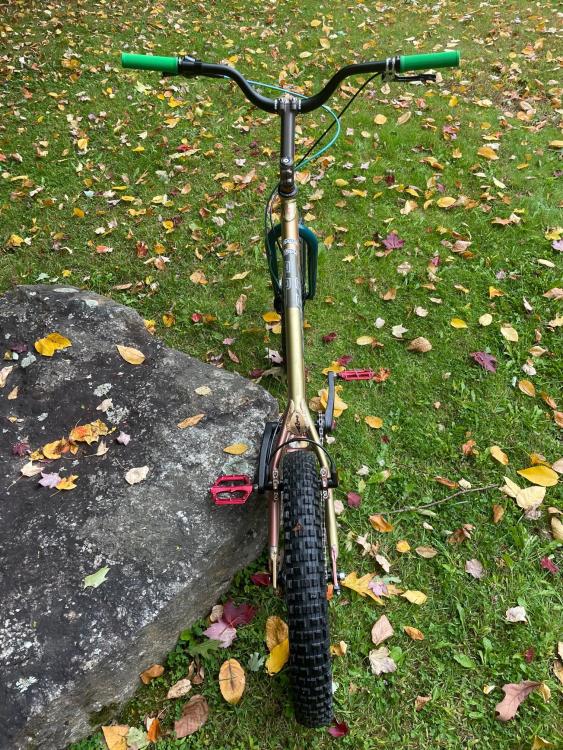
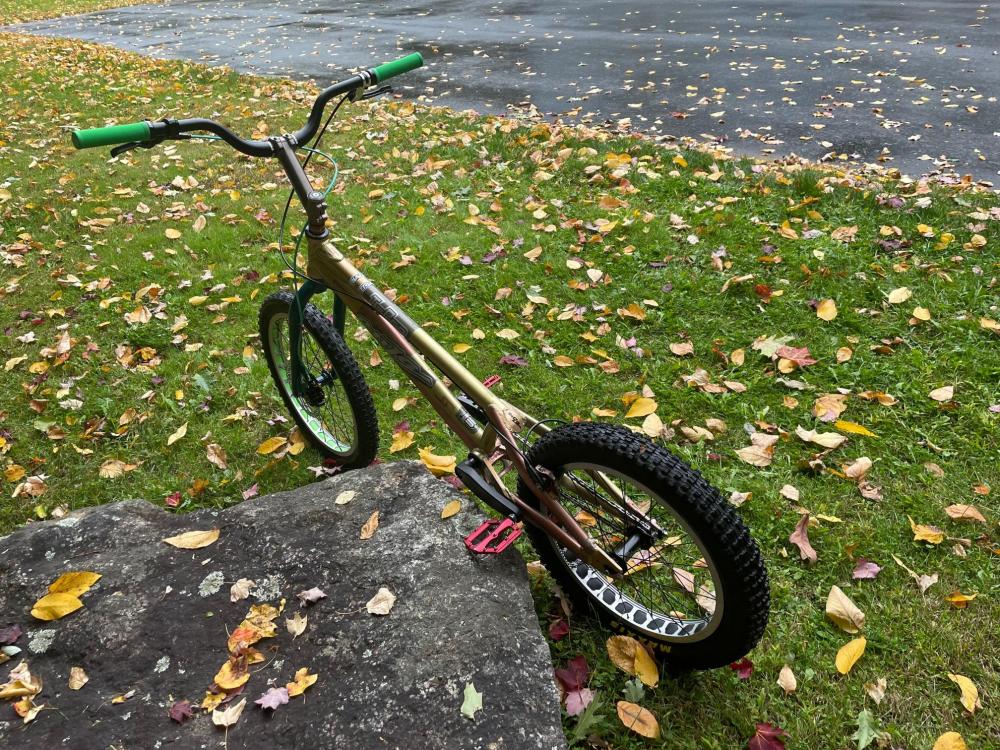
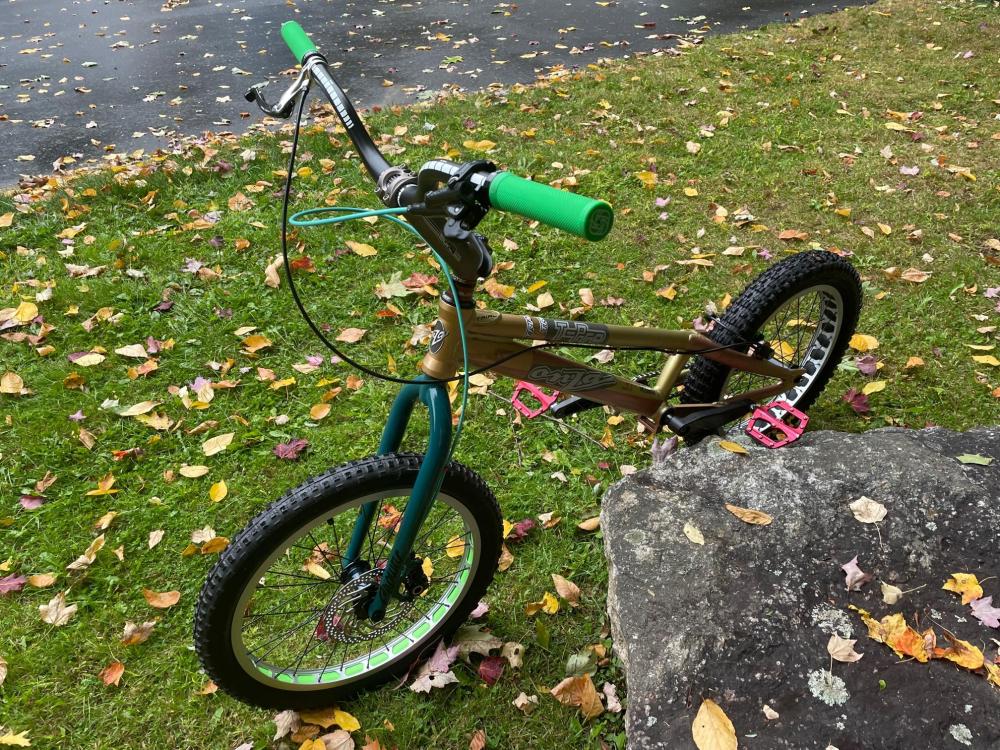
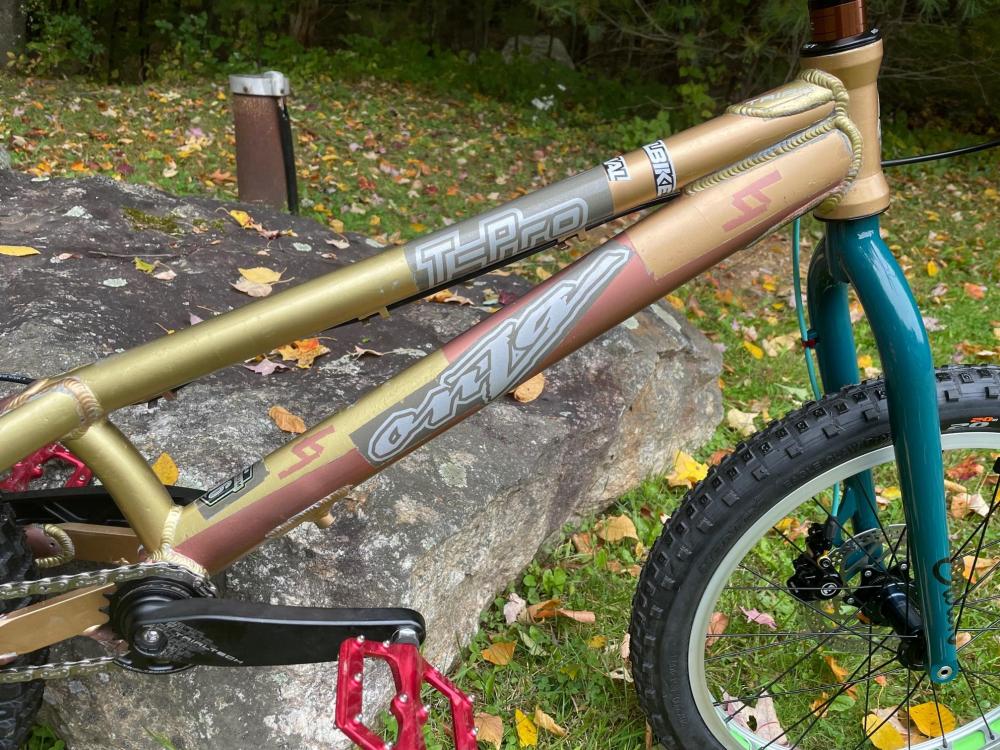
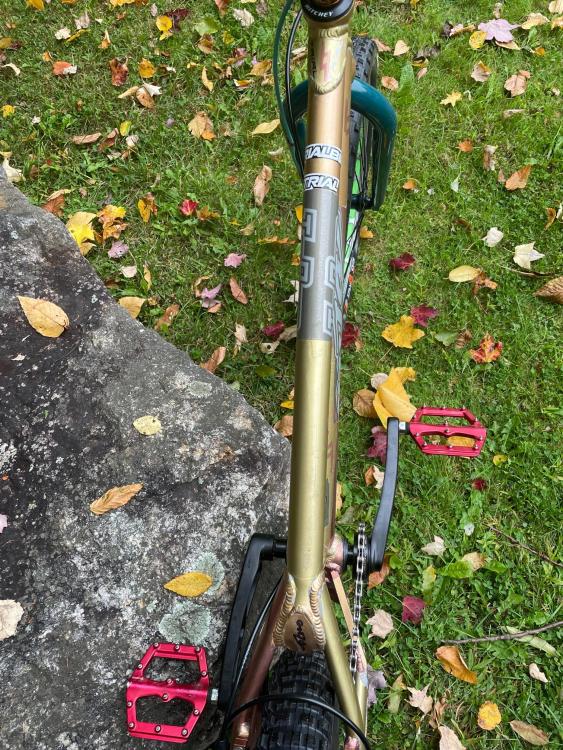
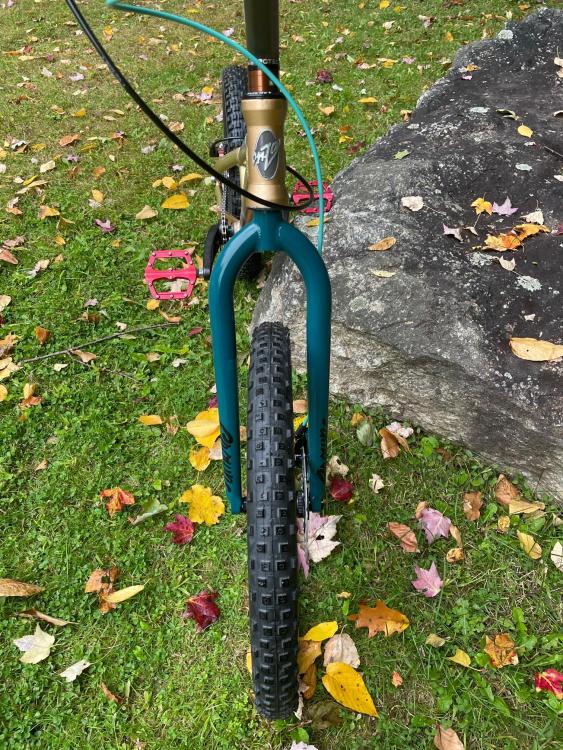
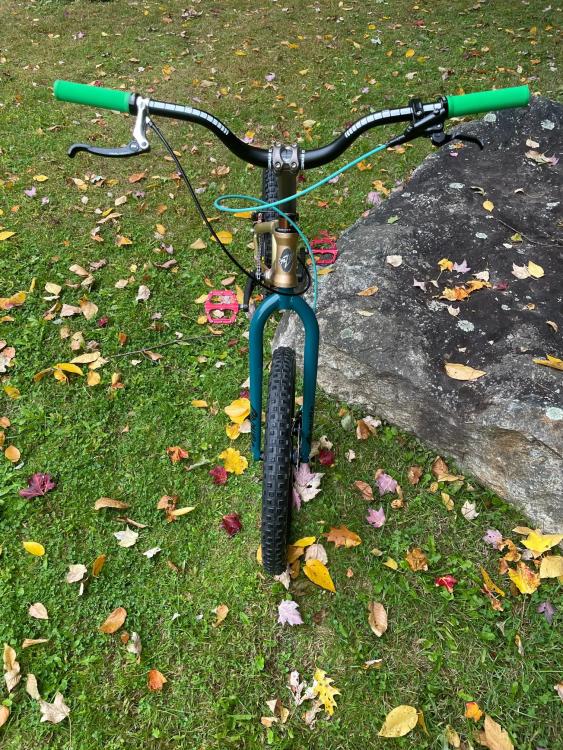
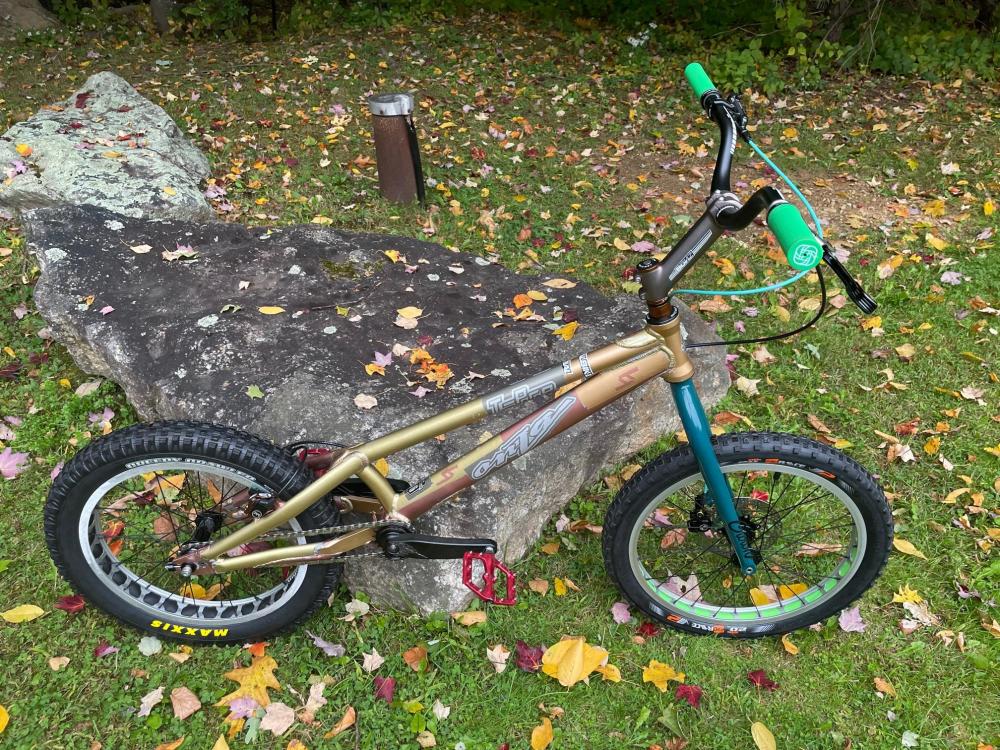
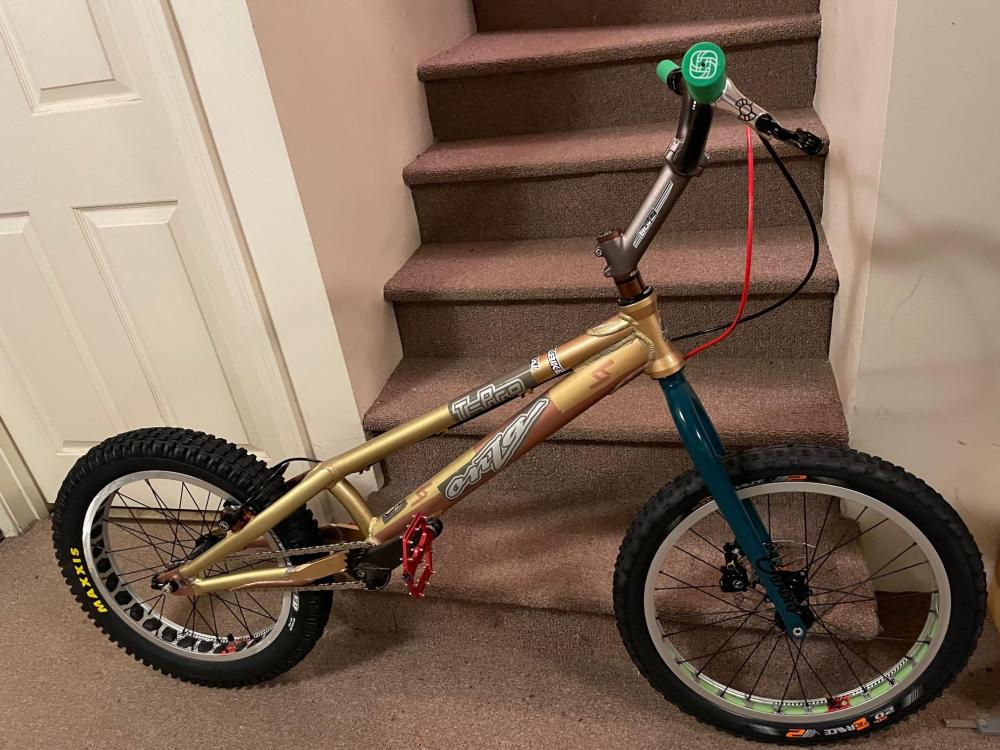
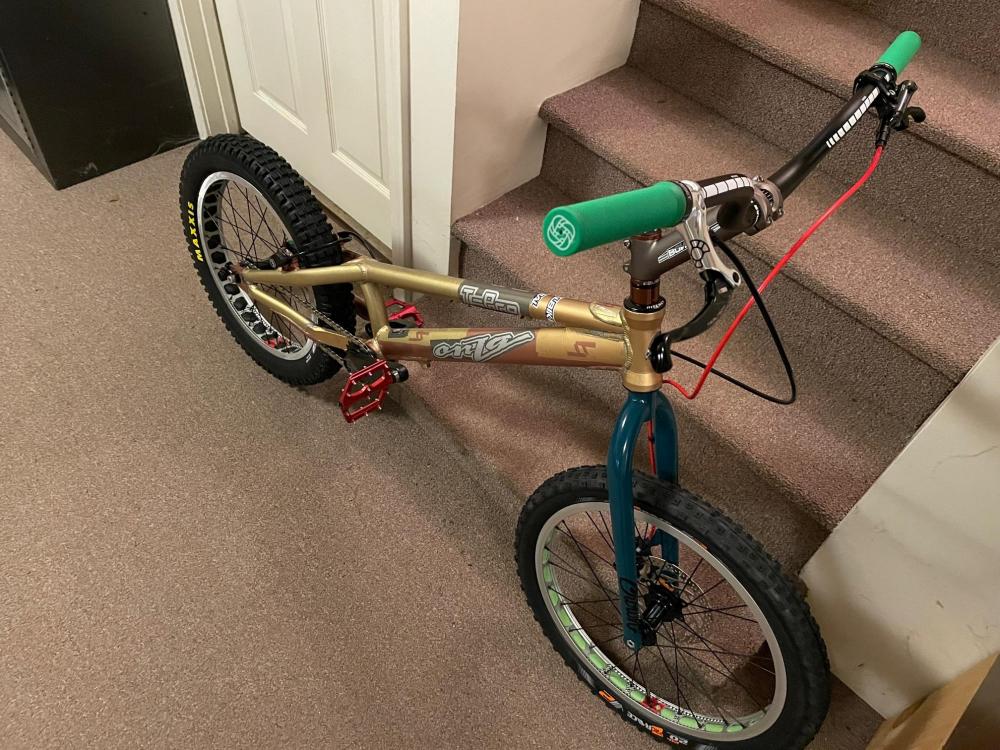
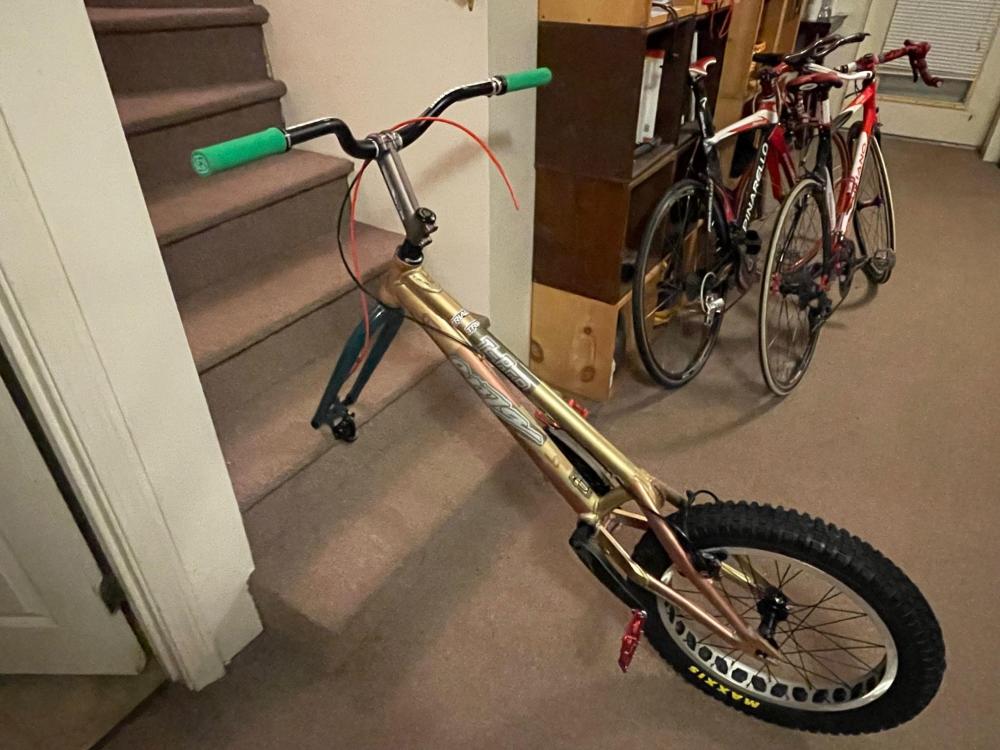
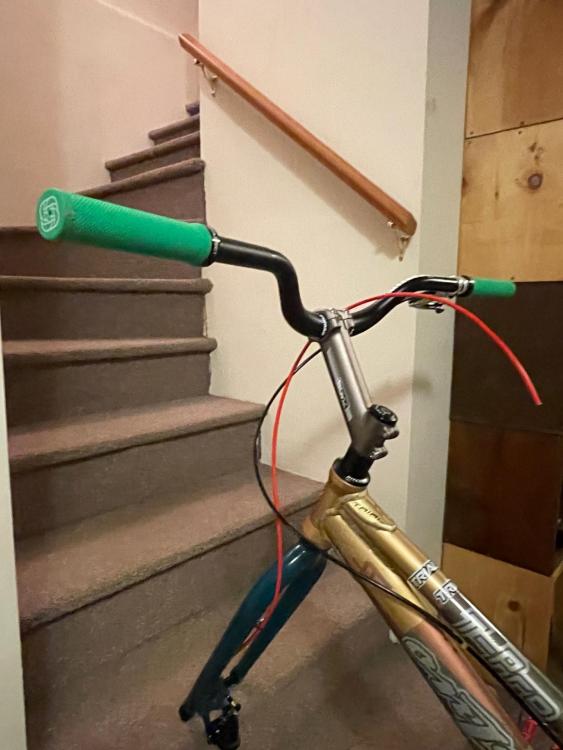
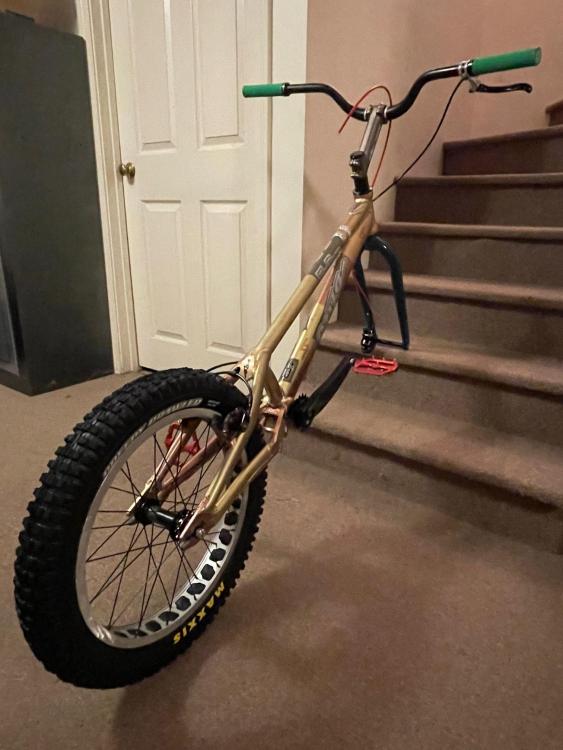
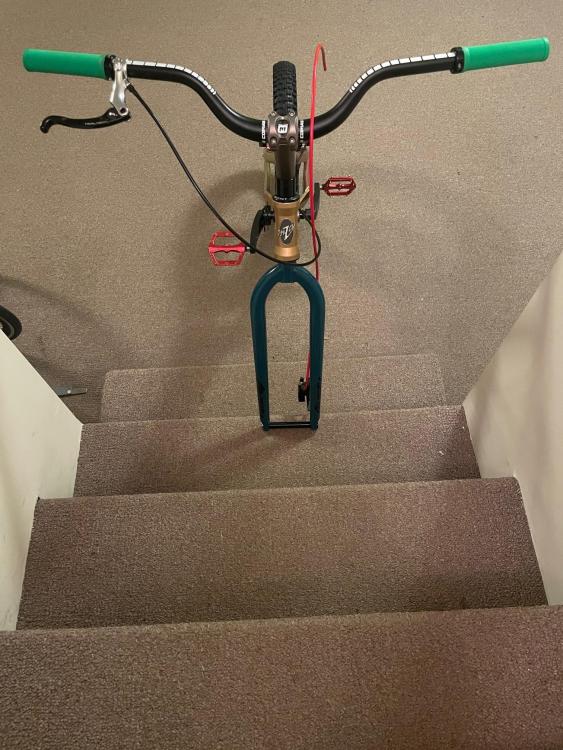
DAY 14 This is again short episodes spread over a few days as I needed to wait for parts to come. FRONT BRAKE Last piece of the puzzle before bike was complete. While previously working on other stuff (front wheel, etc) I looked around for miscellaneous parts I at one time bought for previous builds that I could use to put together a front disc brake. I was actually able to find most everything I needed. For caliper I unfortunately had only 2 pot calipers (I wish I had a 4 pot laying around), both Magura- an MT and an MT4. Unfortunately the MT4 was missing the banjo bolt, but the initial plan was to get a bolt for it and use it, as it would be the slightly better caliper. Also unfortunately- the banjo bolts for MT and MT4 are different- the MT4 needs a larger bolt. To my surprise banjo bolts are a very hard to find commodity by itself. I suspect the main route they are acquired is with the caliper itself, but when it comes to buying them separately, the choices are incredibly sparse. I started combing through the Jagwire wide selection of kits in hope one would have banjo bolts included. None did. Even called Jagwire- to no avail. Next visited the local bike shop. In the past I always found everything I needed there. Not this time though. Then moved to online retailers, etc. The only place I found something was ebay- one UK seller had some in stock; they were inexpensive so ordered the set. I knew it will take a while to come so in the meantime I fell back on the MT caliper. From previous builds I had leftover Jagwire Magura quick fit kit with fittings- banjo and seals/gaskets. And to my surprise I even found one half of a Jagwire quick fit hydraulic hose. Red, which I thought would look out of place on this bike but I'll take it. Put everything together, and the result can be seen in the last set of pictures posted after front wheel went in. A day or two later I proceeded to bleed the brake. To my dismay, it turned out that the Jagwire hydraulic hose was leaking at the interface with the banjo bolt. Had to call it a day, ordered another Jagwire pro hydraulic hose (celeste this time, which would blend with fork well) and for good measure some royal blood and a back up Magura quick fit kit. The hose and back up magura kit came in a few days, but did not want to put brake together yet in hope the banjo bolts will fit the MT4 caliper and I could use that one for the build. In the meantime, while waiting for the banjo bolts, took the bike out and rode it around the driveway for a few days, 5-10 minutes each day. For one, I could not wait to find out how bike felt, even though I had no functional front brake. Secondly, while shopping around for the freewheel during the first phases of the build process, I noticed that Tarty recommends "breaking in" most freewheels by normal pedaling and freewheeling before any trials type riding. I think I remember them saying that without doing that you risk the pawls starting slipping. I think for the particular freewheel I got (Trialtech) no such warning was posted, but thought it might still be a good idea. Not that I would be able to do any trial specific riding anyways ha ha. First thing I noticed was that the rear brake is LOUD. VERY LOUD. Second thought I had was that in fact it felt quite "normal" riding it around. Third, and the least surprising, was the fact that I was not able to do anything else with the bike other than riding around like one would ride a normal bike. Tried to see how hard it was for me to get the front wheel up in the air. Very hard indeed. I guess I could actually do it, but not in a controlled way, so each time I tried I was only able to have it up a couple of inches or so, for a split second. Finally the banjo bolts came in yesterday afternoon. Wrong type for the MT4, the fit the MT. So MT caliper it is. Today had all the time to finalize the front brake so went for it. While getting things together for the new bleed I noticed I in fact had half of a Jagwire pro hose in celeste left over from my Budnitz urban bike. I guess the brand new one I ordered will go in my next build, whatever that will be (most like a gravel bike- the only bike I still do not have and yet need, as a friend is trying to get me into the local cyclocross scene. Last Saturday actually went to check out a local race, it was a blast. But I digress). Pulled the leaking red hose out, the celeste one went in, then bled everything. No leaks this time. Done. Took a vetry long time for such a simple task, but done. Took the bike out on the driveway and tested the front brake. The lever is firm so very little if any air in there. But being a 2 pot caliper, it's not as crisp as I would like. The bike rolls a bit before coming to a stop. Not much, but it does. By comparison, the MT7 I have on the full suspension mountain bile will throw you over the handlebar if you grab a handful. Maybe that's how I will like it- only time will tell. For now I will get post mount adapters and larger, 203 mm rotors and see how that changes things. So bike finally complete. For the most part. Might make a minor change or two down the road. Might change pedals (the ones I have on were conveniently laying around after changing to clipless on a mountain bike) if I keep riding it in winter. Metal pedals can get very cold and I have been told by people riding in cold weather that swapping to plastic pedals kept feet decidedly warmer. If I continue to be unhappy with the front brake I will swap it for a Magura MT7.i Would be nice to get a brake booster. And at some point when Tarty finally have them in stock, will probably build a 22" front wheel just for shits and giggles. If I don't like it I will go back to the 20" I already have. But now I can start getting used to it and trying to learn the most basics of trials. I have a feeling that by comparison, building the bike, as long as it took, will turn out to be the easy part. But I'm excited about it. In fact, after front brake was done, I took the bike out to the local state forest (where most if not all my learning adventure will take place) for the first time. For a while I finished the last stretch of the freewheel "breaking in" process that I started on my driveway- just rode along the main trail for a while, pedaling and freewheeling. Once I got bored I turned back. Then I started thinking about the main purpose of the bike- trials. I really did not know where to start. Started slowing down and inch forward using the pedal kick, and put some conscious effort into exploring the limits of the brakes especially the front one (was wondering if I could use it to get the rear wheel off the ground: no, not by itself- some weight shifting to the front will need to happen but did not want to go there for now). Tried again to get the front wheel up in the air, just as hard as back in the driveway a few days ago. By then it was getting dark so called it a day. Next time I will go I will try to make a plan of attack. Short time goals, etc. I might even start a new thread, documenting my progress (or lack thereof). But for now, this is it. I had a lot of fun building this bike. Looking forward to have even more fun on it. Thank you to all of you for every single piece of advice and helpful information- it all made this project a lot more enjoyable that it would have been if I tried to figure out this new world all on my own! I am closing this thread with a bunch of pictures of the finished bike, out in front of the house, on a wet autumn day. Cheers!
-
Another hectic week at work so again some catching up is in store. DAY 13 (spread over three consecutive days in short spurts after work). Front wheel stuff came from Tarty on Mon. Once home I jumped right into lacing it as I was anticipating the end of the build project and could not wait to get on the finished bike for the first time. My excitement cost me though, as at first try the spokes seemed to short for a two cross and too long for a single cross. Just to save some time I planned on ordering new spokes state side and briefly considered what crossing pattern to go for. It was getting late though so called it a day at that point. Next day after work I decided to give the spokes I received one more try- I took all outside spokes out and loosened the inside ones as much as I could- wheel laced together with ease on a two cross pattern. In my excitement the night before I threaded the nipples too much so shortened the inside spokes to the point where the outside spokes became too short. Oh well. Once again getting late so left truing dishing etc for another day. Third day (yesterday) finished rim (true, dish, round spoke tension, etc), rim tape, tube and tire on, then front tire went on the bike! Bike looks complete from a distance, but front brake still needed assembly and bleed.

-
Thanks to all of you guys for all this, it helped immensely- last night finished putting together my front wheel (two cross).
-
Hi everybody, Very quick question here, and I apologize in advance for my ignorance as I have a feeling this is rather basic knowledge- what is the most common lacing pattern for trials front wheel: radial, single cross, two-cross or three cross? Really looking for the quick answer, at this point not looking for rationale behind it etc, so even a cryptic reply such as "x2" or "x3" or "rad" would be immensely helpful and appreciated! Thank you!
-
Yup, I almost bought that frame (not knowing where to start), but the Onza popped up for sale when I was looking and the price differential was too big to ignore. Was also considering this https://www.ebay.com/itm/394044763000?hash=item5bbee5eb78:g:AqkAAOSw7JFiZeOm&amdata=enc%3AAQAHAAAA4O5FtAikzlhjamlDoCfnw66bHauIKcKxhE7TetEKwsgGxk8RfjcX%2FQ395VgiIcN1m7qEw8pMb6F5HEB9BX45AReK6T3gBBX7yjqKTmLxm5sqKs4bNPCjyLvfDFB3o%2F4NG9R4P3FX%2FdzIziIzztj1R6oDOMqk4A%2BXGSWLesvpPDwc5RqaSPZxq2zRJLcHSLC3IqhskMurCDAvj1gl4uKspEmLvjzICpIespAmQQHlVU4ZiUWW6za8x36cGlR6kR4%2BdGTlBajtAdqE9rUlZOk8NNkhq1EuqoOmnRcIbf%2BfQlwh|tkp%3ABk9SR5jL2KPsYA
-
This will not answer your question fully as the tools below are not inexpensive, but this is my experience. I had this as my only chain breaker for many years (over ten) and I have serviced a lot of chains with it. It is a very high quality chain tool, never having skipped a beat. https://www.parktool.com/en-us/product/master-chain-tool-ct-4-2 However, the first chain that seems to be trial specific (used for my ongoing build for my first trial bike) had too wide plates for that tool, so it was useless. Here's the chain I was trying to break. https://www.tartybikes.co.uk/chains/kmc_z1ehx/c7p10508.html I called Park Tool and they told me this (which is really the improved version of my old tool) will fit almost every single chain in the market (if not ALL). https://www.parktool.com/en-us/product/chain-tool-ct-3-3?category=Chain I ordered it and it came yesterday so I put it through it paces. It worked very well, although I did manage to use it incorrectly for a minute or so until I figured it out (you are supposed to insert the two "teeth" that I mistook for base plate into the chain just as a sprocket teeth would sit. However, let me tell you, in terms of sheer craftsmanship, my old breaker is on another league. Would survive a nuclear blast. The new one, while still hefty enough and showing quality, feels like a toy by comparison. I would still buy it again though.
-
On a much lighter note, spacers bought online came, so they took the place of the placeholder spacers I had on in the interim. Not super consequential, but I really like them Once I ride for a little while I will have a better idea of the optimal stack height.
-
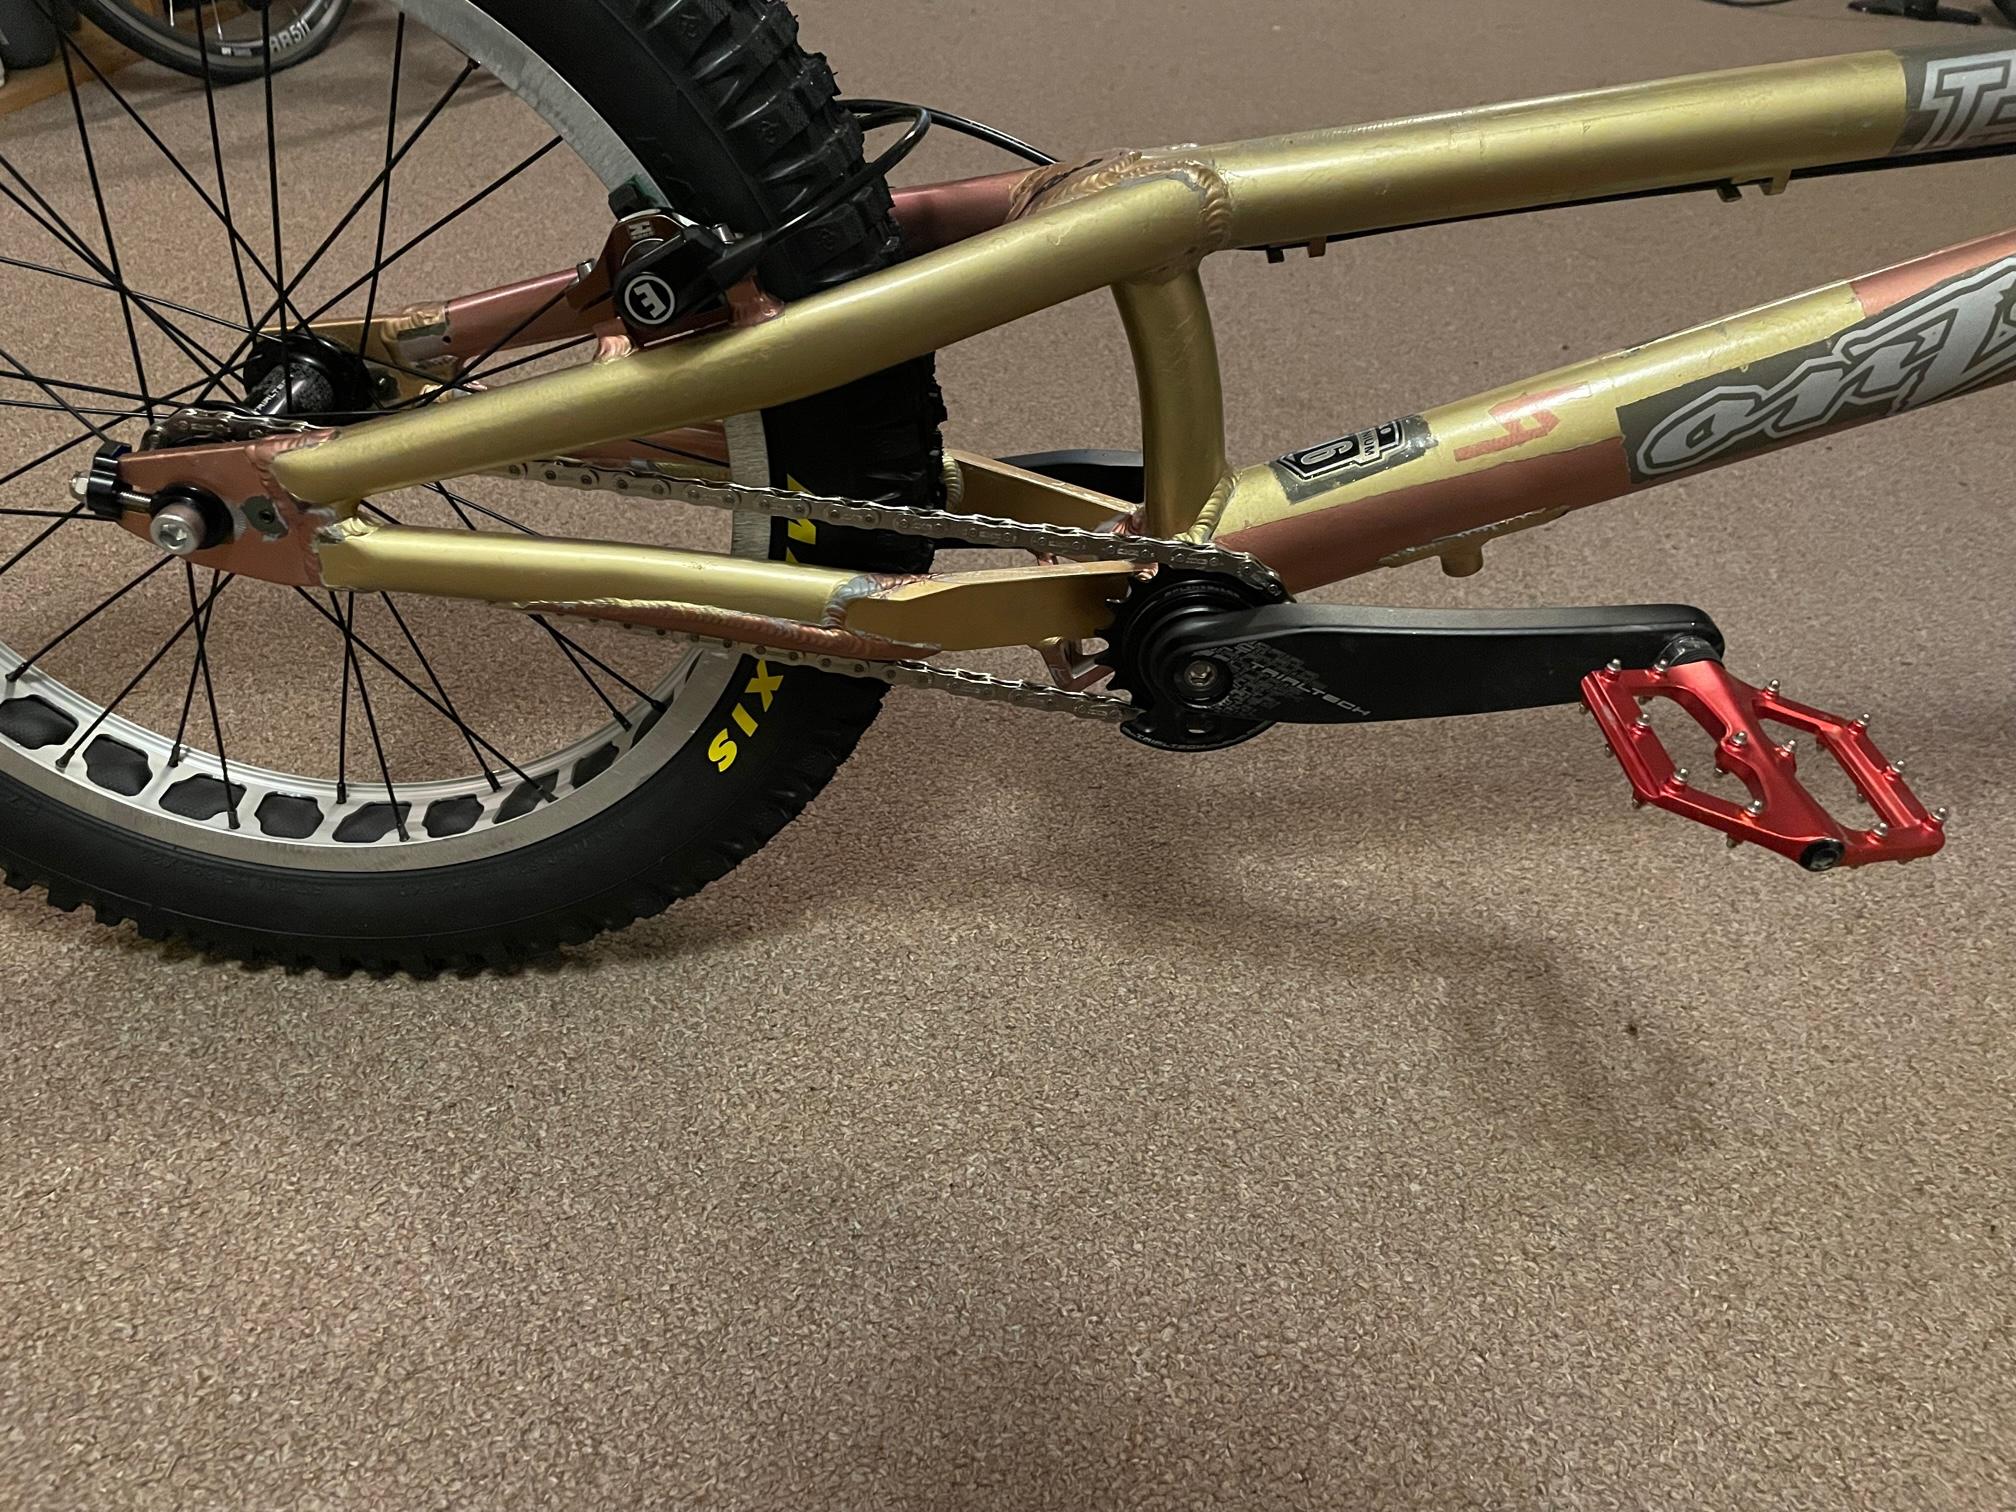
DAY 12 CHAIN New Park Tool chain breaker came so chain went in. I have to say, those snail cams got turned all the way to the maximum radius in order to have a firm enough chain (from what I saw in videos of people gauging the tension by squeezing the chain- I will know for sure once I start riding and there is no chain slip). Also, did something probably a little controversial for chain tensionig. I have the snail cams on the inside face of the dropouts on both sides. But given that the Trailtech rear hub I bought has a somehow unique design (10mm bolt on the drive side, acting bot as clamping bolt and axle), I could place a chain tug on the outside for extra secure axle lock in position. On the non drive side the hub uses a typical (I think 6 mm) bolt that threads into the axle itself, so the chain tug 10mm hole is too large for that bolt and it would be free to move around if given a chance, so I did not bother with a chain tug on that side. Finally, once chain was taut, I adjusted the slave cylinders to line up with the new rim position.

-
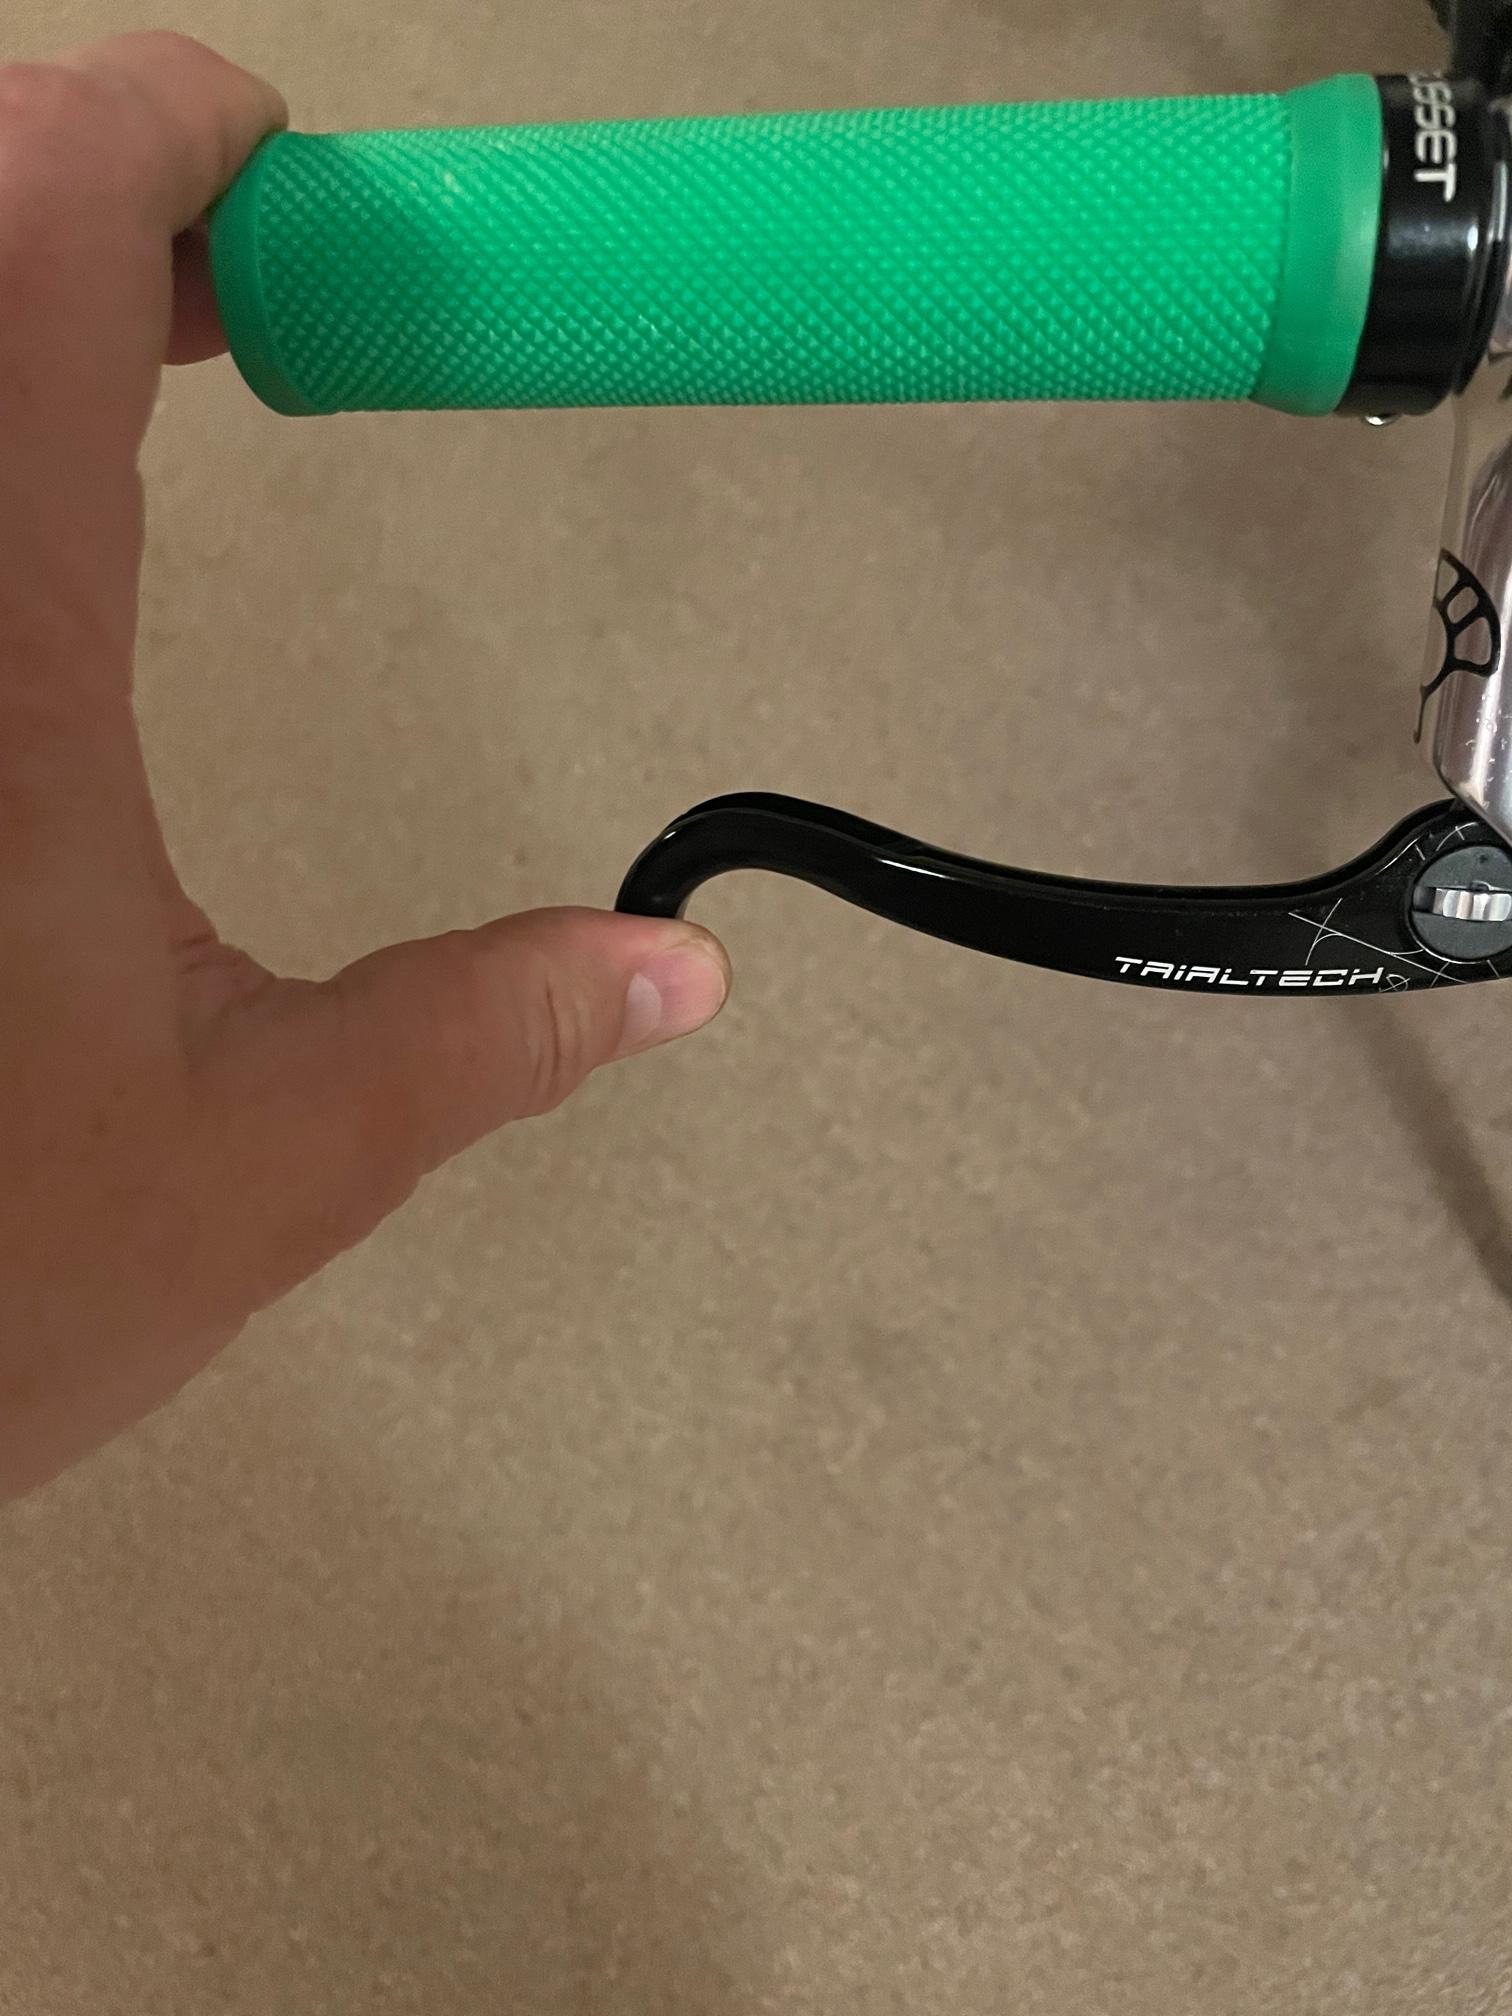
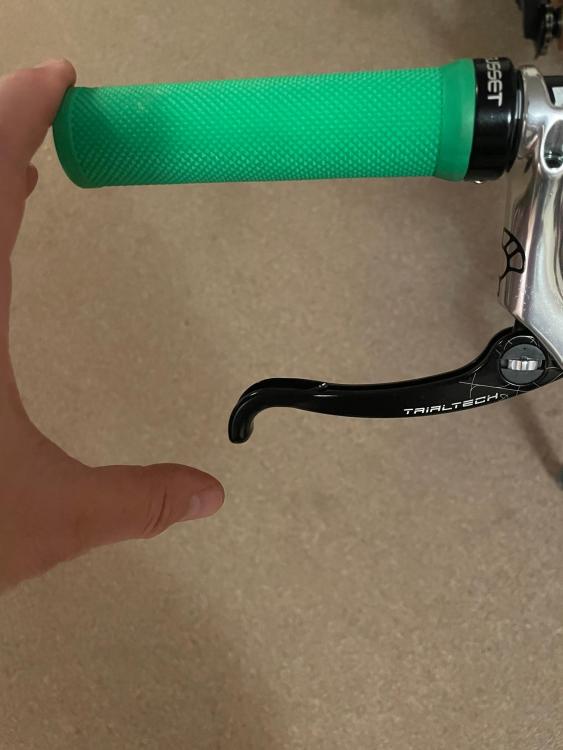
Thanks Mark, the trick with the cut spoke is awesome, will definitely use it next time I have to insert one of those fittings! And my statement about the adjuster was a little misleading, it's not that it makes the brake firmer- in fact the lever travel stay the same. But by moving the lever away from the handlebars it just makes it easier to "modulate" applied force, especially harder force for firm braking (it could be just me, but if the lever gets a little close to the handlebar, it gives me a sense of too much force applied so I tend to back off). I would say that the lever travel is about 1/4-1/3 of an inch from rest position to end of travel under decent pull. There are probably still a few small air bubbles in, so I will in fact perform the top-up bleed you described.

-
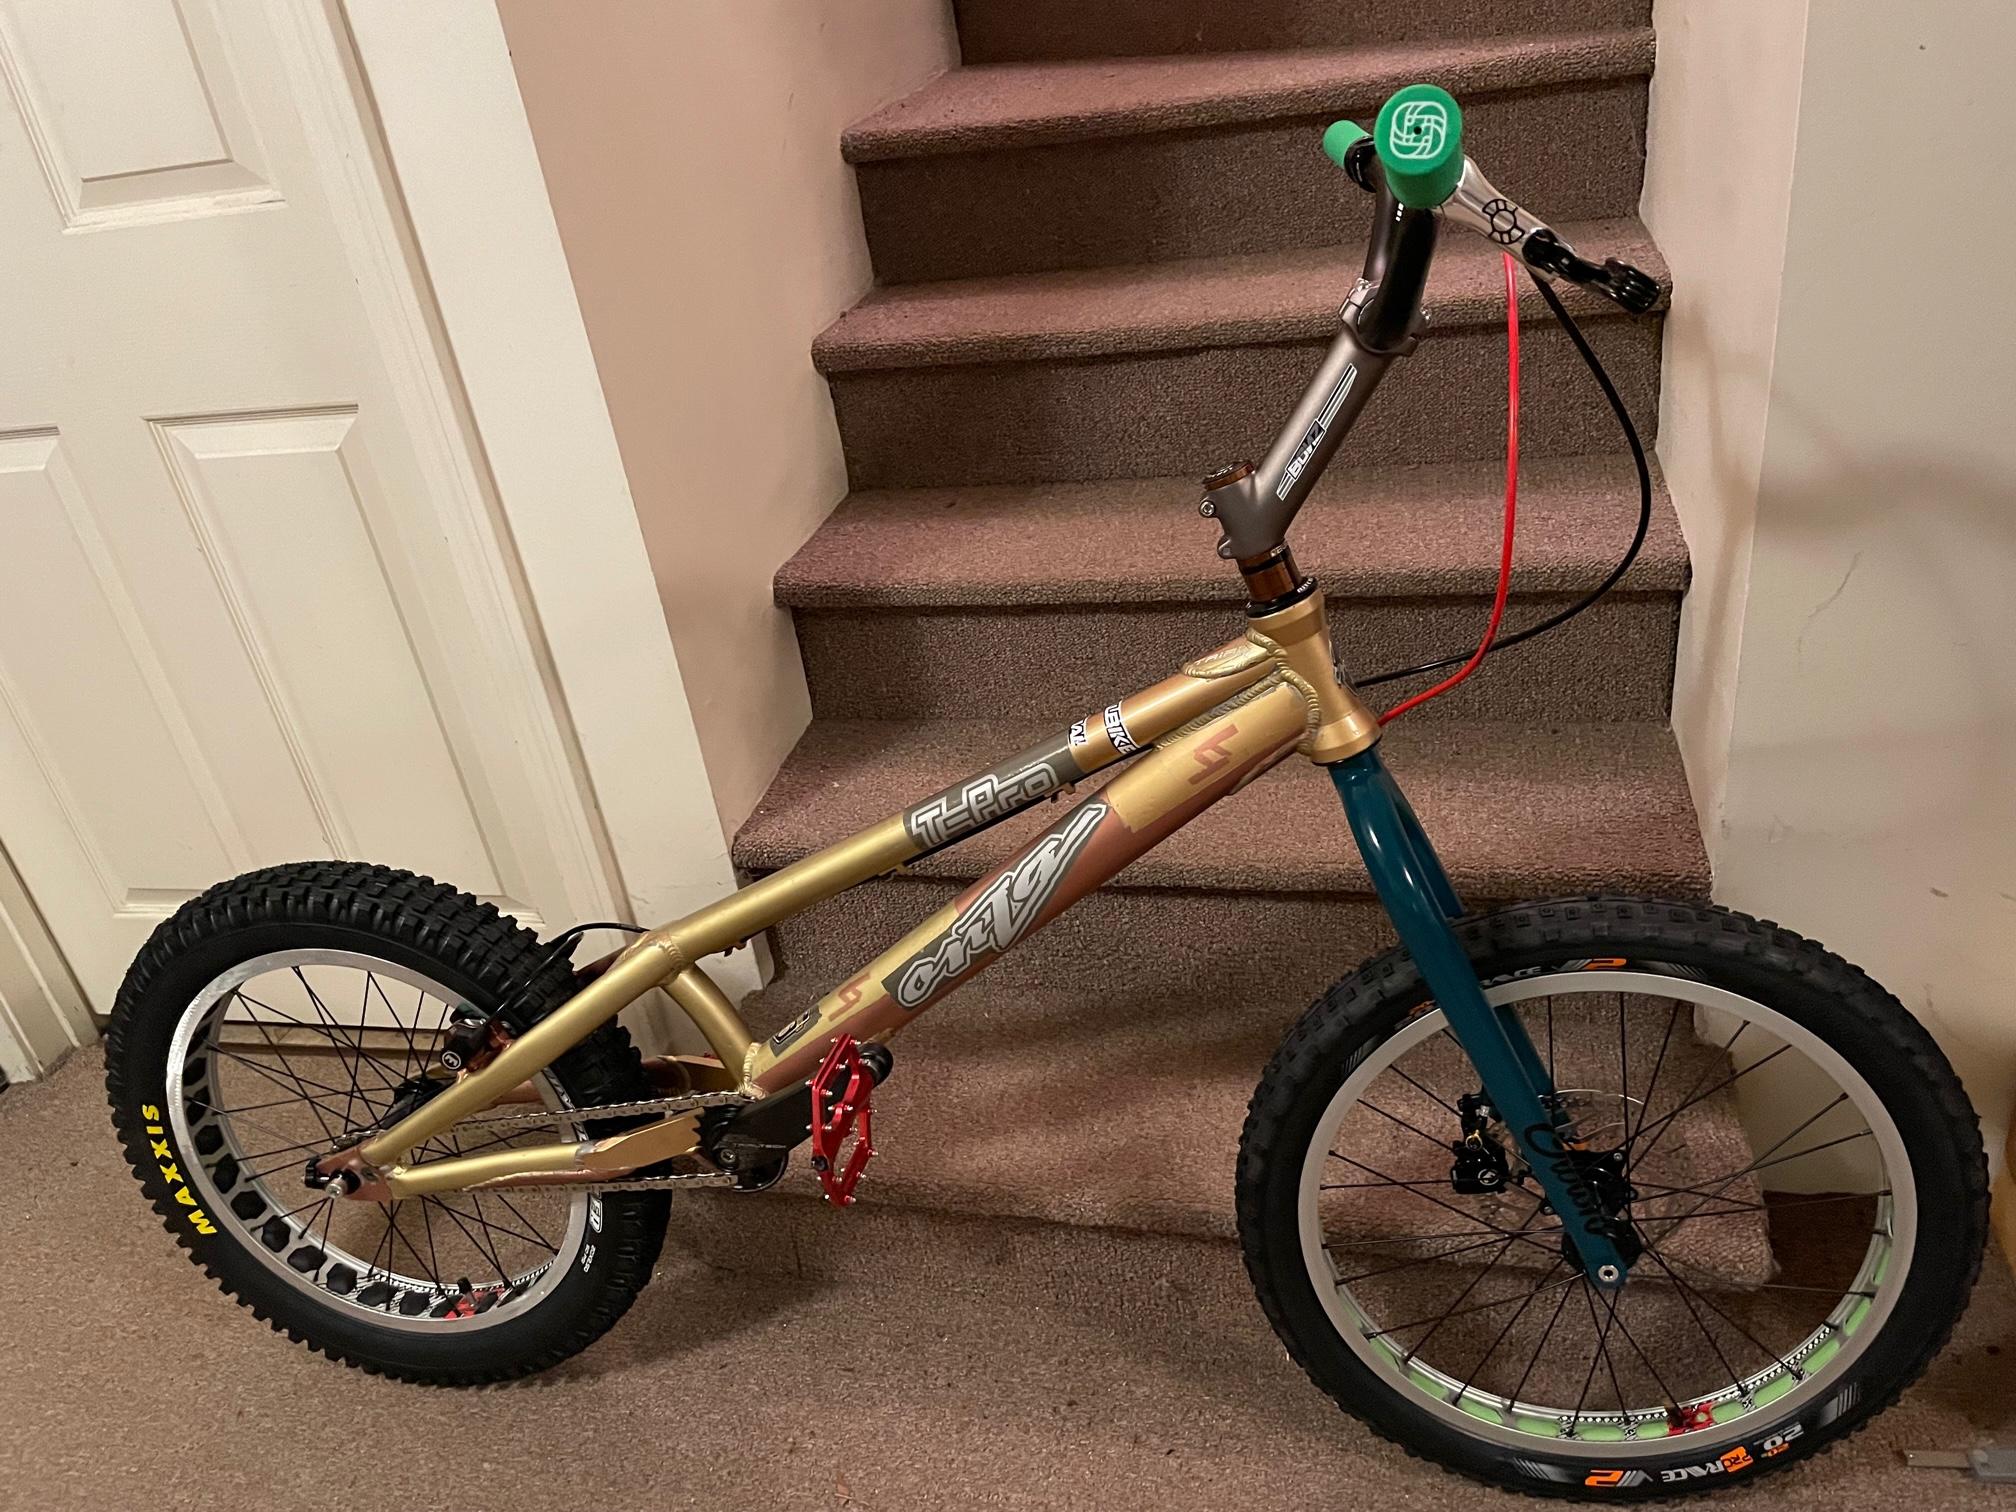
Due to hectic schedule did not take many pics along the building process for the entire week, but took final pictures of the bike as it stands to day with rear wheel on, rear brake fully functional, fork and handlebars on. The pics with the fork on the star steps show a decent rendition of the geometry if the bike had a 24" wheel on (only 1" too high, axle is 13" off the ground as opposed to the correct 12")

-
CHAIN Forgot about it too- once chain got here in the package I received on Tue, I tried to install it, as rear wheel was in and so was the crank with the freewheel. But ran into an issue. The Park Tool chain breaker I have has too small of a pocket for the chain I ordered...this is the first time this happened to me, I must have serviced 15 or more chains so far for all my road and mountain bikes with it and it has always fit. Called Park Tool they confirmed that some chain manufacturers nowadays use wider chain plates which won't fit the older chain breakers they made, so they came up with a newer version of the tool- no more pocket, just a shelf the chain sits on, so that tool will fit virtually every chain no matter how wide. Ordered that, should be here tomorrow. Once here, chain will go in and the snail cams will be put to work.
-
FRONT BRAKE I had an extra Magura MT2 caliper from one of my older bike builds collecting dust, so I installed it on the fork, getting ready to put the front brake together. I even found to my surprise, the caliper fitting end of a Jagwire Quick Fit hose, the length was plenty, so installed it on the caliper and fork. Unfortunately I do not have a banjo screw, so I cannot finish the caliper end of the brake until I get one of those. Needed a brake lever so I just ordered a Shimano Deore left lever off ebay for a decent price. I have everything needed for the lever end (barb, olive, threaded nut) so once lever gets here, front brake will be ready to assemble and bleed.
-
REAR BRAKE Once fitting was in, I bled the brake. I forgot to mention in an earlier post, but once fork was installed, I starting getting ready for bleeding, even before putting the brake together. Identified caliper bleeding screw, removed it, and installed a hose with a Magura threaded fitting that I had from bleeding Magura brakes for my other bikes. Big mistake as once screw was removed, I found out that the guy that sold me the caliper and hose actually left the original royal blood in there, and with both ends open now, it all poured out. Made me feel like an idiot. So had to bleed from the scratch. Syringe on the caliper end hose, receptacle on the lever side, push new royal blood in until lever hose starts filing. Swap roles, with syringe into lever hose, receptacle into caliper hose, push some royal blood in once pumping lever a couple of times. Take hoses out, install bleeding port screws. Not sure this is the correct bleeding procedure, but I have to say- as much as I was disappointed with the Trailech lever design, it is one of the firmed hydraulic brakes I have bled, especially once you turn the reach knob a few turns out. It is solid.
-
DAY 11 Saturday went up north hiking with a friend, which consumed the entire day. But today, Sunday, gave the brake another try. I had this idea- I wrapped one layer of sand paper around the hose, with the abrasive side facing the hose, the put the hose into the barb inserting tool. That did 2 things. 1. the hose got "fatter", so the tool gripped it better. 2 sand paper made it a lot harder for the hose to slip inside the tool. It worked!