
Luke_Coupe
-
Posts
62 -
Joined
-
Last visited
-
Days Won
2
Content Type
Profiles
Forums
Gallery
Posts posted by Luke_Coupe
-
-
This will looks amazing mate.
-
Yesterdays update.
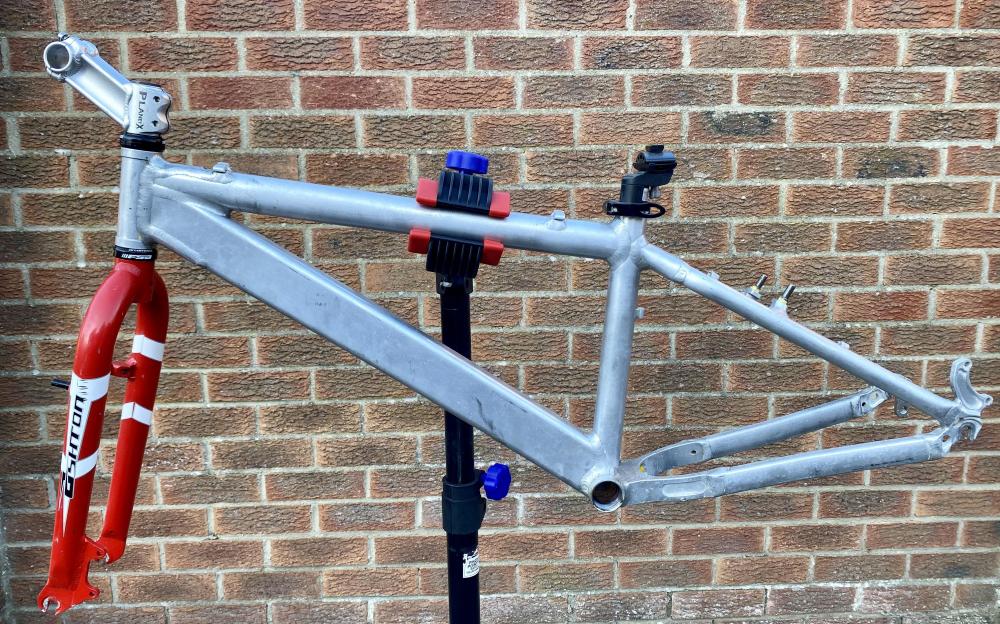
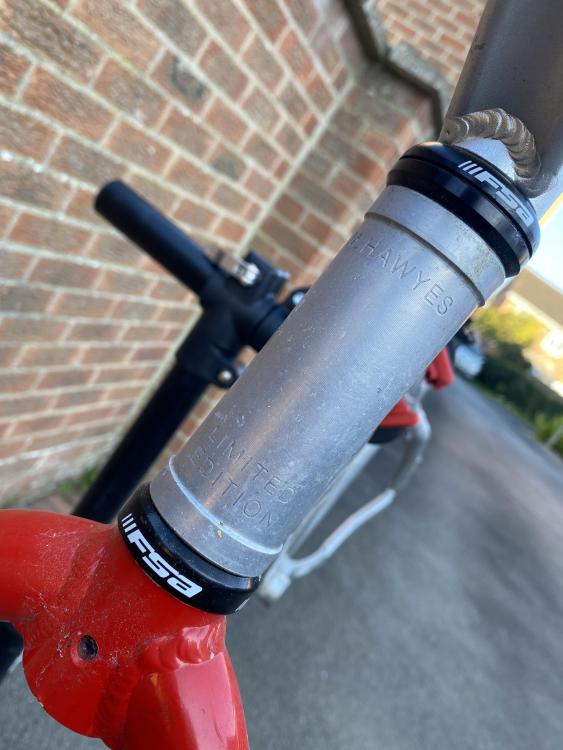
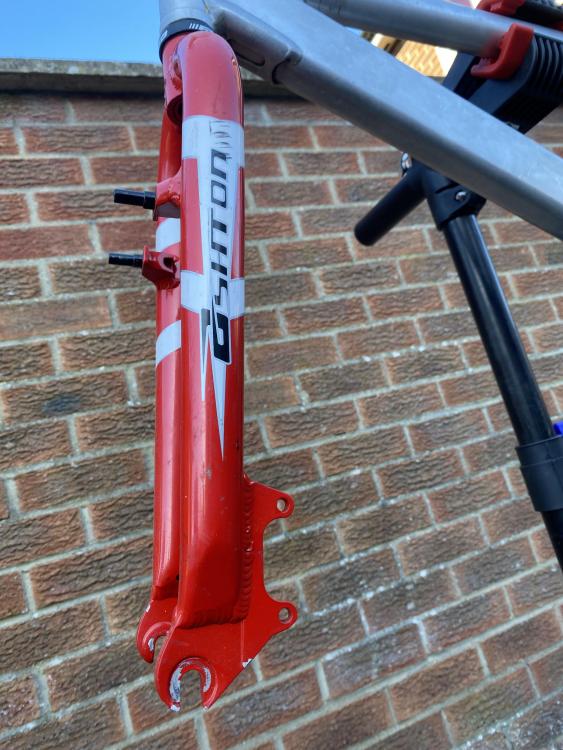
I just can’t help myself! But when a giant trials team mk1 Martin hawyes frame with Ashton justice forks is 10 minutes from where you live at a good price, it was obvious I was going to buy it. I need help!
It was stripped of its flagship colours about 15 years ago, but she’s in great shape still. Unfortunately, I won’t be restoring this back to original colour ways.
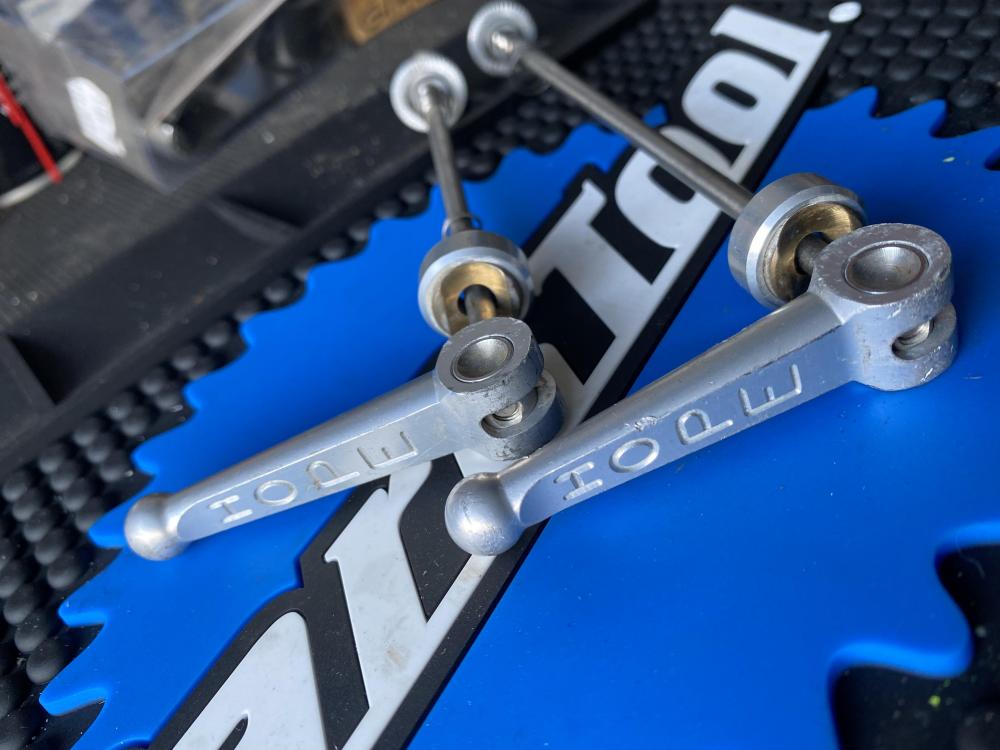
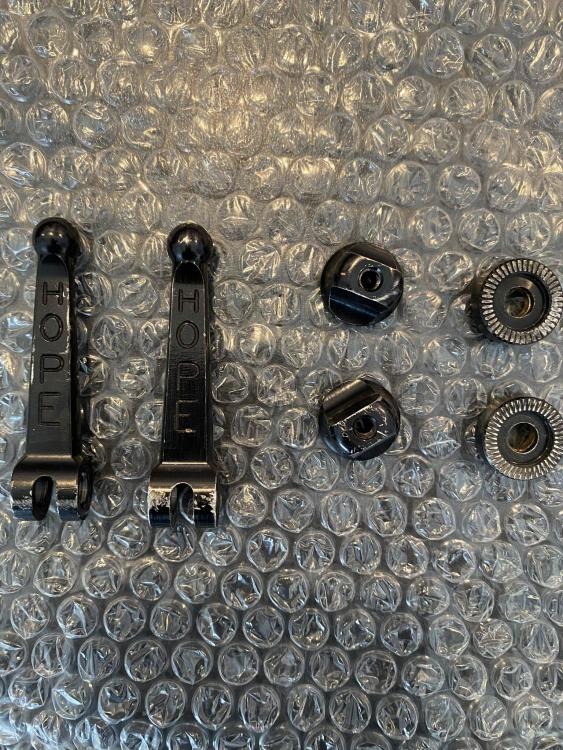
also some nice hope ti skewers arrived
-
A few updates over the last couple of weeks or so.
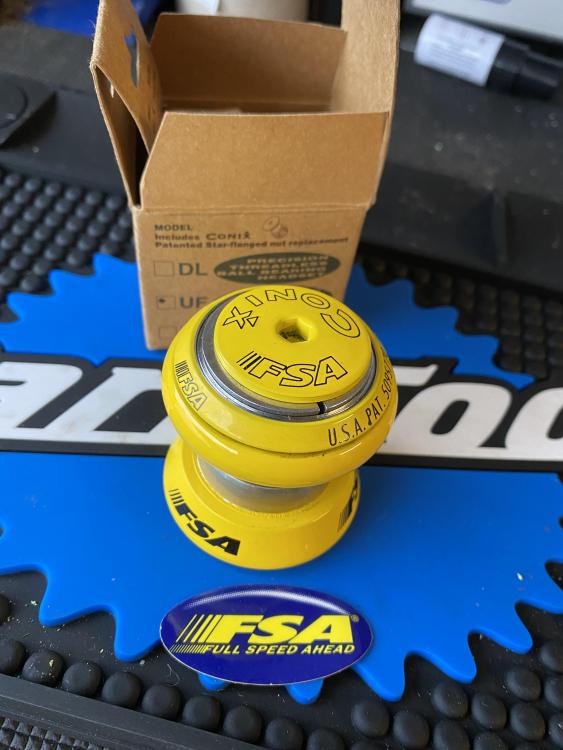
NOS yellow fsa orbit head set.
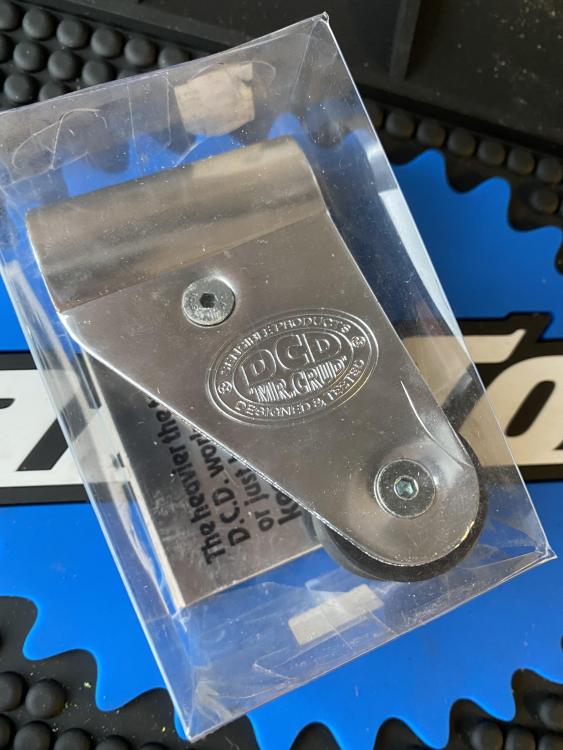
NOS mk1 DCD.
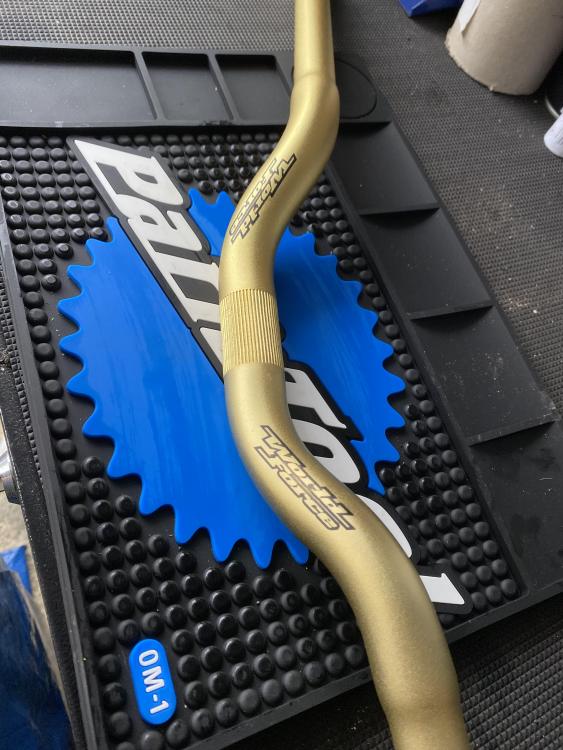
NOS gold world force bars.
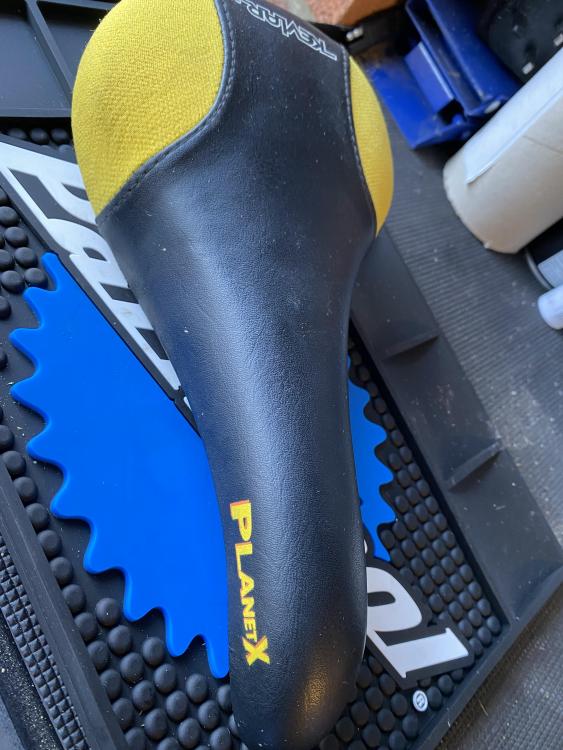
NOS Planet X seat.
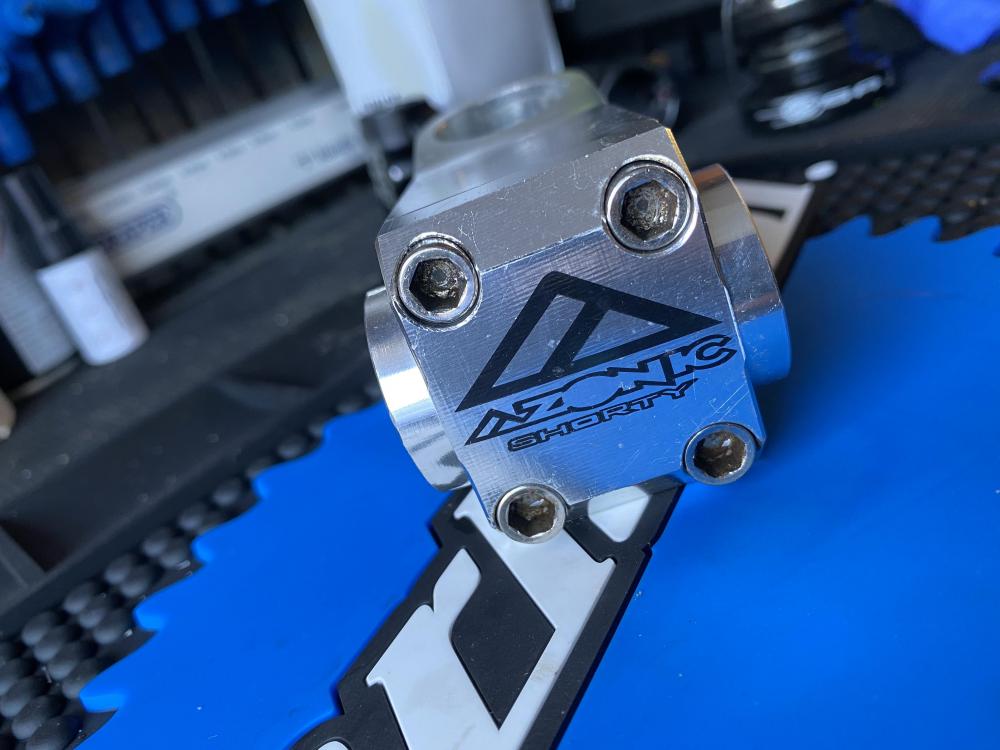
Lovely condition azonic shorty stem.
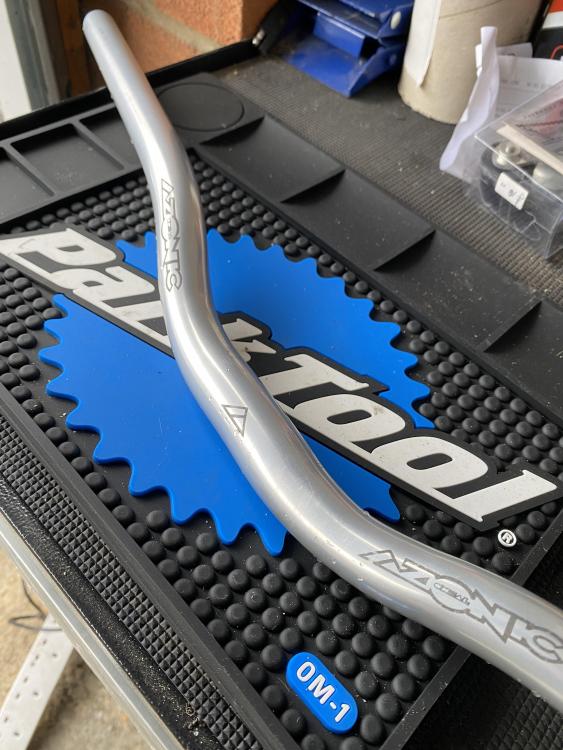
Some lovely condition azonic double walls in silver.
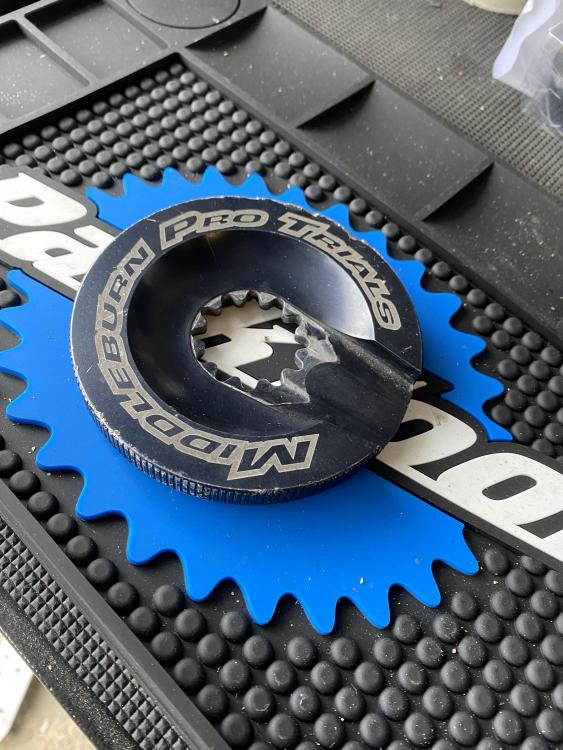
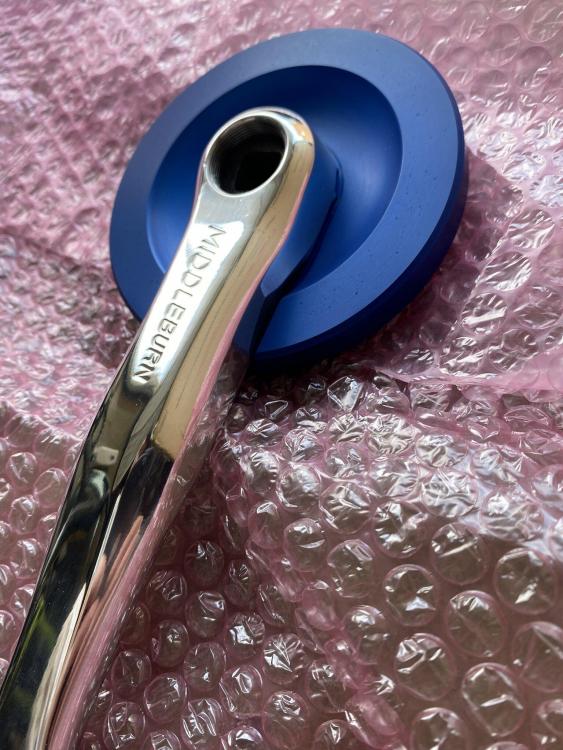
Middleburn pro trials bash guard.
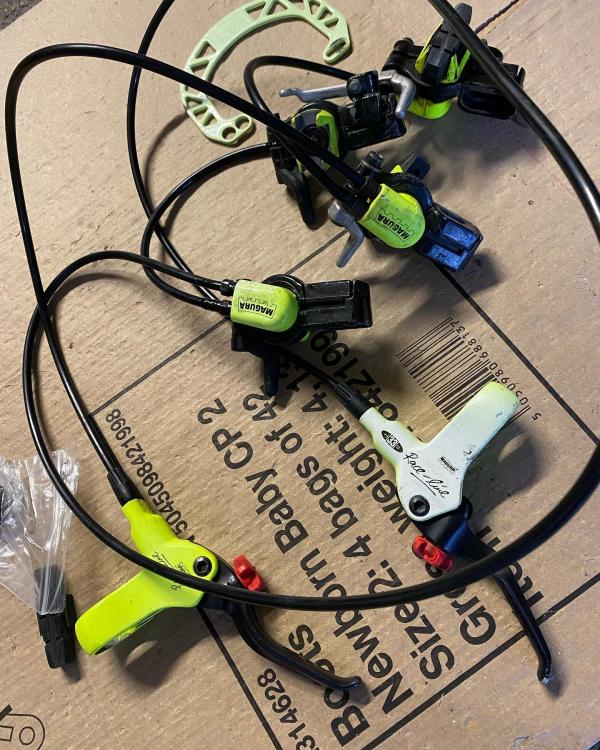
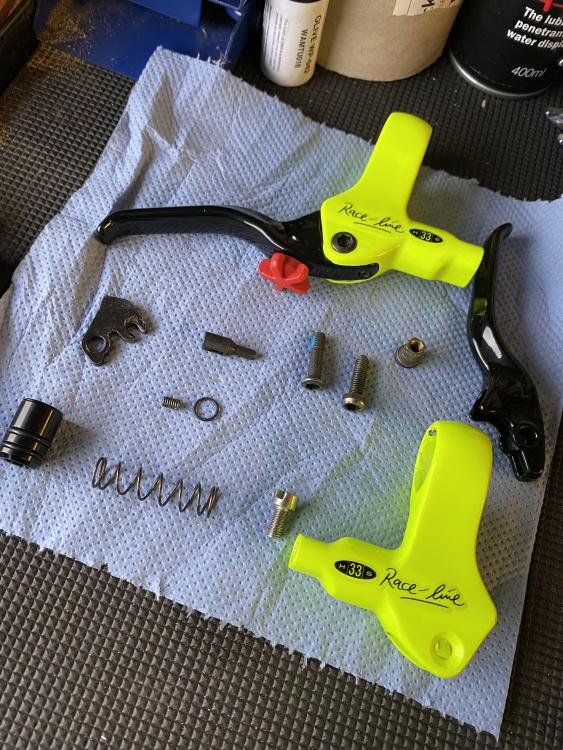
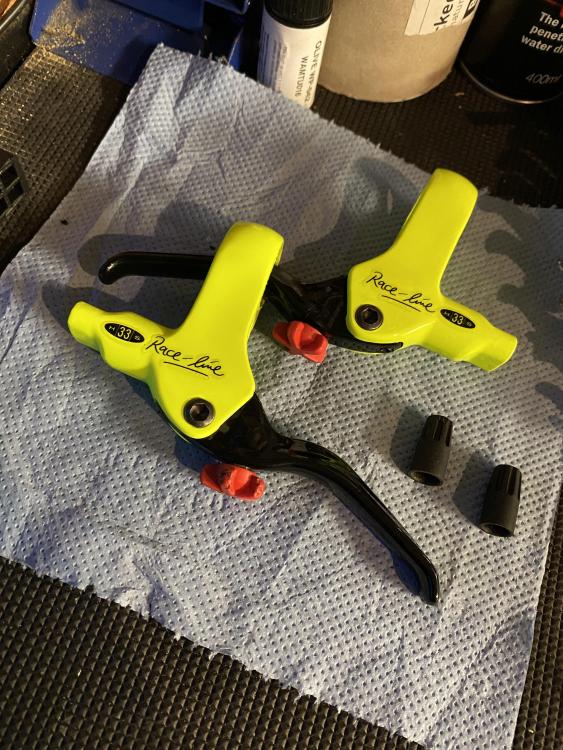
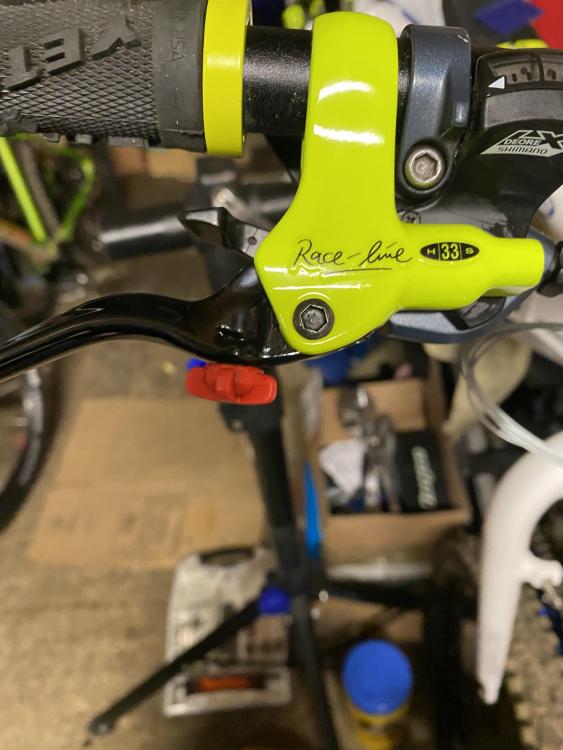
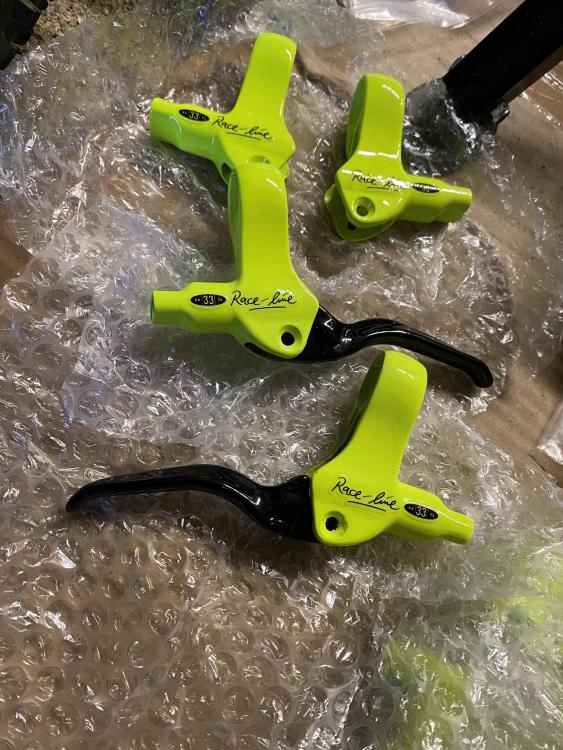
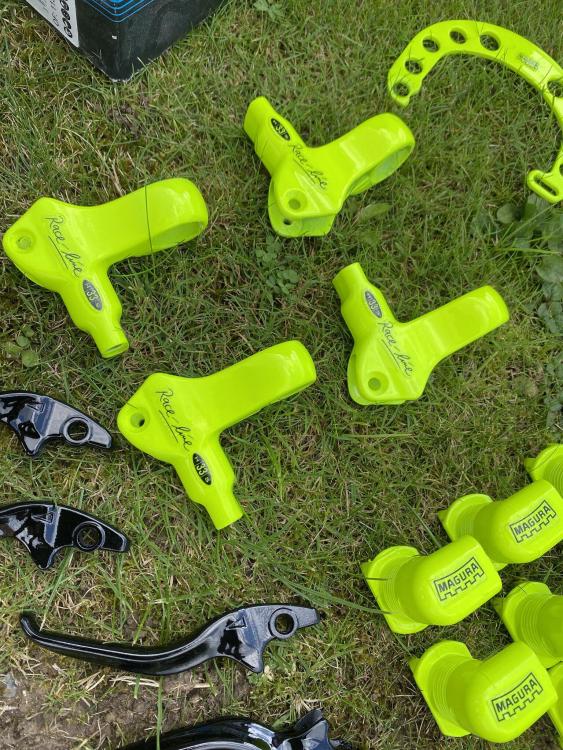
Another set of hs33 racelines to be fully restored. I’m thinking white this time.
-
-
UPDATE PT2
Then a huge journey to Brighton today saw me in possession of this bit of trials history right here. I can’t believe this had been for sale for over 7 months and never got snapped up. £200, what a bargain!
Then a couple of weeks ago me and a guy from another forum found a job lot of frames for sale and he collected them last weekend (thanks brain). So from Brighton I headed my way over to Andover to collect them.
2 11” orange zeros! Unfortunately the silver one is cracked, but it’s repairable. Undecided what I’ll do with the silver one yet.
The white one has bad oxidation on the paint work, but I was always going to get it re painted and re stickered.So that’s 366 miles driven in 2 days, but well worth it.
-
 3
3
-
-
UPDATE PT1
Wow! It’s been nearly a month without an update.
There’s a good reason for this though. In the last month i have been networking with a few people about a couple of frames I have wanted since getting back into bikes.
With my username it’s no surprise what’s going to happen next.
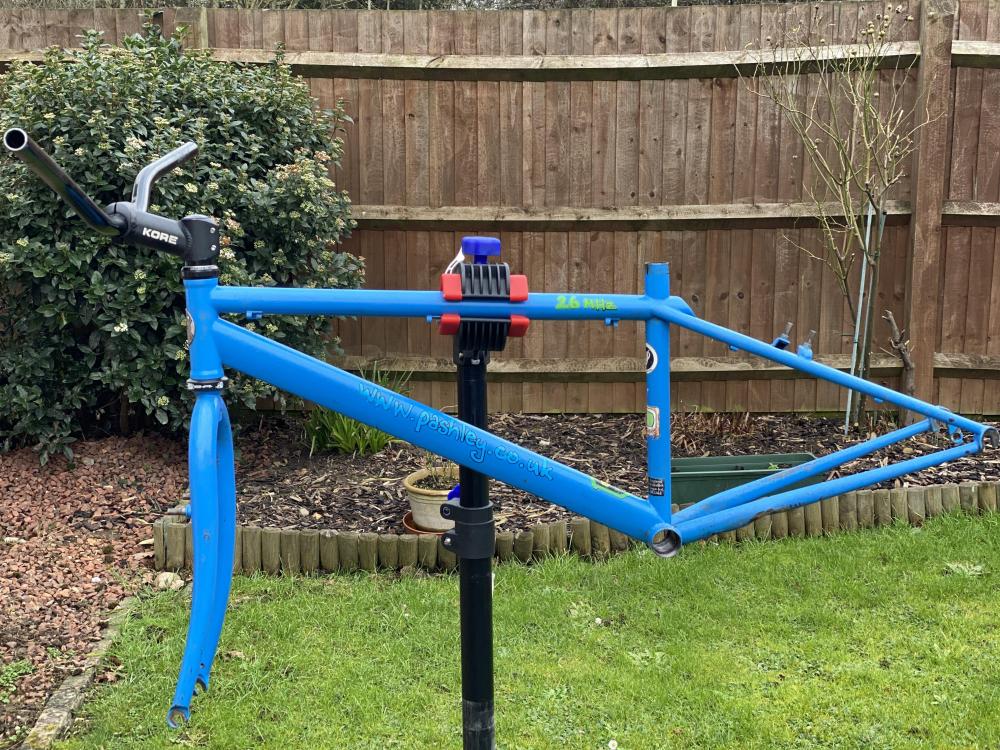
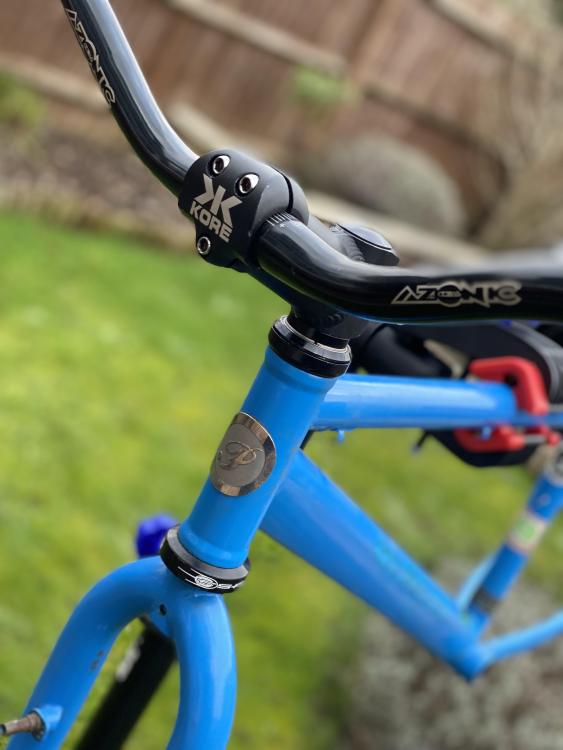
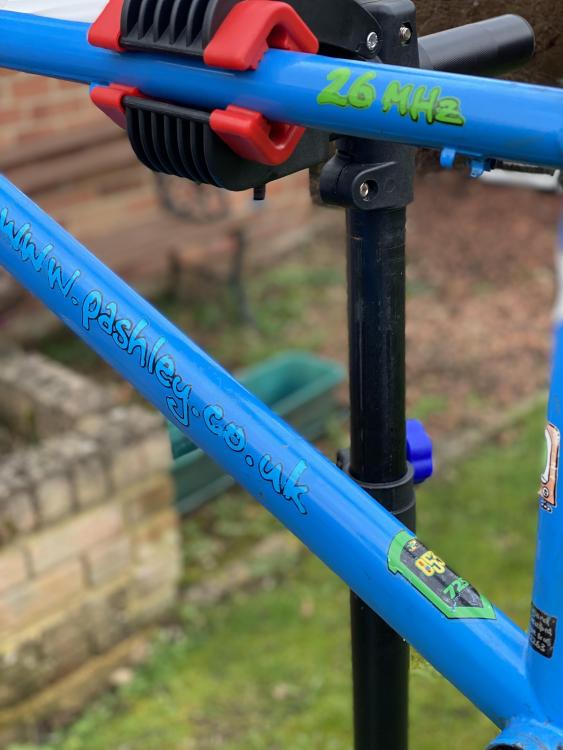
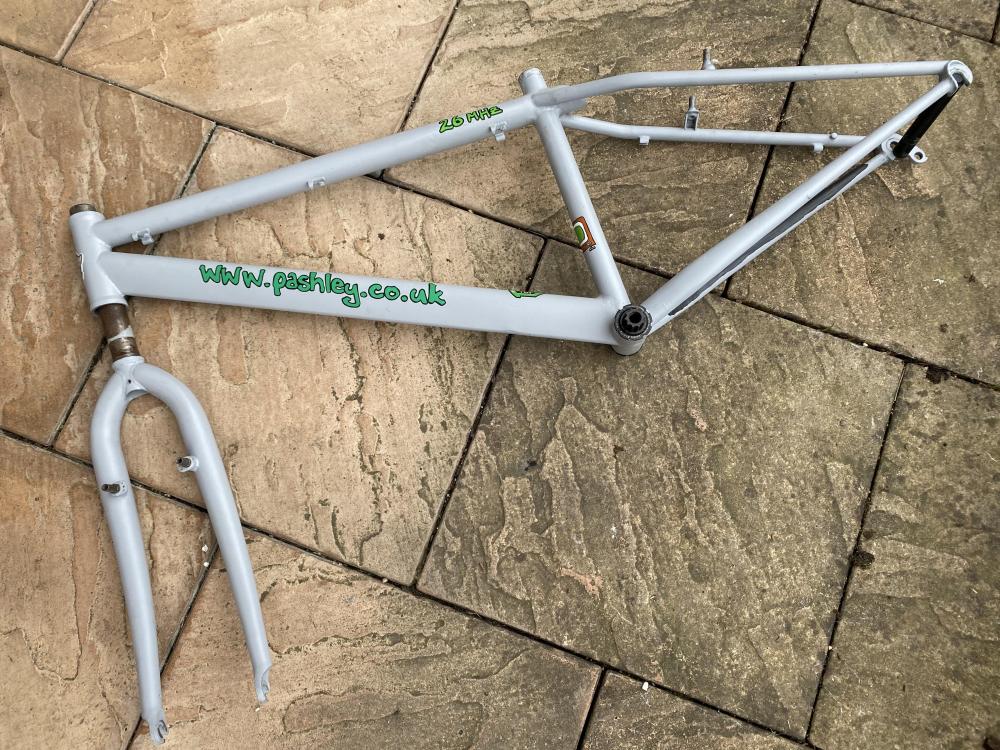
So first up, a pashley 26mhz frame and forks, bars, stem and headset. I was contacted about this earlier this month and I had to have it.
A nice chap called Dave helped me out massively and collected the frame from where he lived and met me halfway. Legend.
Whilst the deal was done with the blue one, another one popped up. So a deal was done and now we have 2!
-
-
As it’s the holidays, the post is a little slower so I have been waiting for parts to turn up.
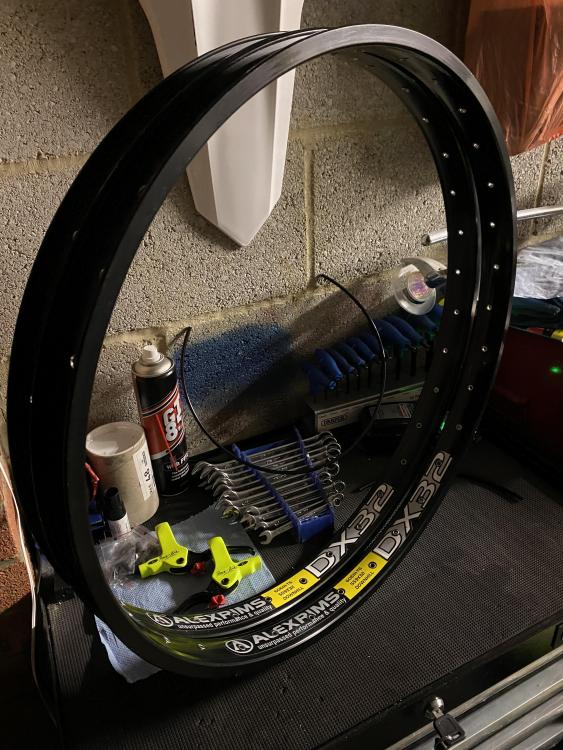
First up, another set of rims. I now have 14 rims, but I couldn’t resist these. These look NOS to me and the only cost me £30 posted. Alex DH32’s.
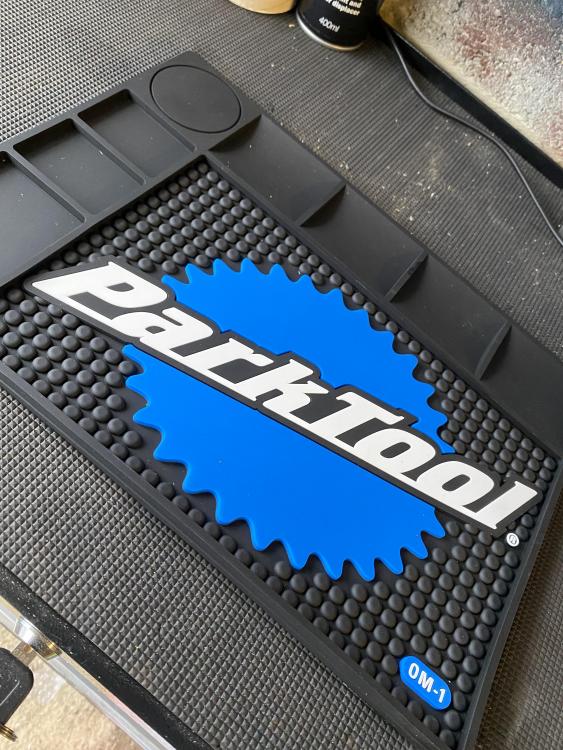
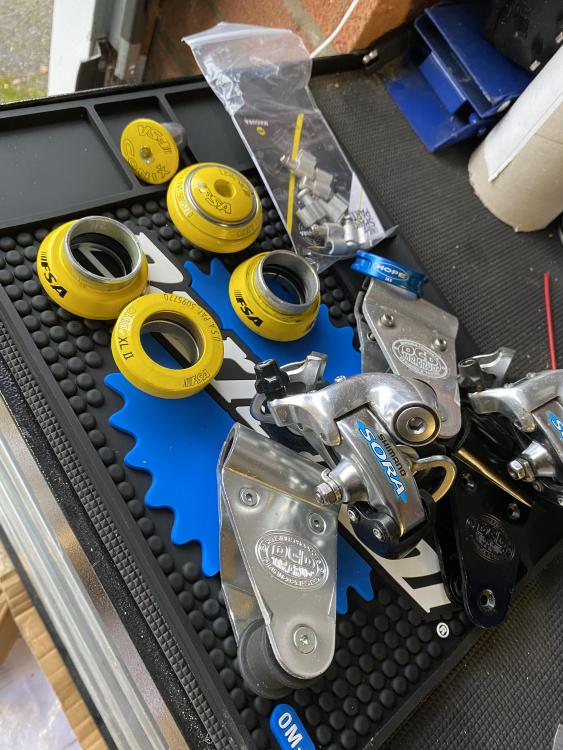
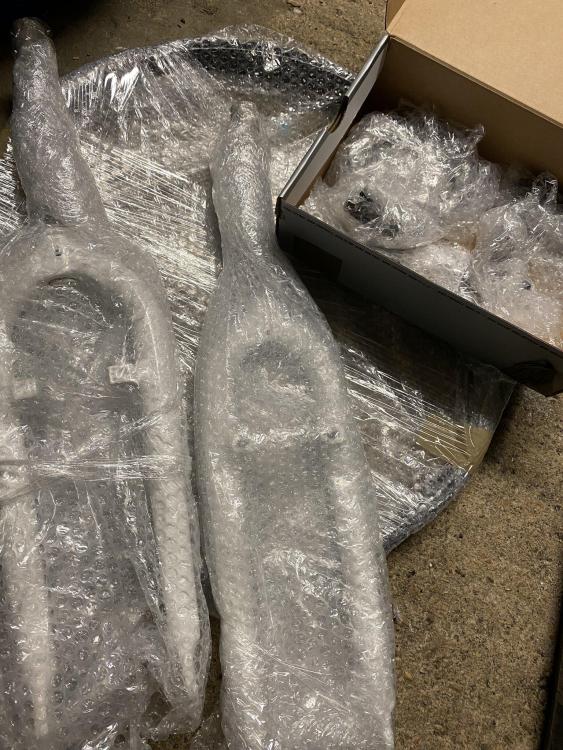
A new park tool mat.Then mid week I was going though boxes and getting everything bubble wrapped and bagged ready for future builds. Some pretty cool stuff collected this year.
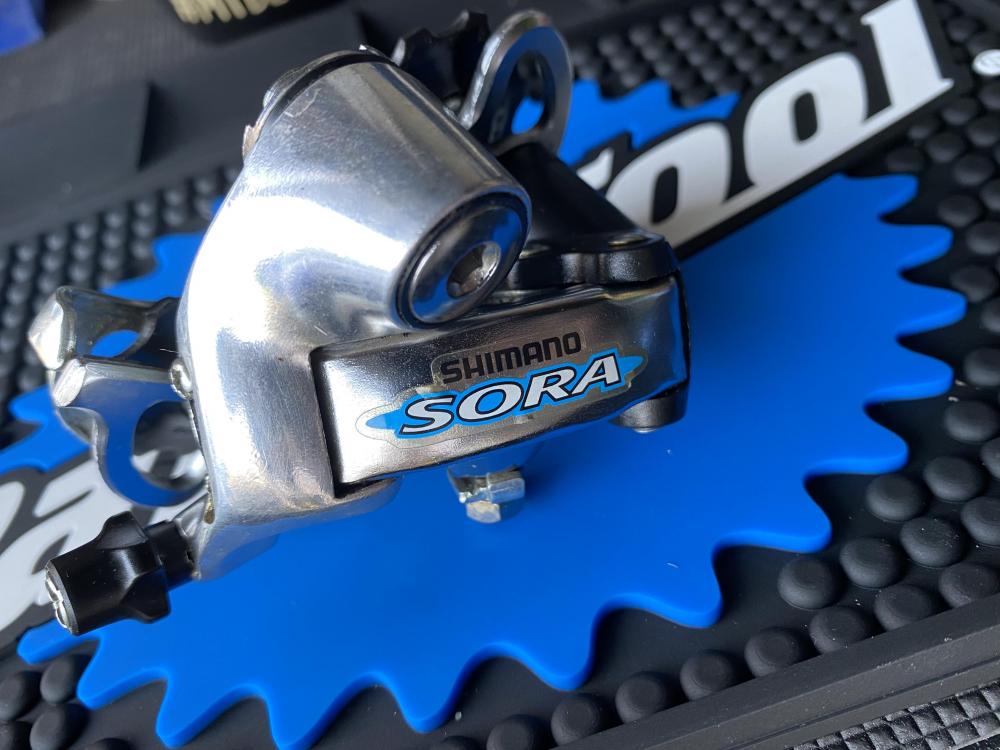
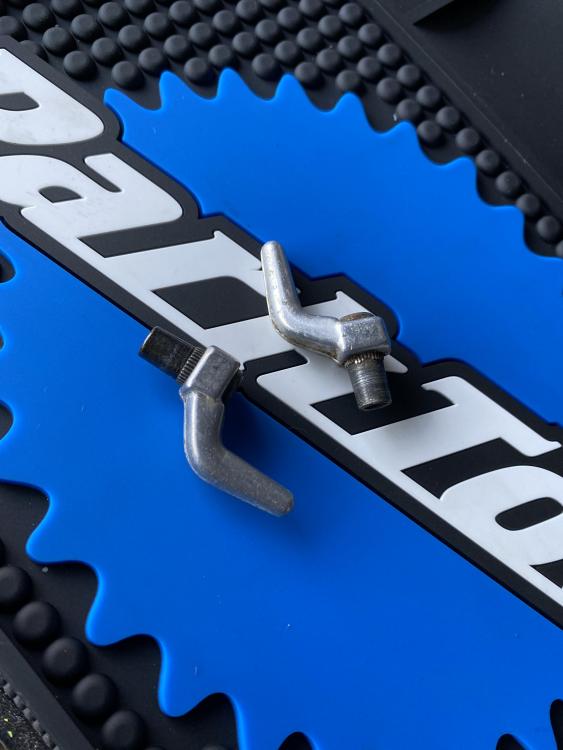
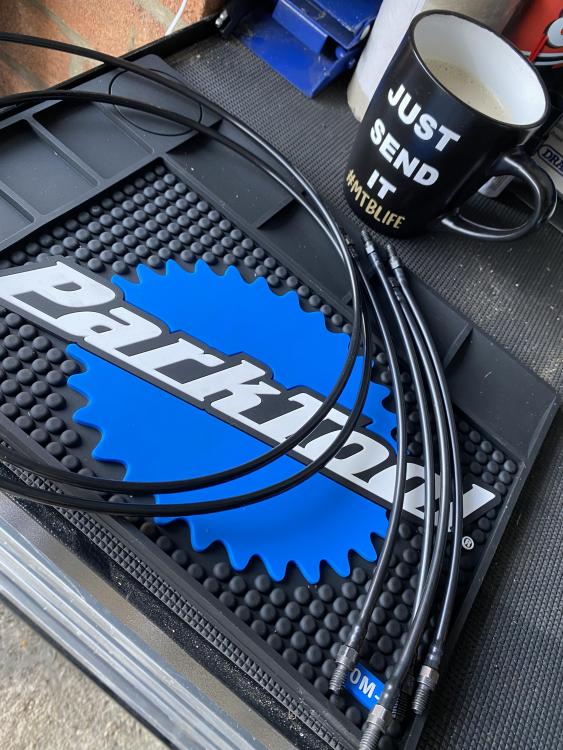
Another shimano sora rear mech. That’s 3 now in the collection.Some metal elbows for the magura mounts from my friend Wayne. These were needed to finally mount the front brakes.And my ready made crossovers from Ben @ trials addict, absolutely amazing service. If you need magura parts, he’s the biggest stock holder of magura parts in the uk.
-
On 12/28/2021 at 5:39 PM, PLIW said:
Turn the mounts around. So right side goes to the left and left goes to the right. They will allow some movement.
Already done that Pete. I think I need to do what Ross has suggested and go from there. If all else fails, I’ll shave a few mm off the pads or use cd grey d521’s.
7 hours ago, Ross McArthur said:He’s running the mounts at their widest already.
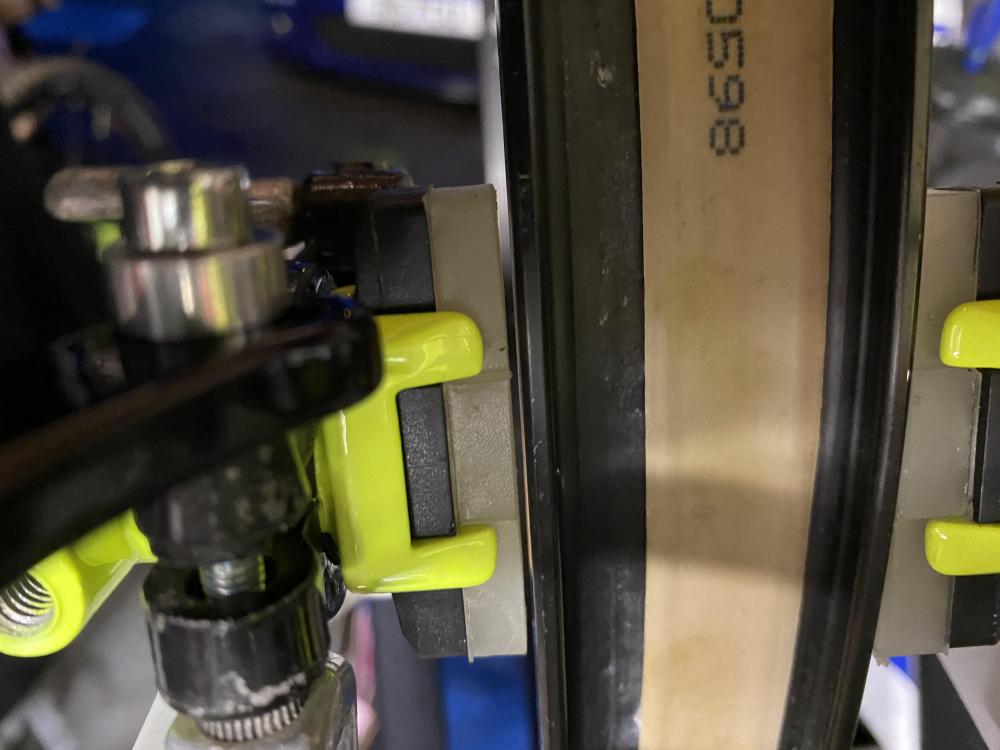
It does look like you might have a teeny bit more give in the mounts. Once the brakes bled, loosen the bolts and pull the lever which will push your pistons all the way out.
I will definitely try this. I need to build a phatso for the Ashton signature. I’ll try that wheel on the orange build and use your suggestion. That way it might save me a few coin if it doesn’t work lol.
7 hours ago, DJEHB said:You could also skim a few mm off the pads easy enough
That is definitely an option too.
-
A few jobs done today.
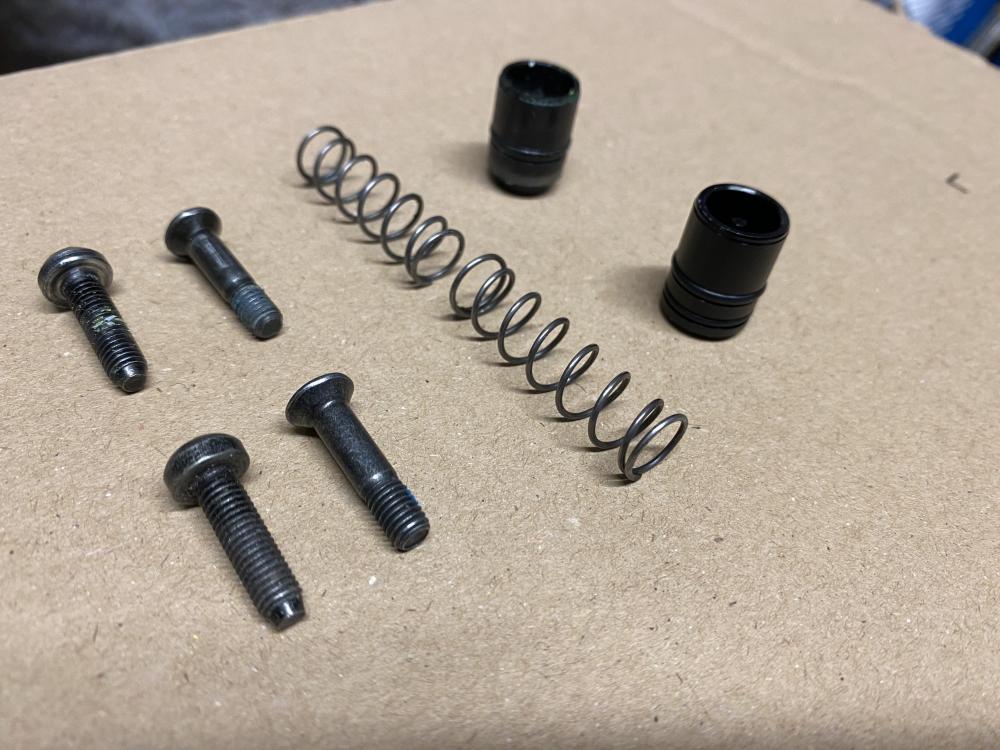
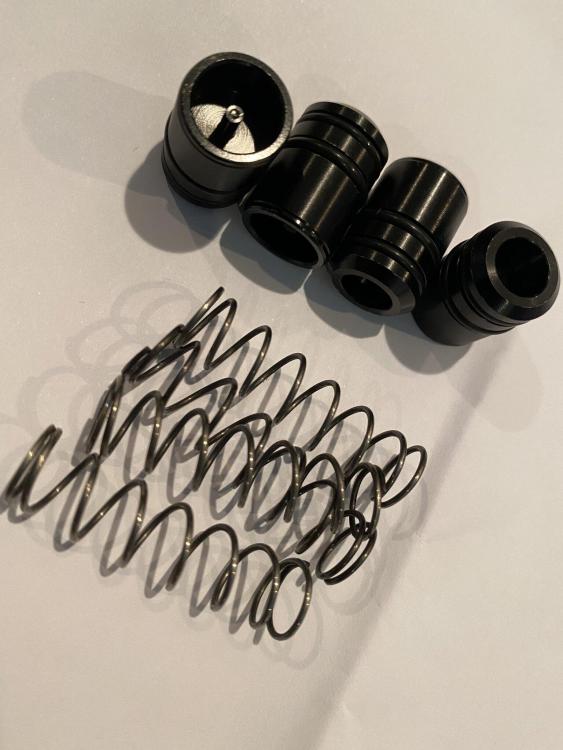
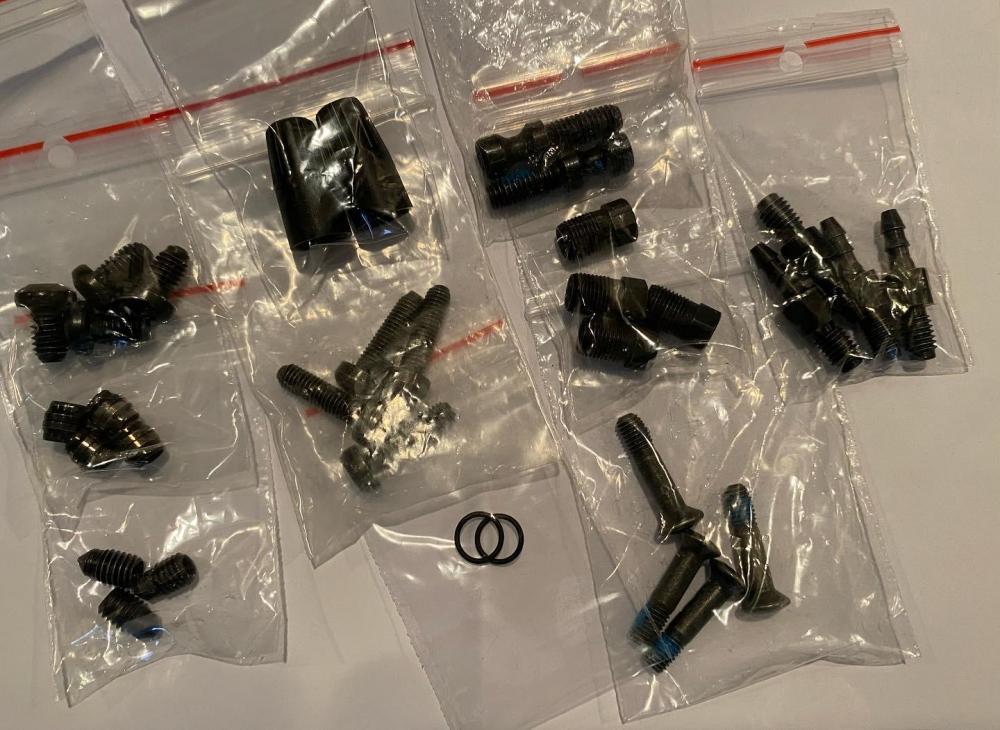
Got the other set of leavers fully built up with the up rated metal pistons, springs, home made tpa’s and all new bolts and fixings.
Started plumbing all the lines up, but got stuck as I have no vice so couldn’t fit the barbed fixings into the hose for the cross overs.
Also test fitted an xlite phatso to see if there’s any clearance, looks like I have 1 or 2mm to play with and that’s with the slaves pushes up to the clamps. May not be able to run a phatso on this build now.
-
11 hours ago, Ross McArthur said:
Is there nostalgic reasons for wanting to run the quick release on the mounts? Why not chuck that and just run a bolt like on the non drive side. Would look so much cleaner and takes away the silver from the lovely lumi on black look.
I have never really thought about not running them to be honest mate. I always ran my mounts like this when I was younger and the only reason I can think of up to now, is so I can get the rear wheel out easier without letting the tyre down .
-
So I had another play about on the zero a few days ago and it didn’t exactly go to plan whilst mounting the maguras.
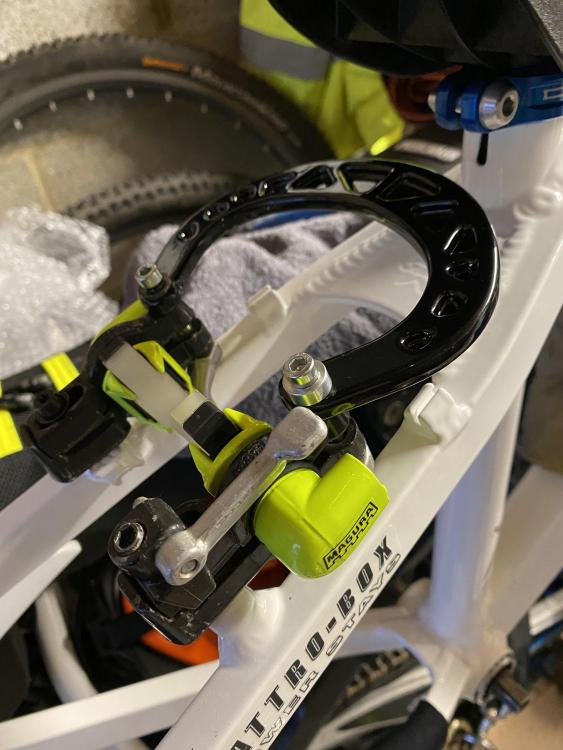
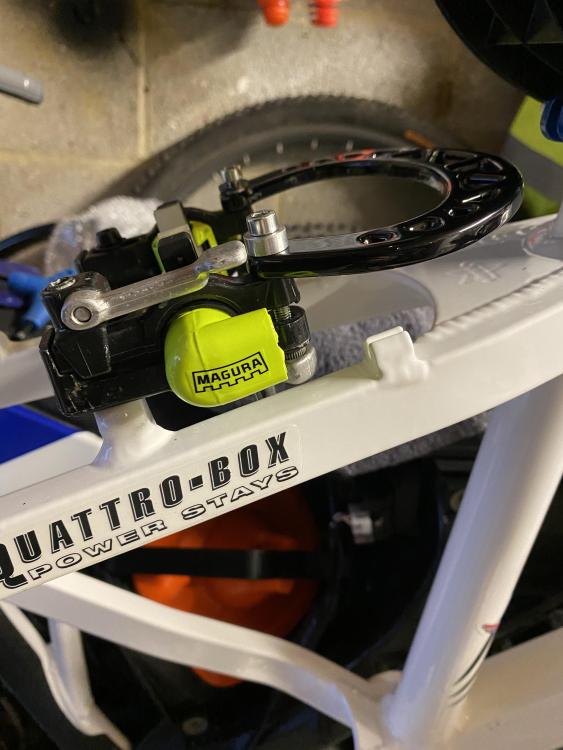
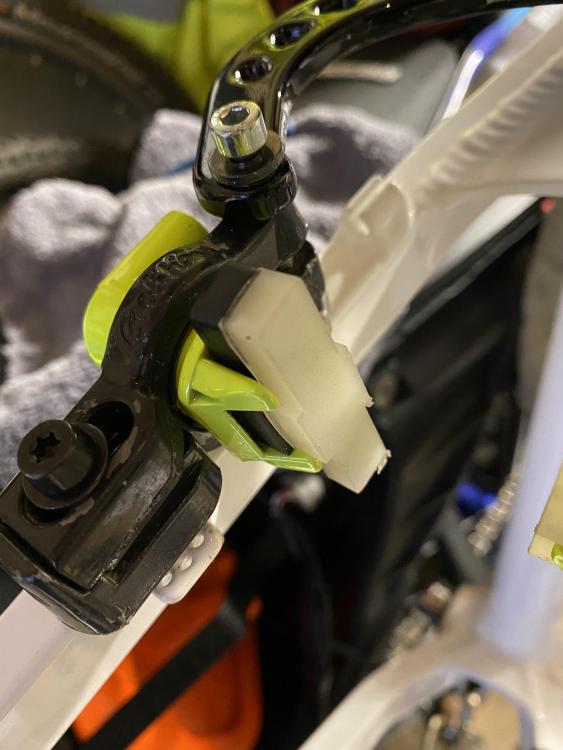
The powder coat on the mounts is way too thick. I must have spent an hour with the dremmel sanding them to fit, but it didn’t work. Even snapped some mounts. So I’ve had to rummage through the spares box and use some old mounts. At least I get an idea of what they look like.
The plan now is to get these old mounts wet sprayed or try and find some NOS mounts.
Also fitted the up rated metal pistons and springs, plazmatic pads, new pivot bolts and leaver clamp bolts. -
12 hours ago, AdamR28 said:
The dedication to detail here is nothing short of astounding. You've just taken me back in time 20 years
 brilliant work!
Thank you Adam. That’s how I felt whist looking at everyone else’s retro rides during lockdown.
-
12 hours ago, DJEHB said:
Best thread in a long time. Keep the updates coming on any future projects please

Thank you so much mate. I’ll update in a few minutes.
-
22 hours ago, Ross McArthur said:
Love an alloy piston upgrade.
I’ll be honest, it’ll be my first time using them Ross.
-
-
Another delivery this week. Possibly my favourite part I now own.
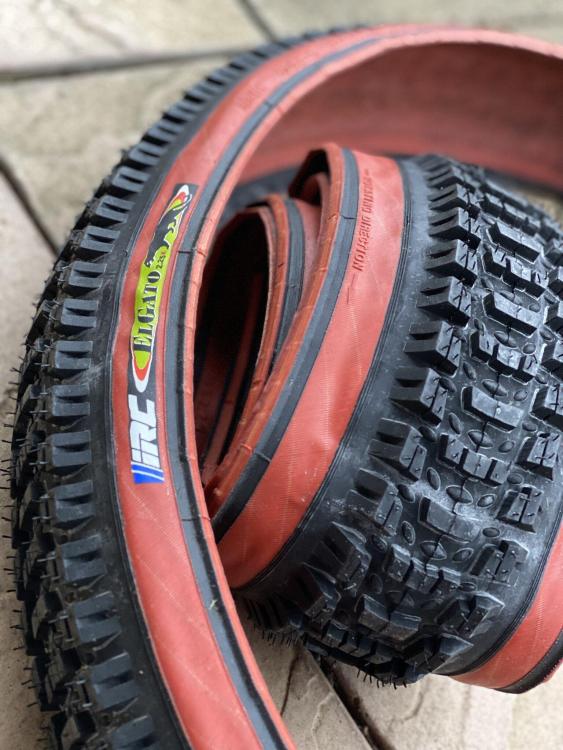
If you was ever into trials in the late 90’s and early 00’s, these tyres were the ones to have. I always wanted the tyres back in the day, but unfortunately I never ran them as I preferred tioga factory dh’s. I have tried to source these before and had no luck.
But I got lucky this time.
NOS IRC El Gato’s.-
 2
2
-
-
-
-
We’re now all caught up with the project.
It’s been a few weeks since I had the frame back. Due to work and family commitments, I haven’t had anytime to work on the frame.
Last weekend I had a Saturday morning to work on the bike and I wasted no time.
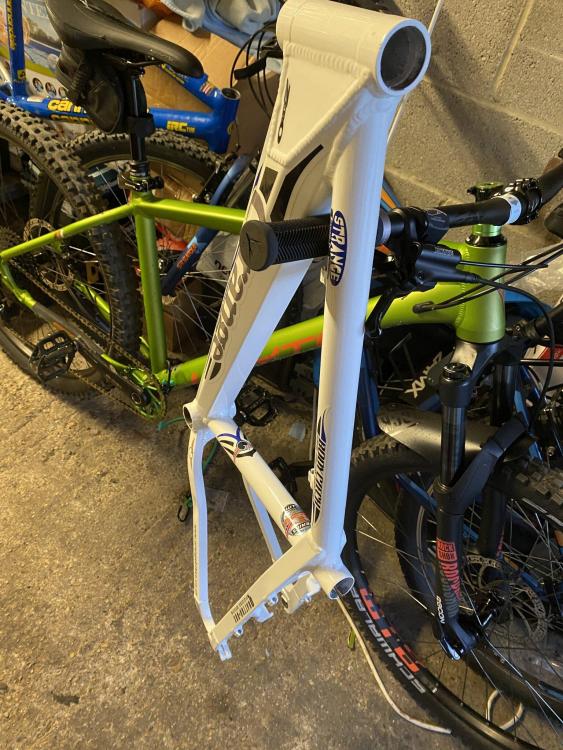
Freshly powder coated frame.
The painful process of putting the decals on the frame, for the second time lol. Luckily I was sent 2 sets.
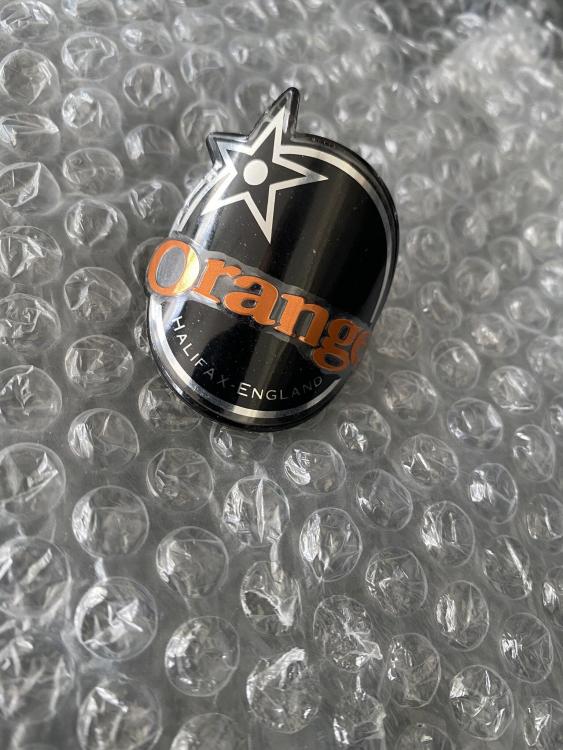
NOS headtube badge. I’ll leave the film still on it.
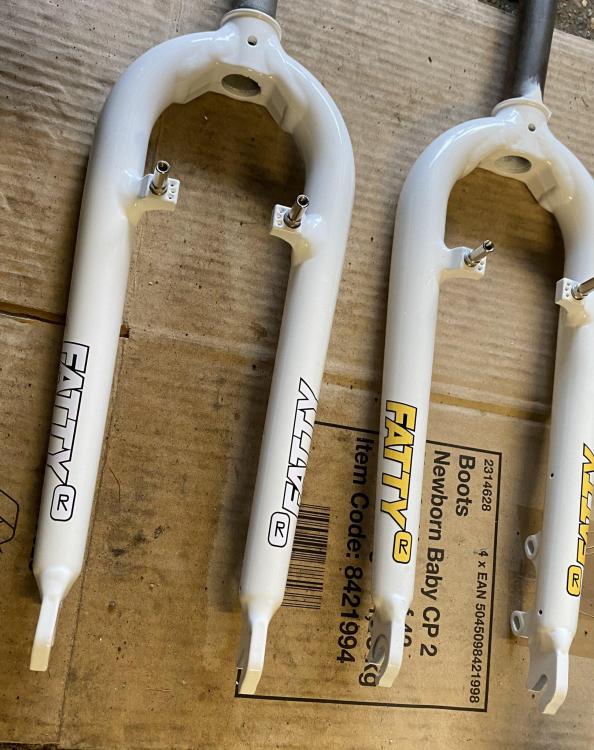
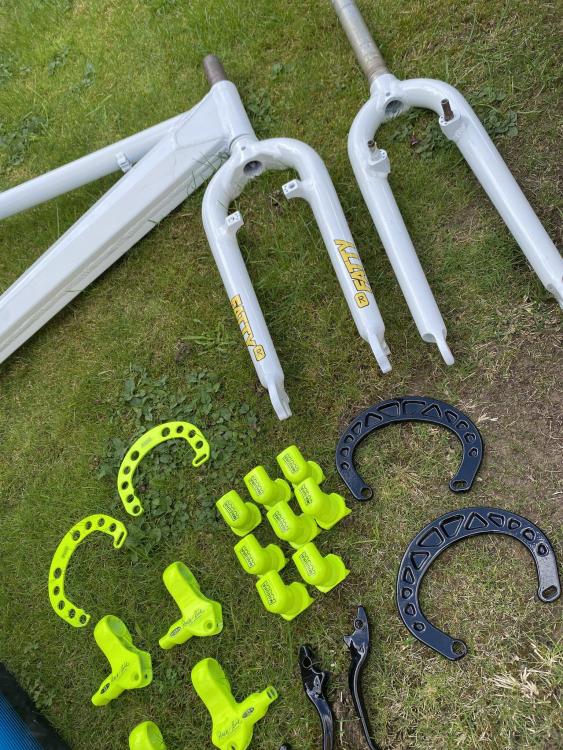
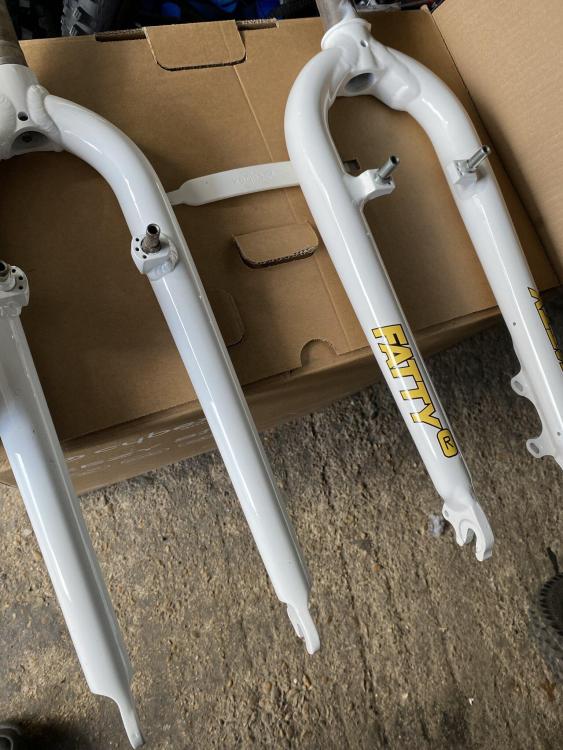
Put the white fatty r decals on the freshly powder coated forks.
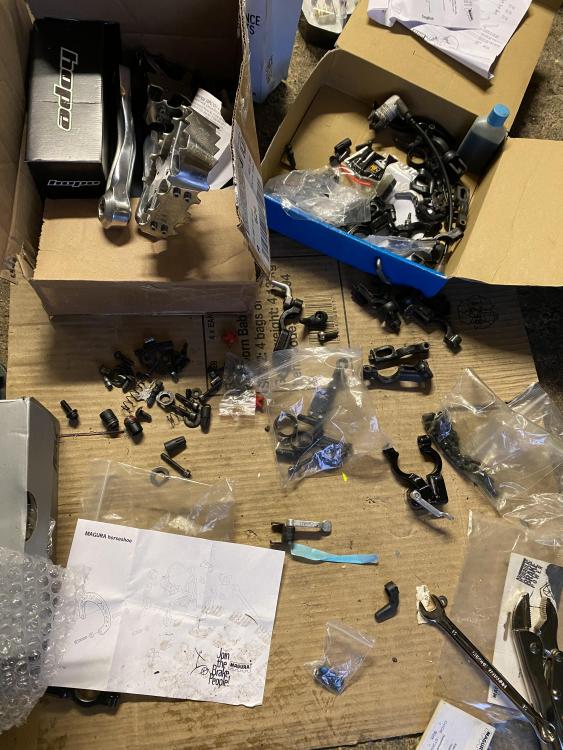
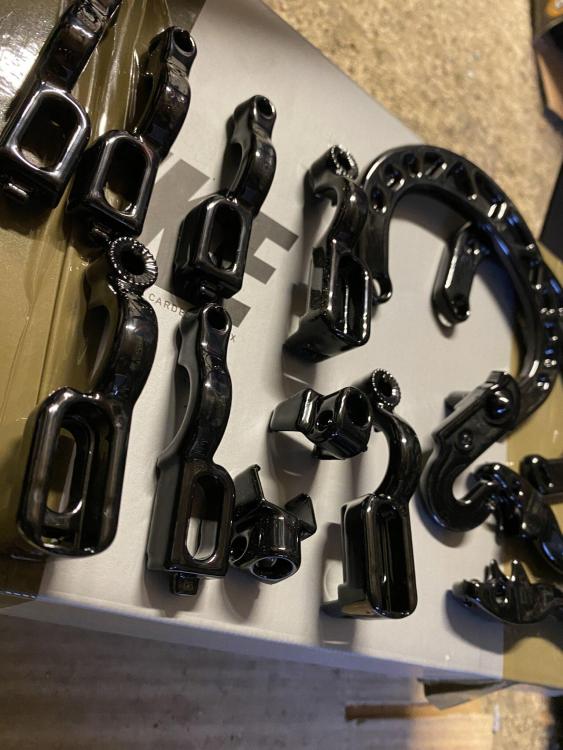
And all my magura bits and pieces looking very nice.
-
Now that I’m waiting for the frame to come back, it was time to find the period correct headtube badge as it was missing.
I had put a wanted ad up on an orange group on Facebook, and within a day I had found a NOS headtube badge. Result!
Yep, you guessed it, more parts.
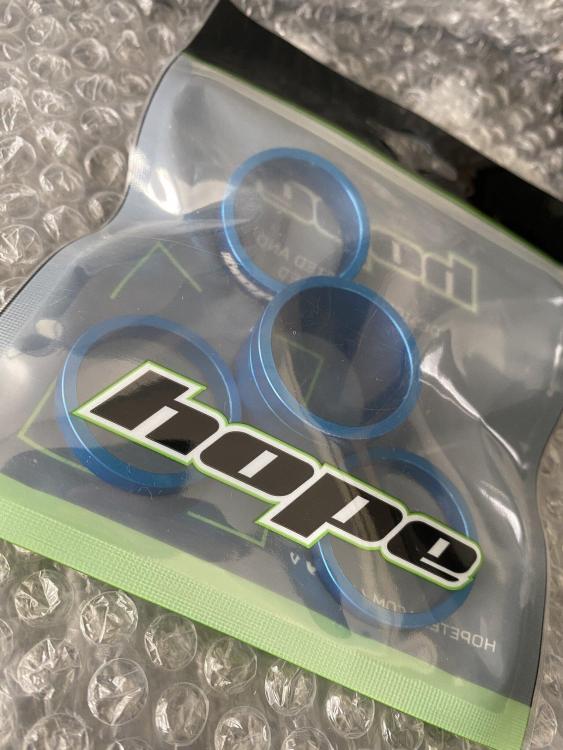
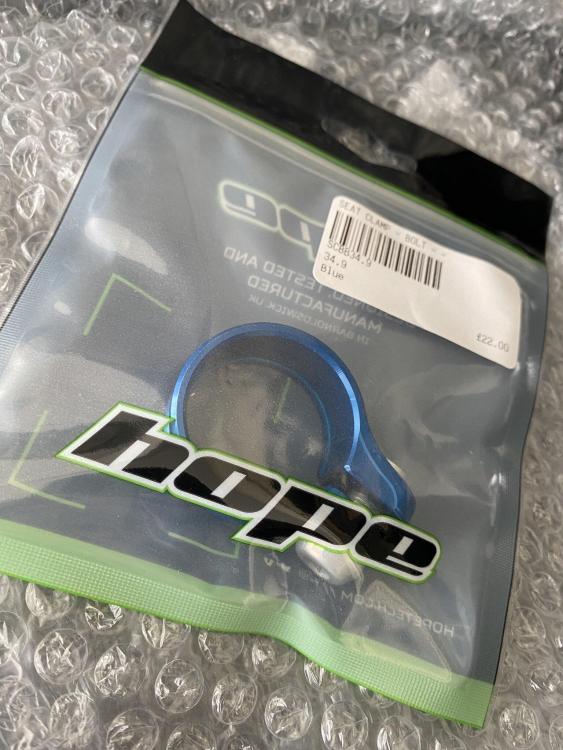
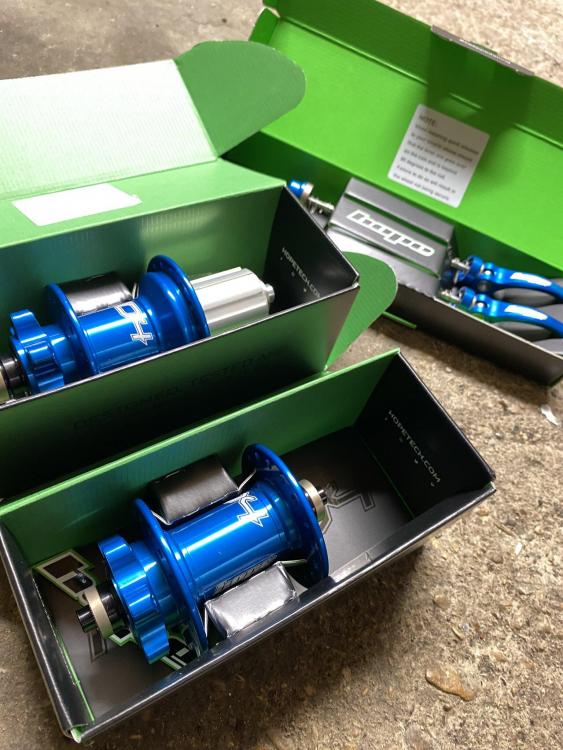
I know it’s not period correct, but trying to source parts in mint condition/NOS can be challenging, especially hope hubs. So In the end, I went with the modern hope stuff.
Head spacers.
Seat clamp.
Pro 4 36h front and rear hubs with matching quick releases. These took 12 weeks to come.
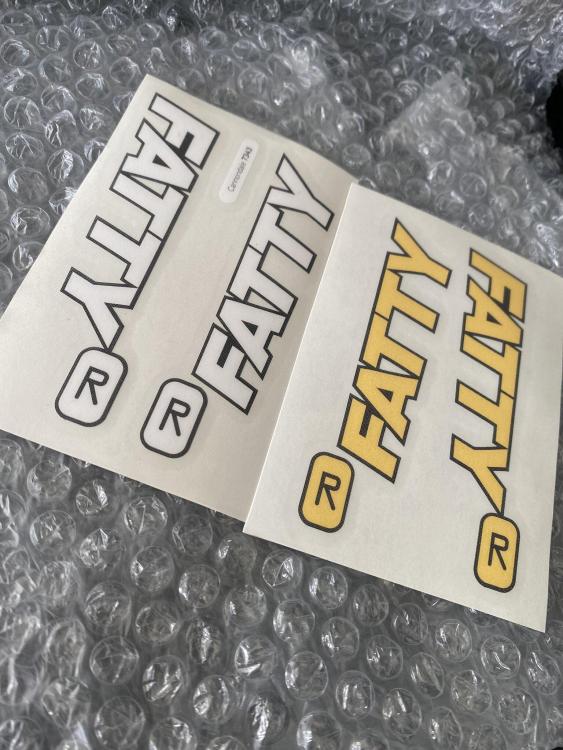
Some fatty r decals.
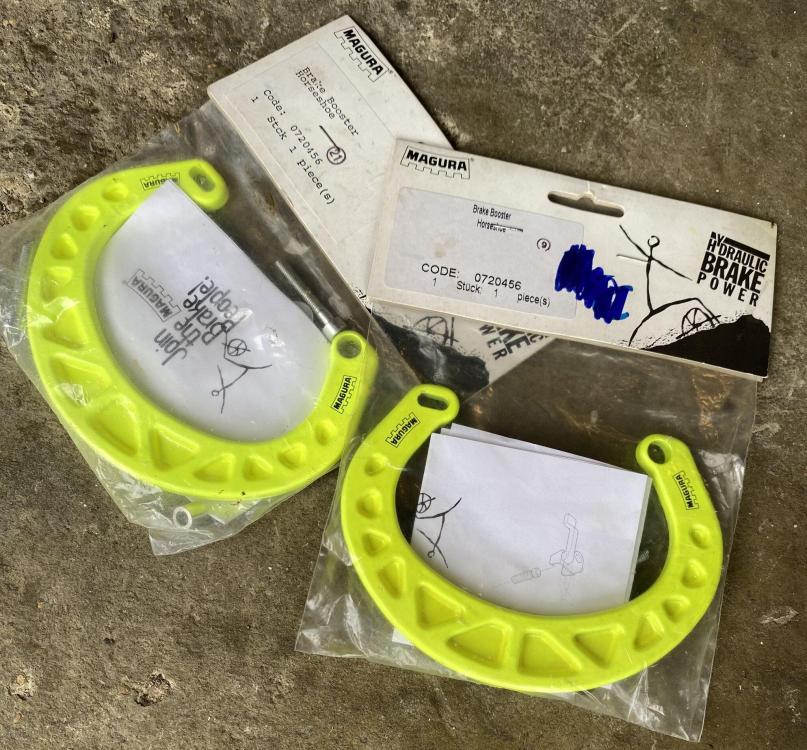
I had previously sourced a NOS raceline horseshoe booster and I was luckily enough to find another.
And finally, we have all the parts back from powder coating
-
Since the last update I have mainly just been sourcing more parts and deciding which wheel/hub choice I’m going to use.
I have a few options and even now, I’m still undecided.
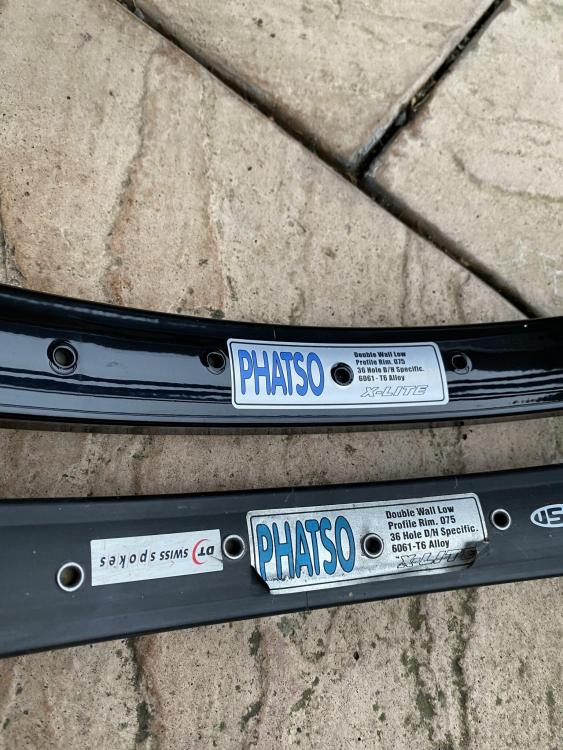
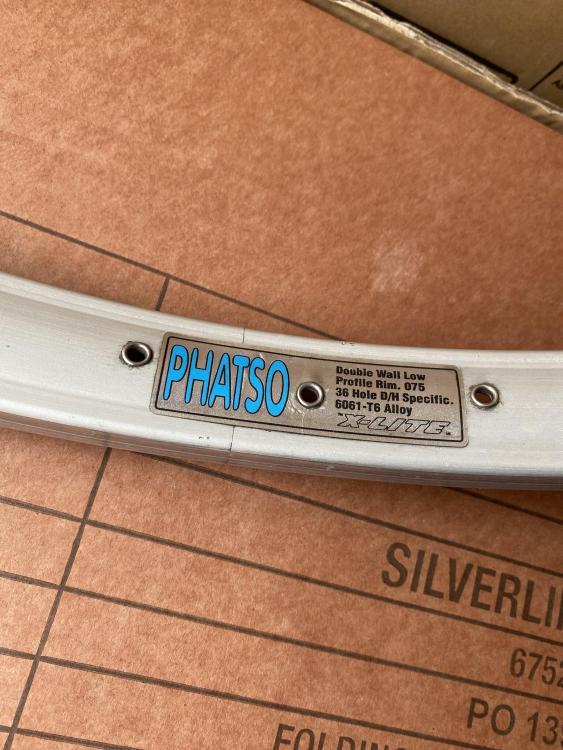
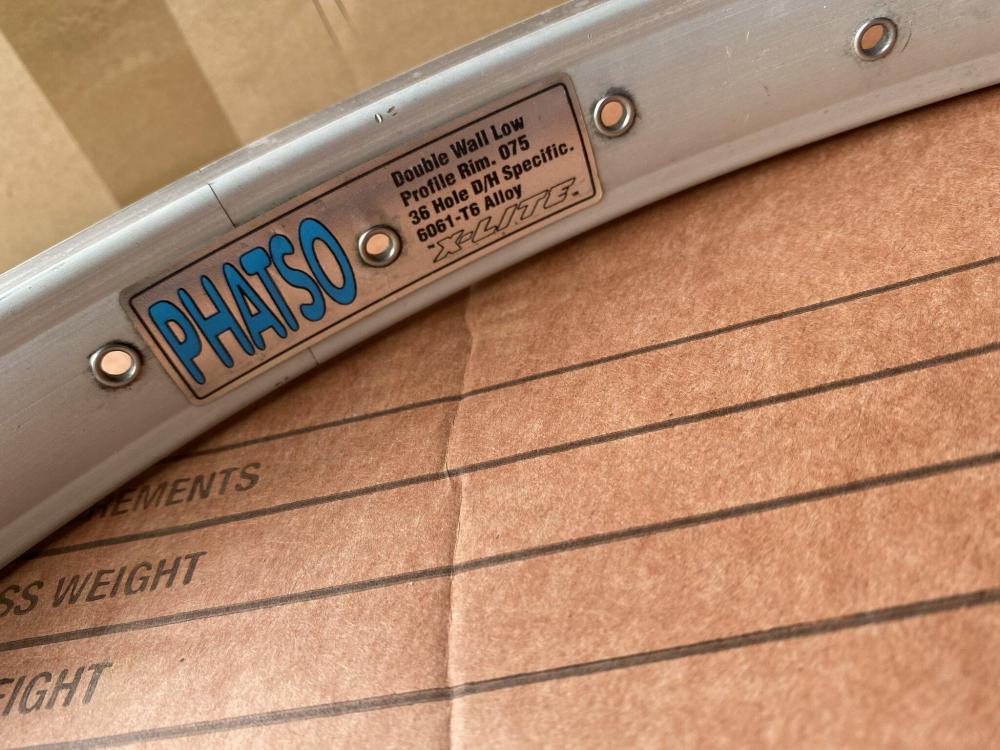
Weather or not this particular rim will be used on the Ashton or the zero, i knew I needed one. In my previous post you’ll notice I had 3 black x-lite phatso’s. I always wanted a silver one. I had been searching for at least 6 months and finally.
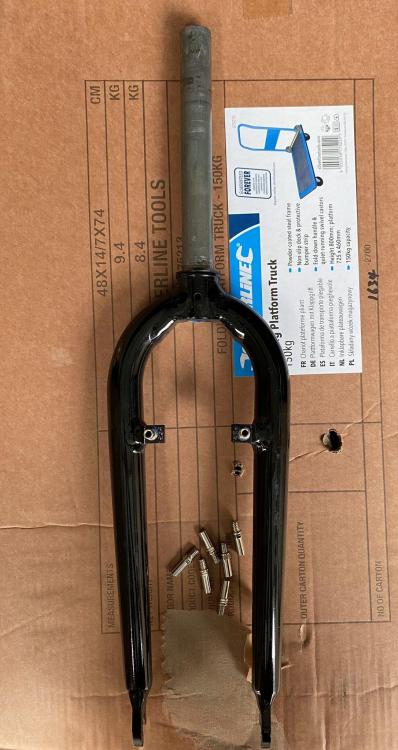
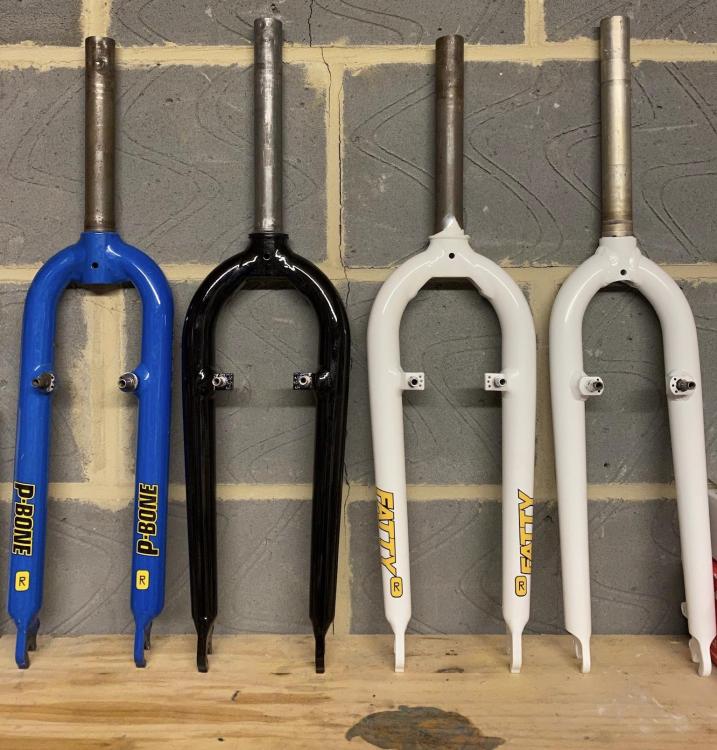
Another set of cannondale fatty r forks. Now these have a 220mm steerer and will replace the fatty’s on the zero. Mainly because I’ll use the shortest steerer pair on the Ashton which has a shorter headtube. It saves me shortening a pair of forks when it’s not needed.
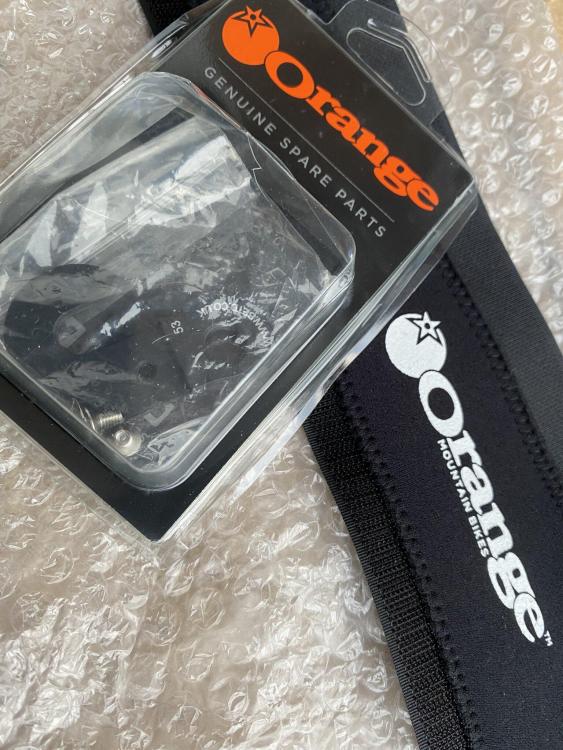
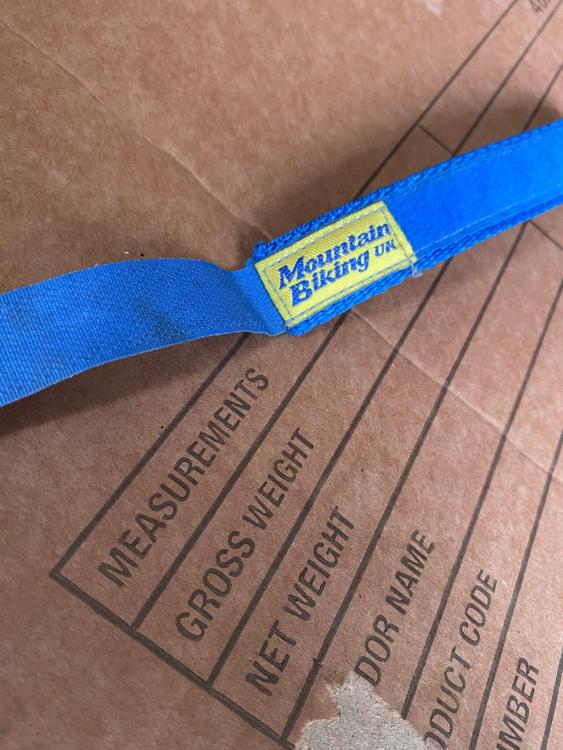
A NOS mbuk watch strap.
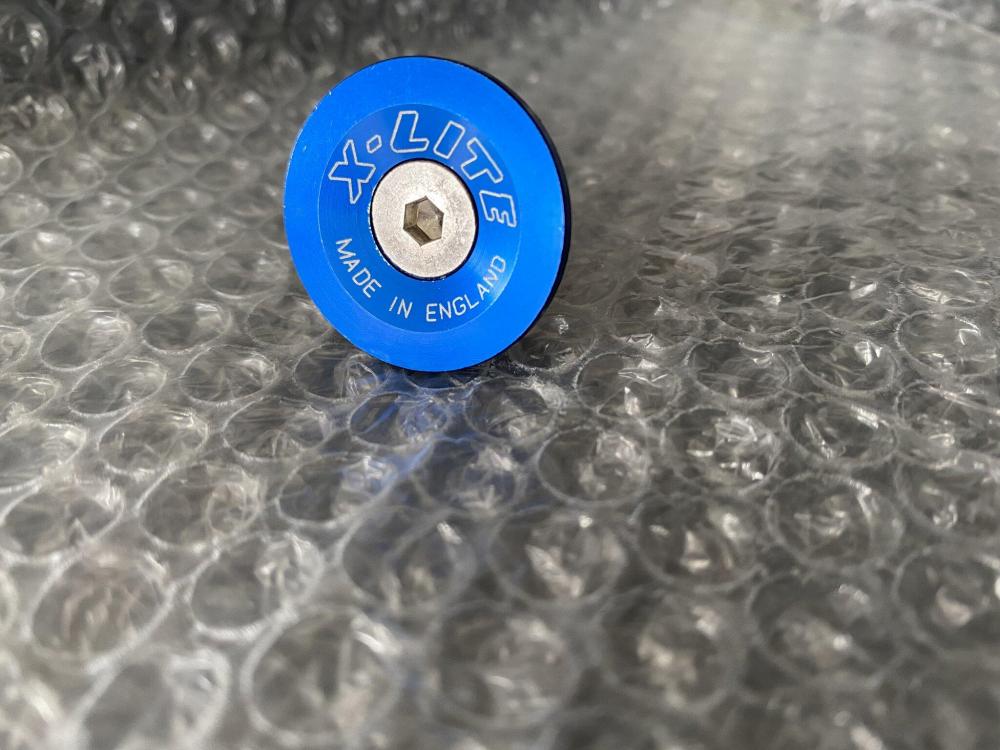
A NOS x-lite stem cap.
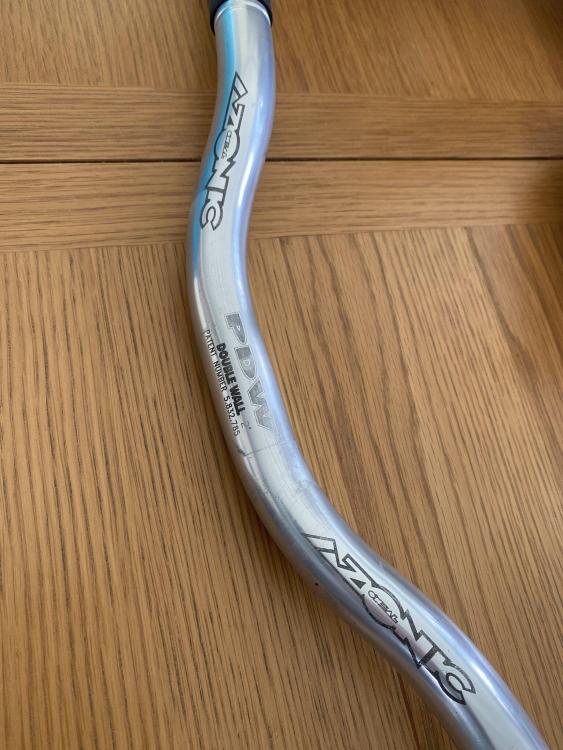
Another set of some azonic pdw’s.
The line up of forks.
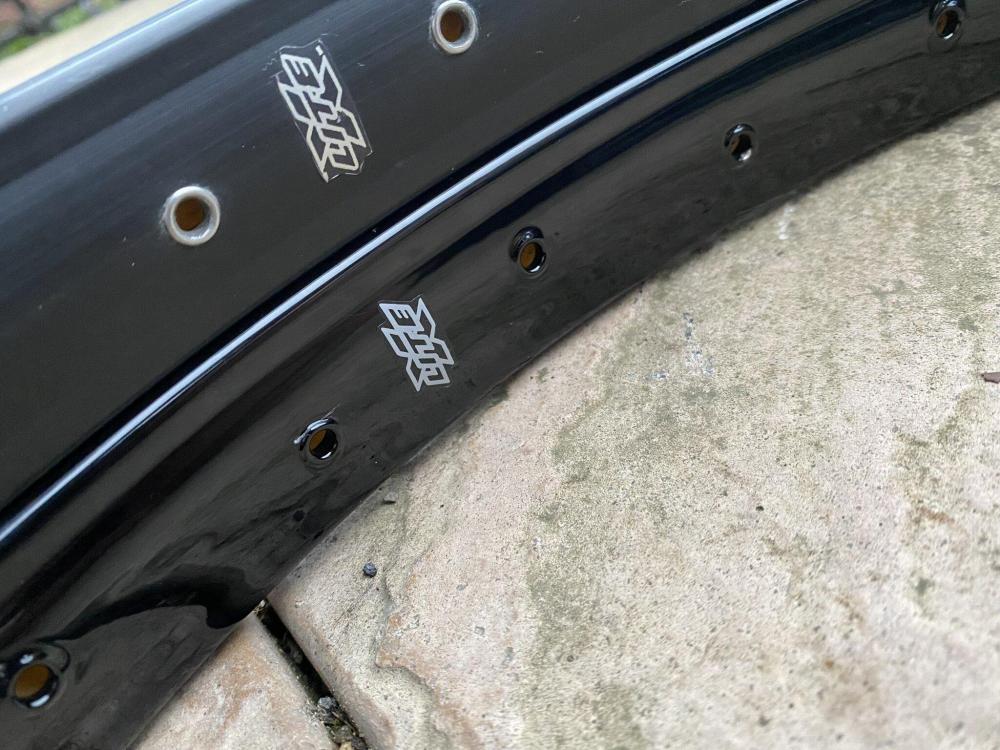
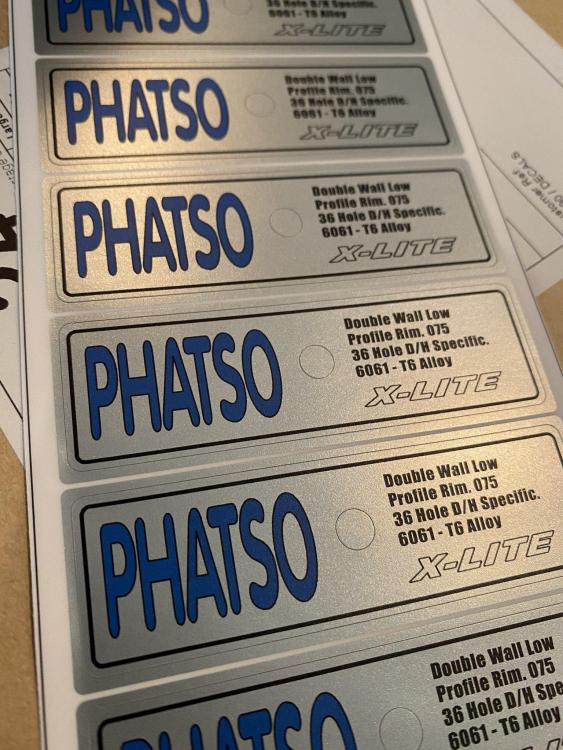
Time to re-create the phatso stickers.
And finally! Not really an update I wanted to broadcast, but I ended up stripping the zero frame completely to be re painted.
Unfortunately I suffer from ocd and a few small imperfections on the frame annoyed me, plus I put a chip in the headtube. The original paint job didn’t cost anything, but the time and effort had already been spent.
Here she is stripped, ready for an acid bath, sand blast and this time, powder coat! I went with powder coating this time as it’s more durable. -
-
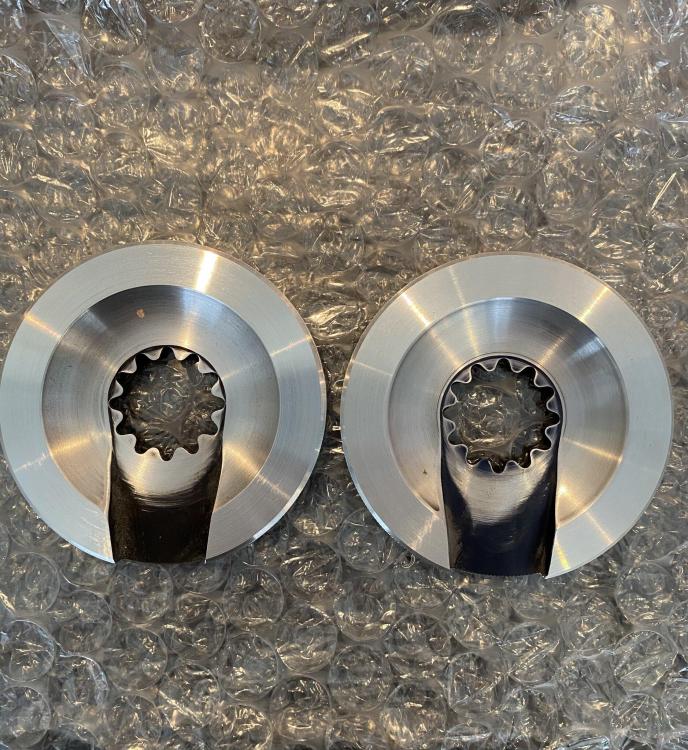
Next part of the project was to have the bash guards anodised with a few other bits.
All the bits rounded up and off they went…….
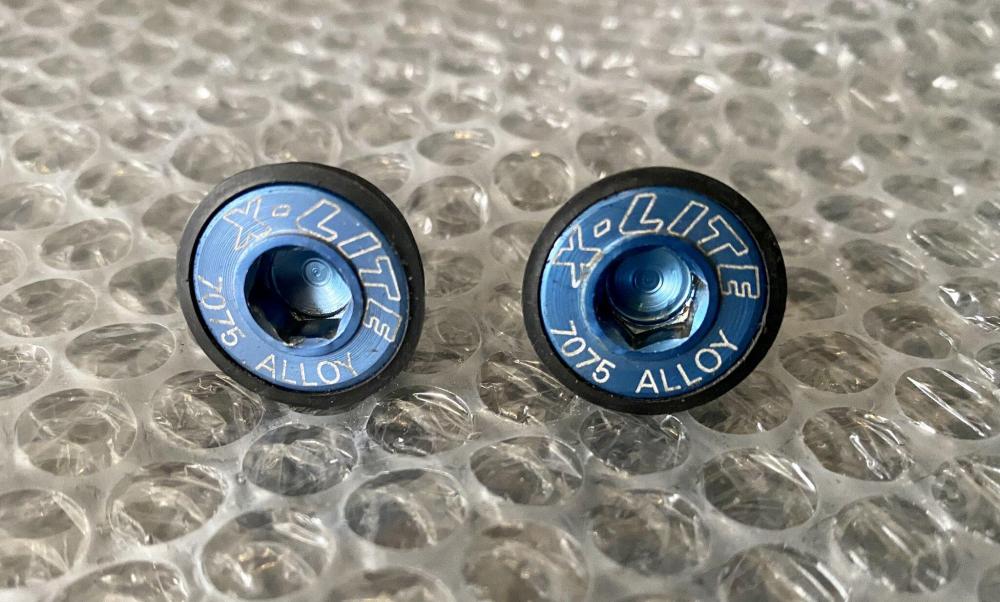
Some VGC x-lite crank bolts had arrived.
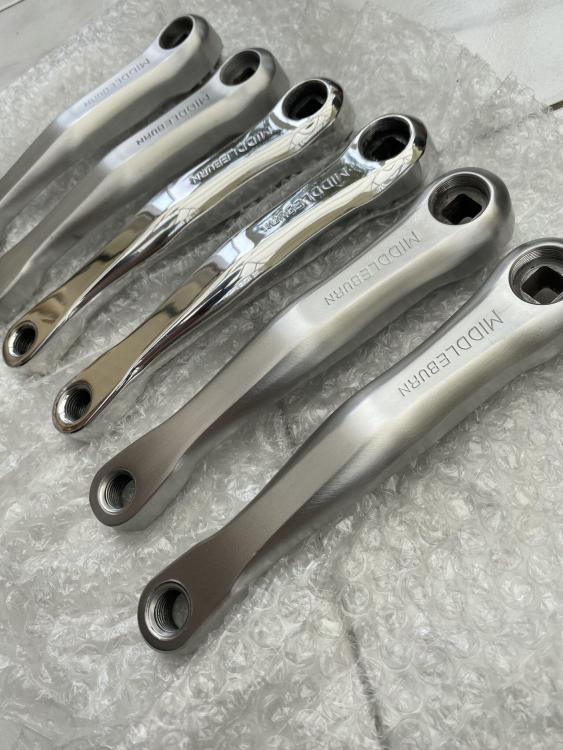
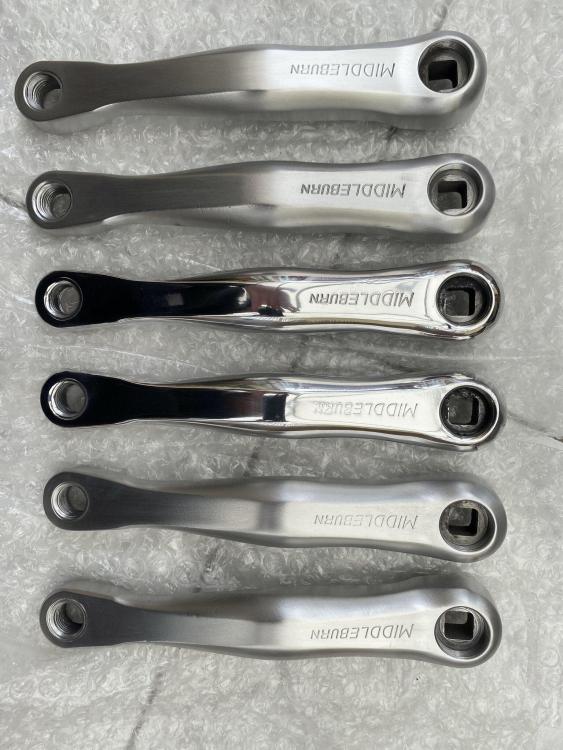
And I finally got the cranks back from being polished. It cost me £50 for all 3 pairs to be polished, I’ll let the pictures do the taking.
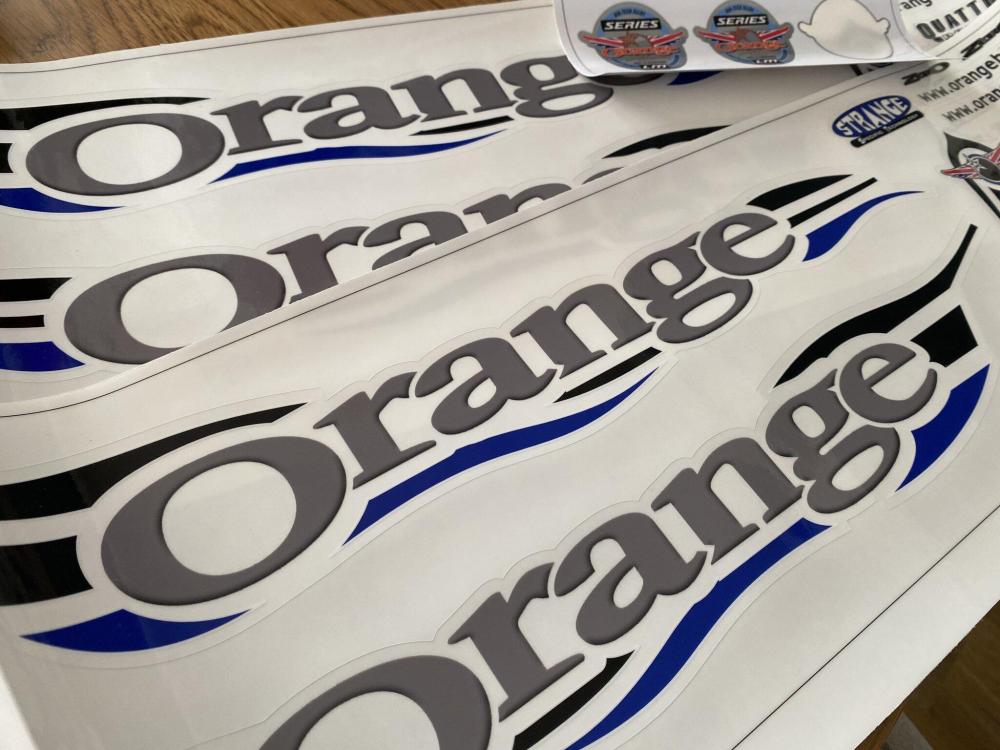
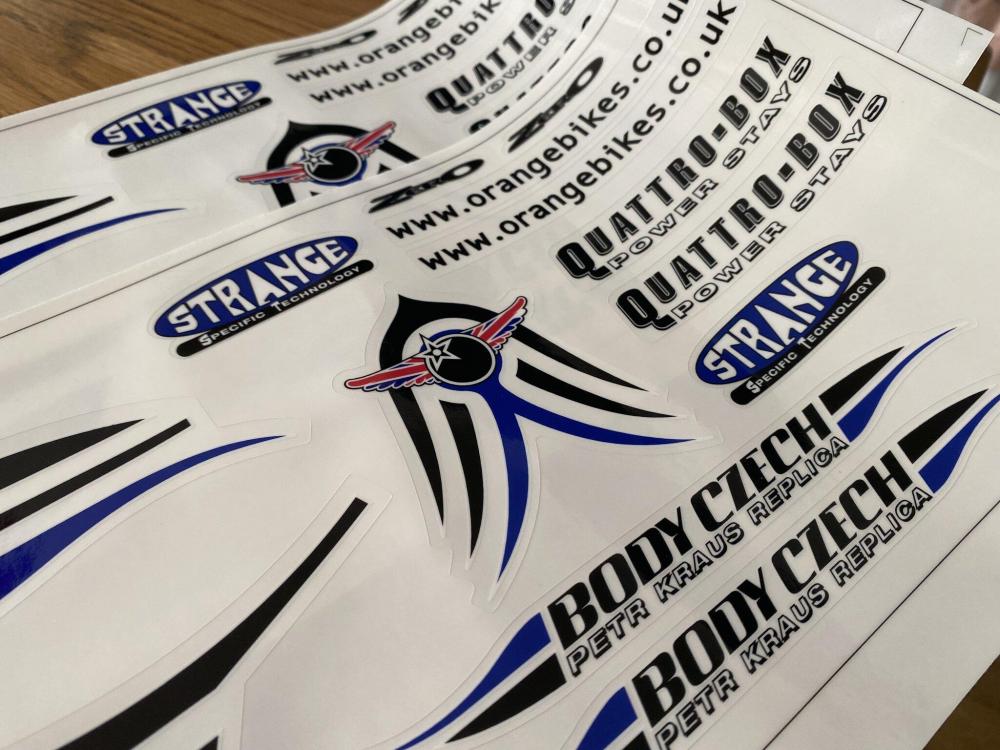
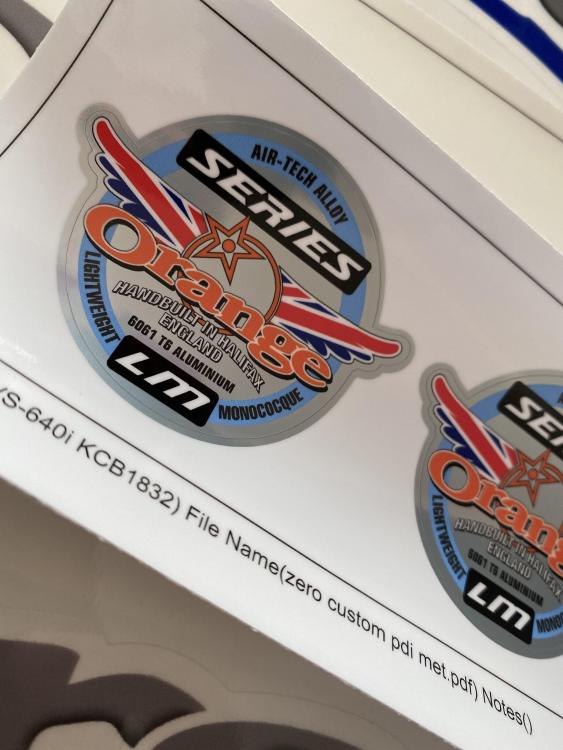
Next step of the project was a tough one. Re-create the original orange zero petr kraus decals. I was very lucky that John over at orange sent me all the original files to have the decals made. He recommended a company and the process began. I think they look amazing.
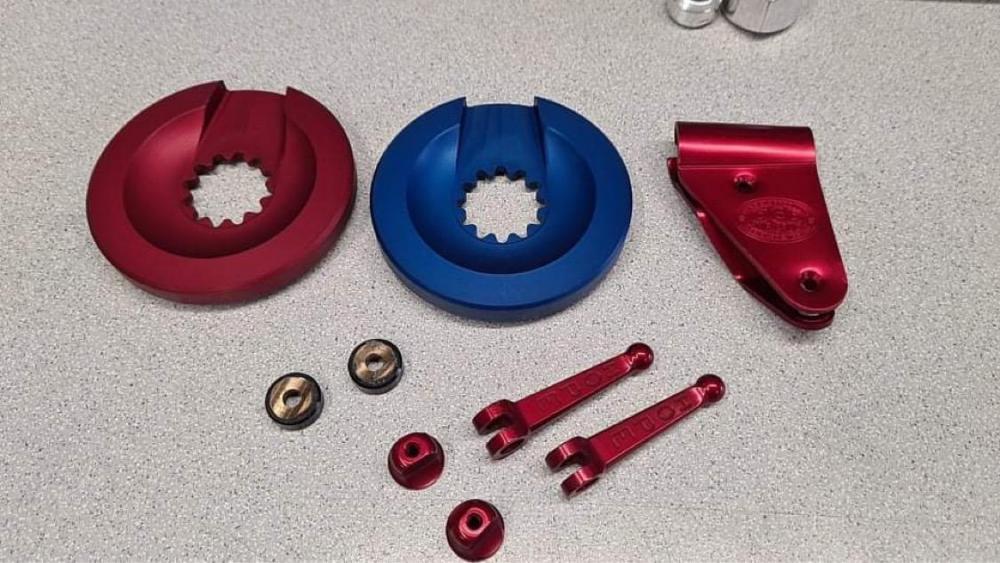
And last but not least, my parts had arrived back from anodising.


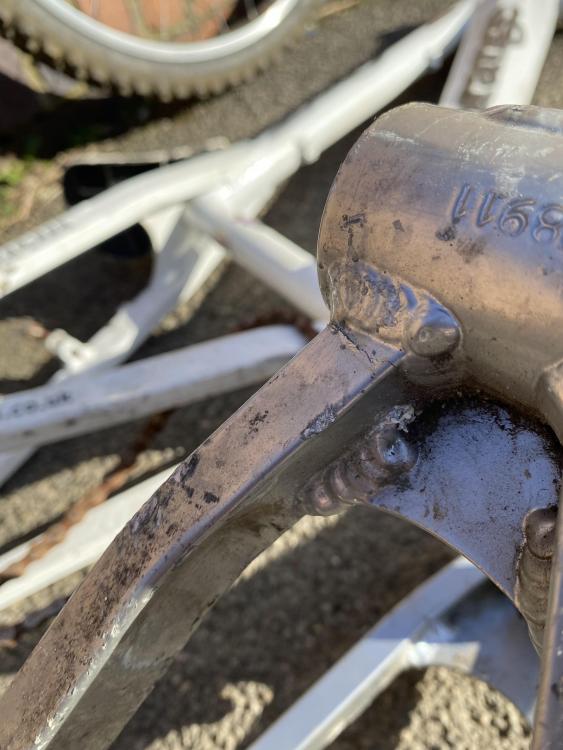
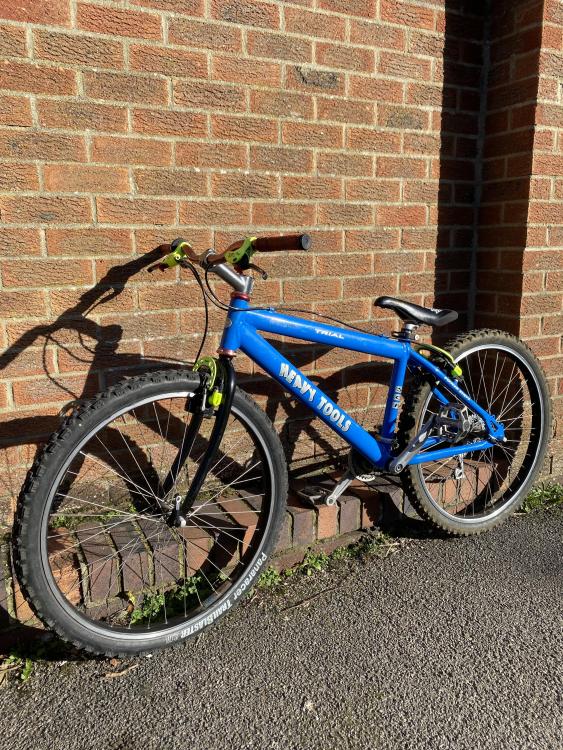
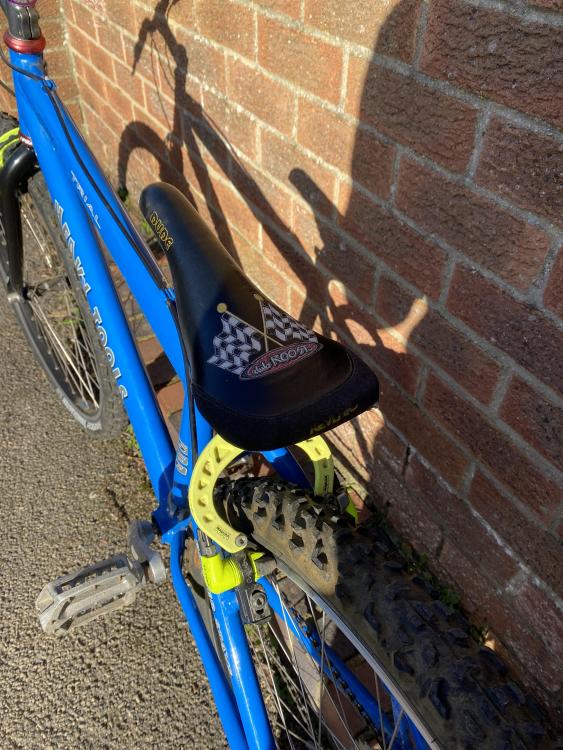
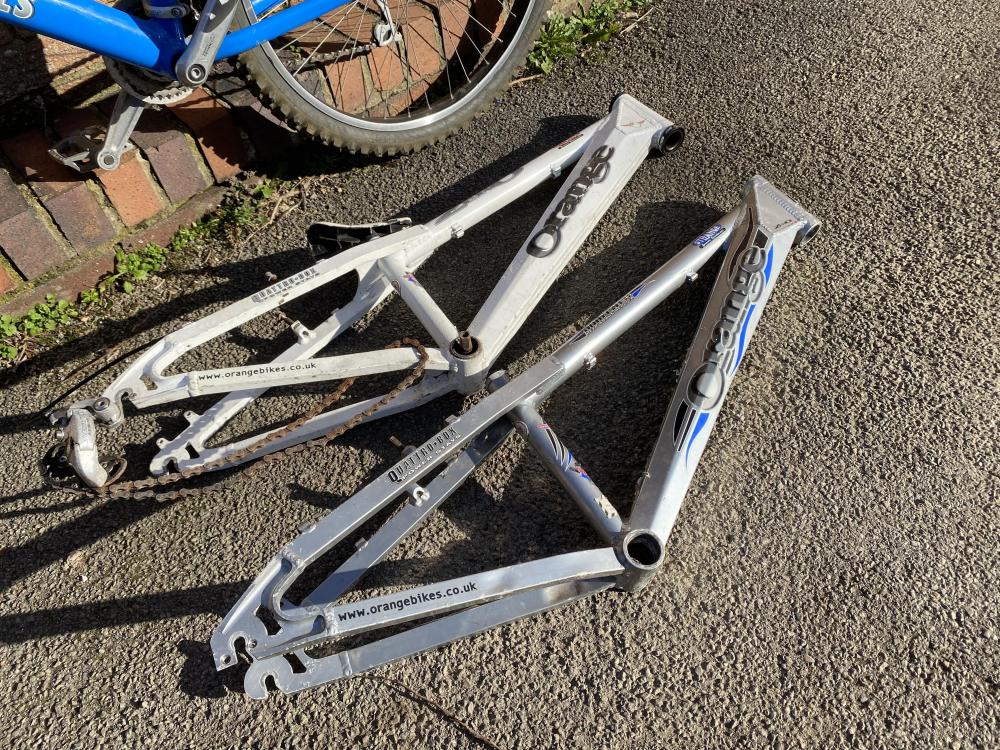
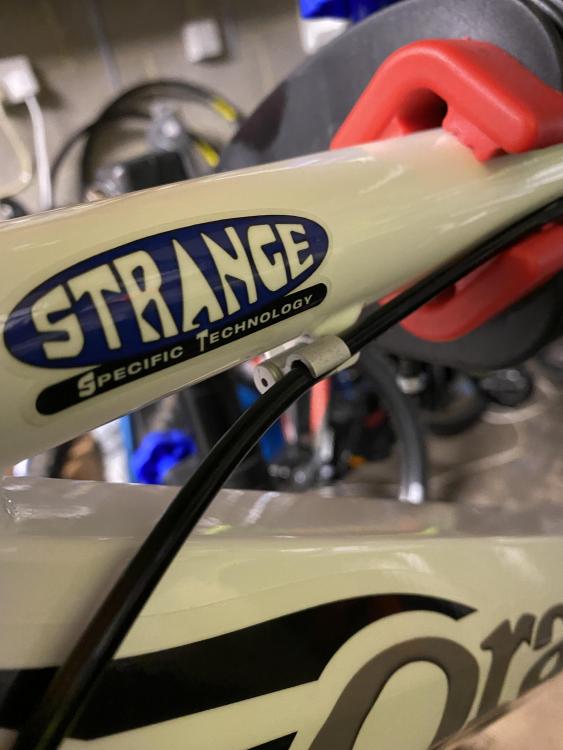
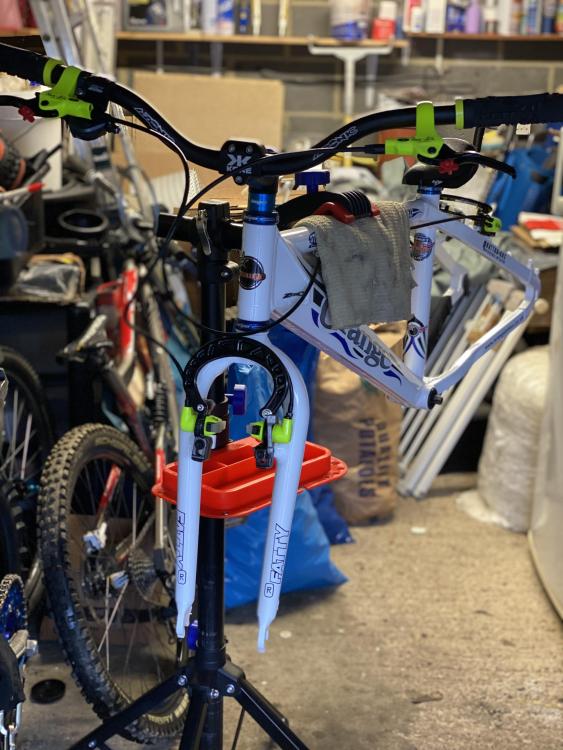
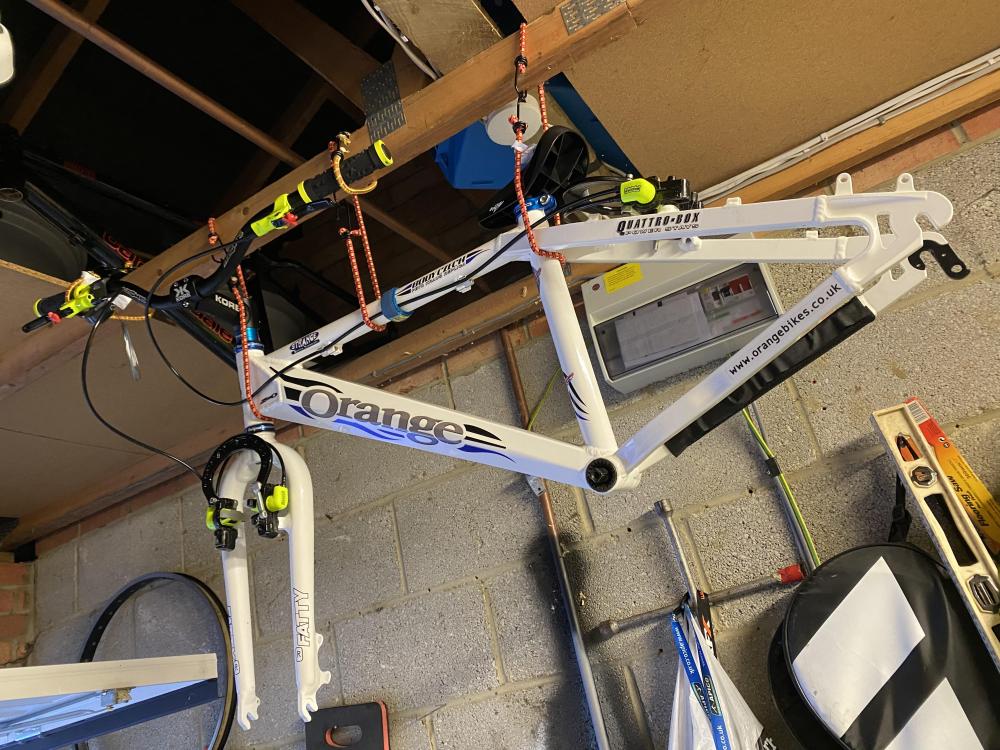
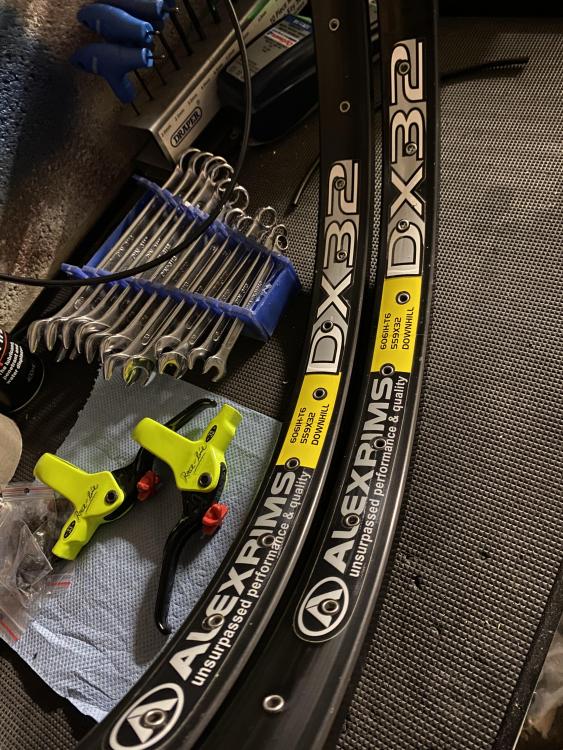
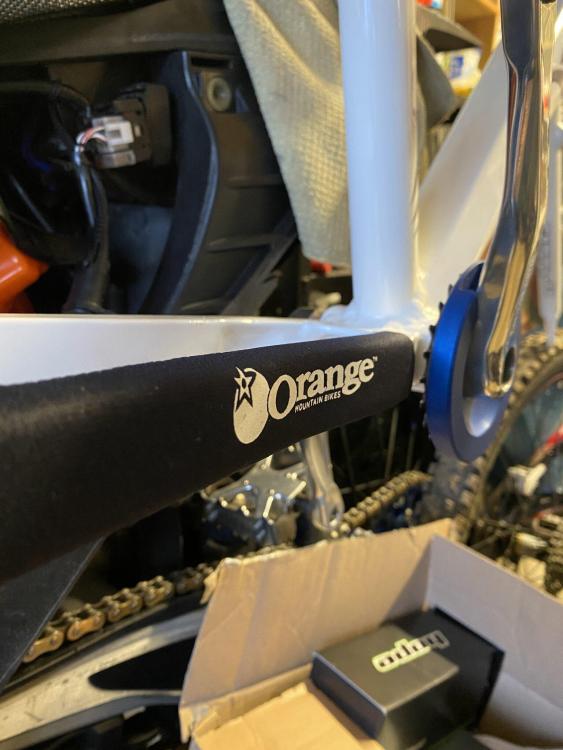
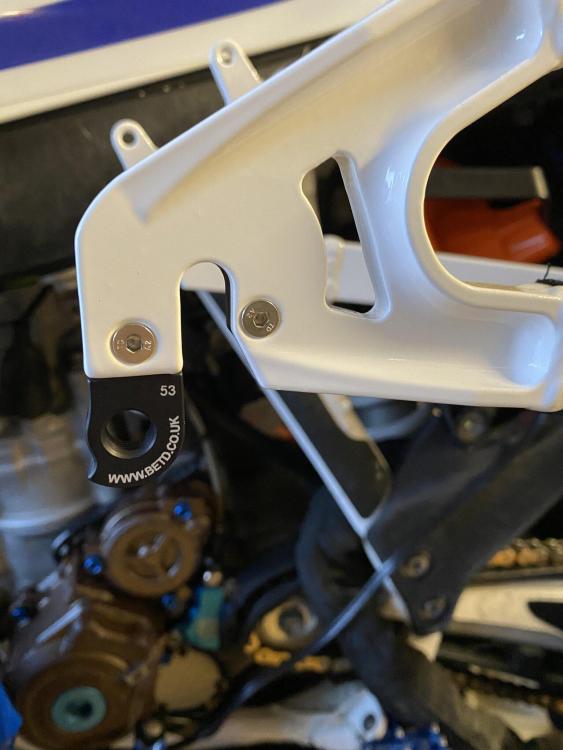
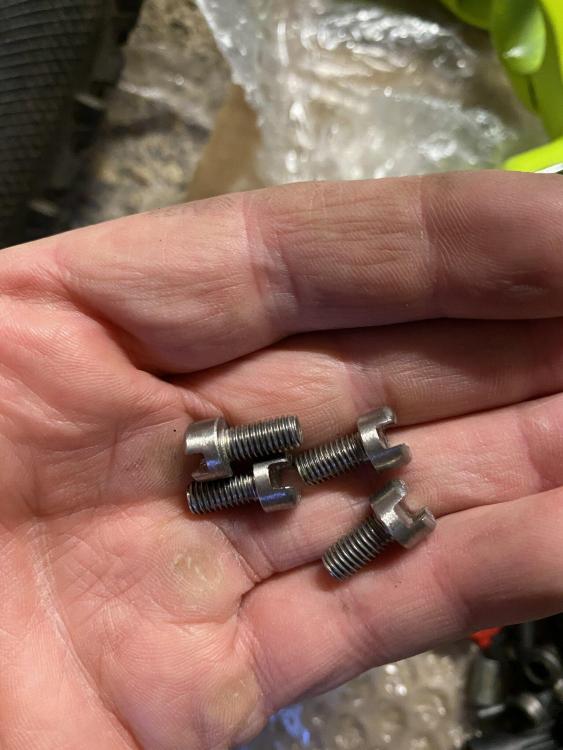
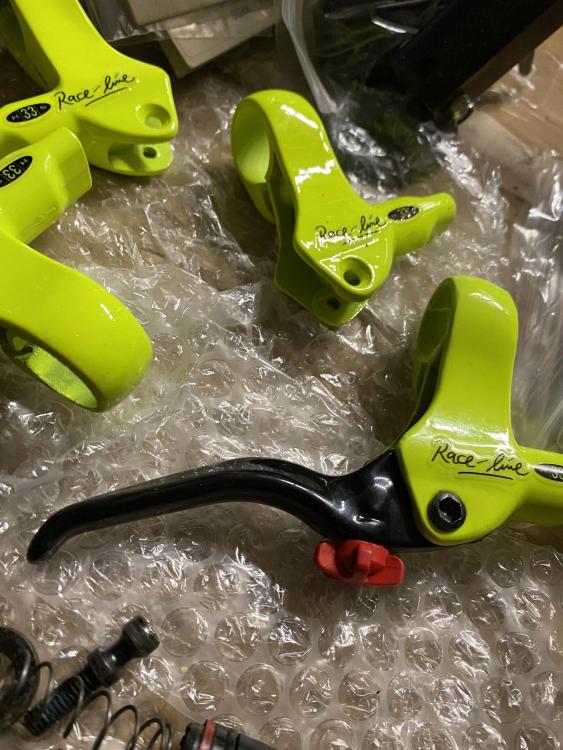
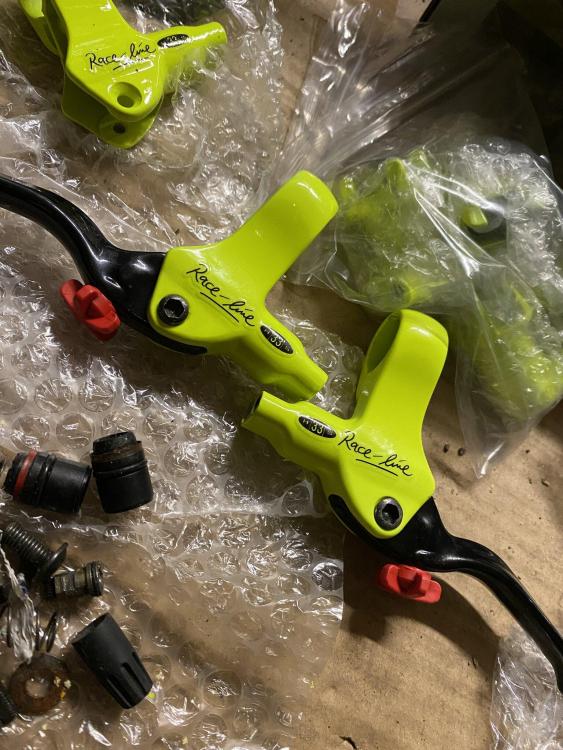
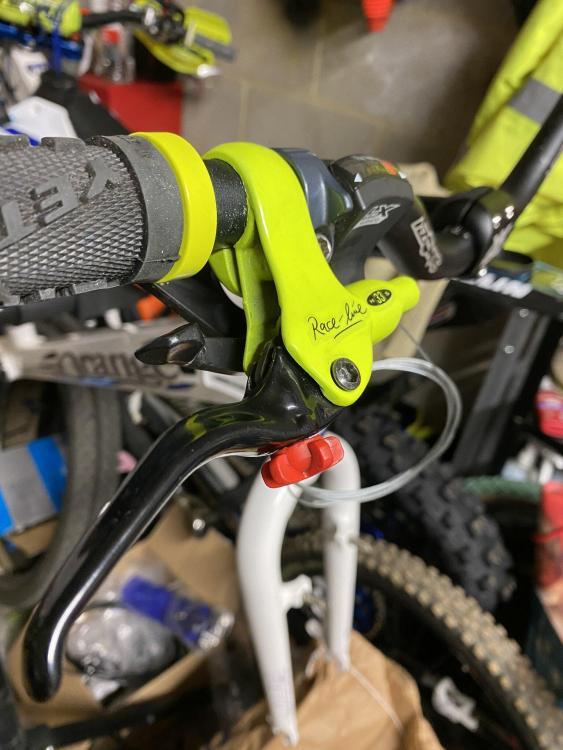
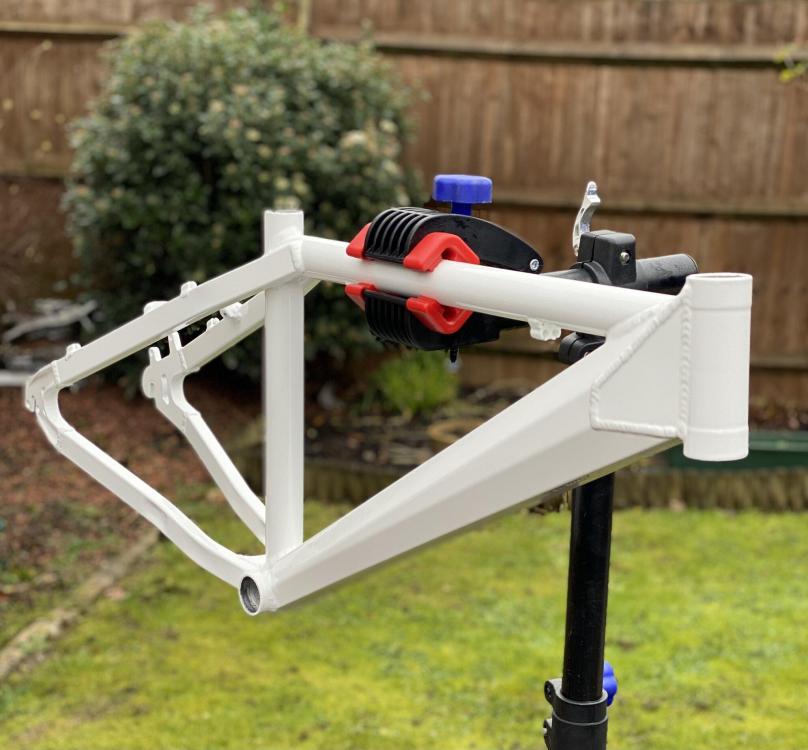
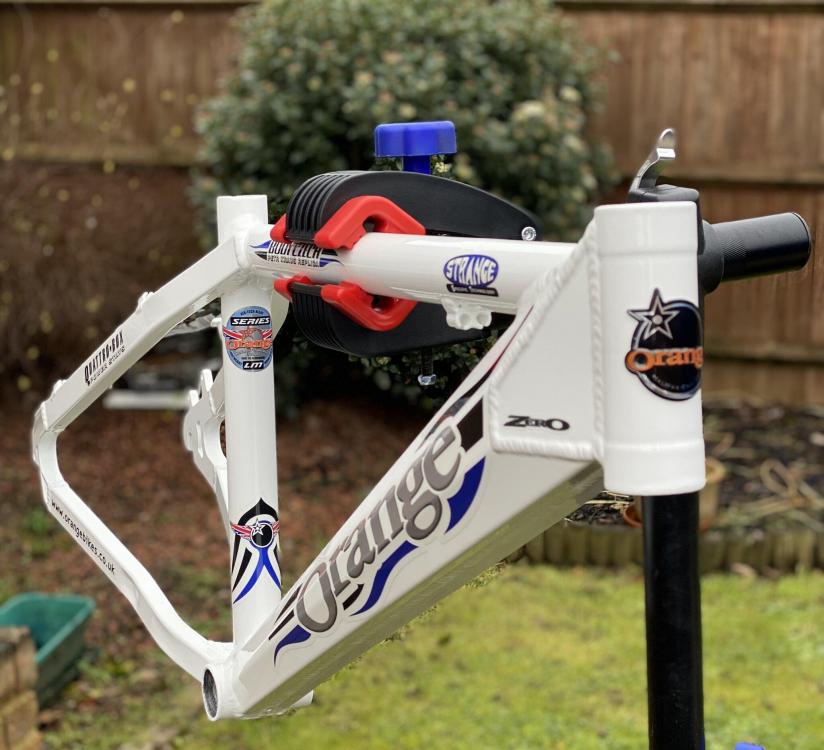
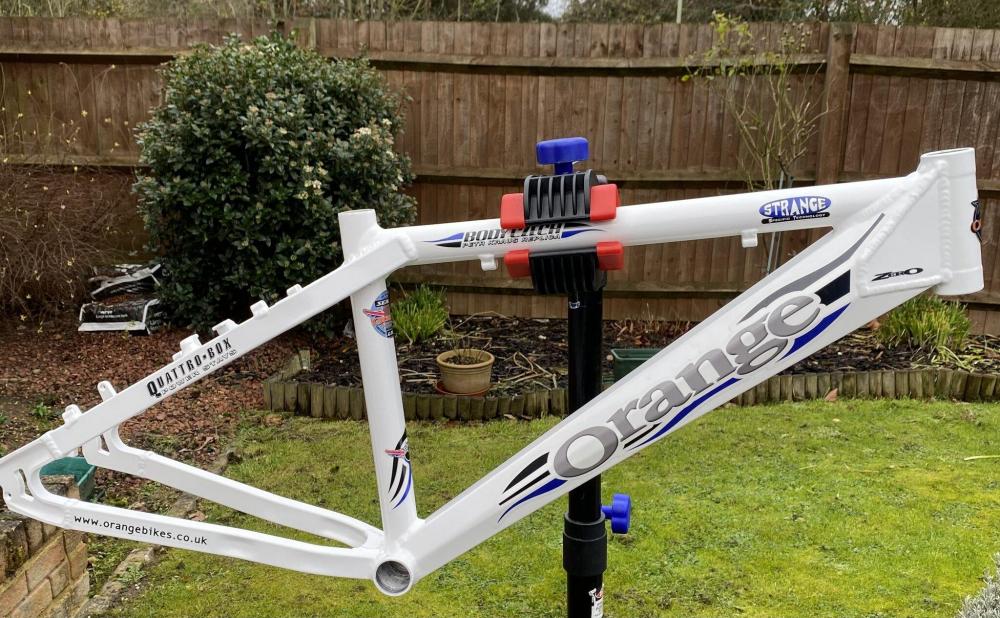
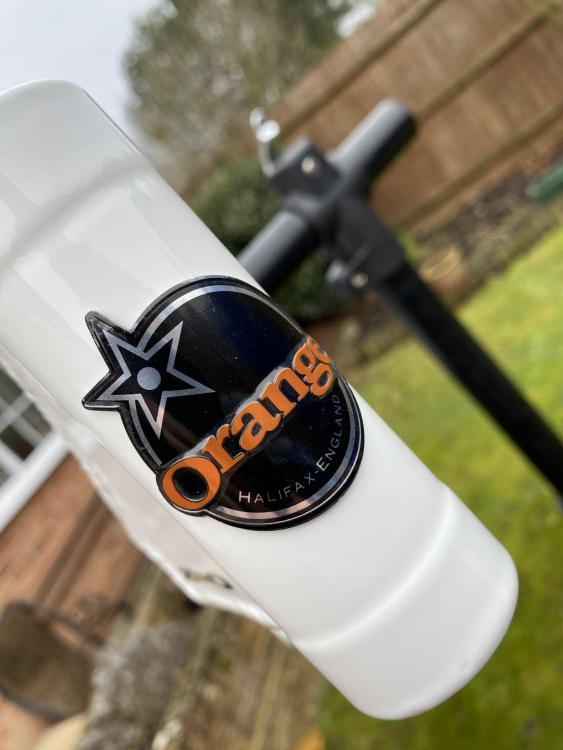
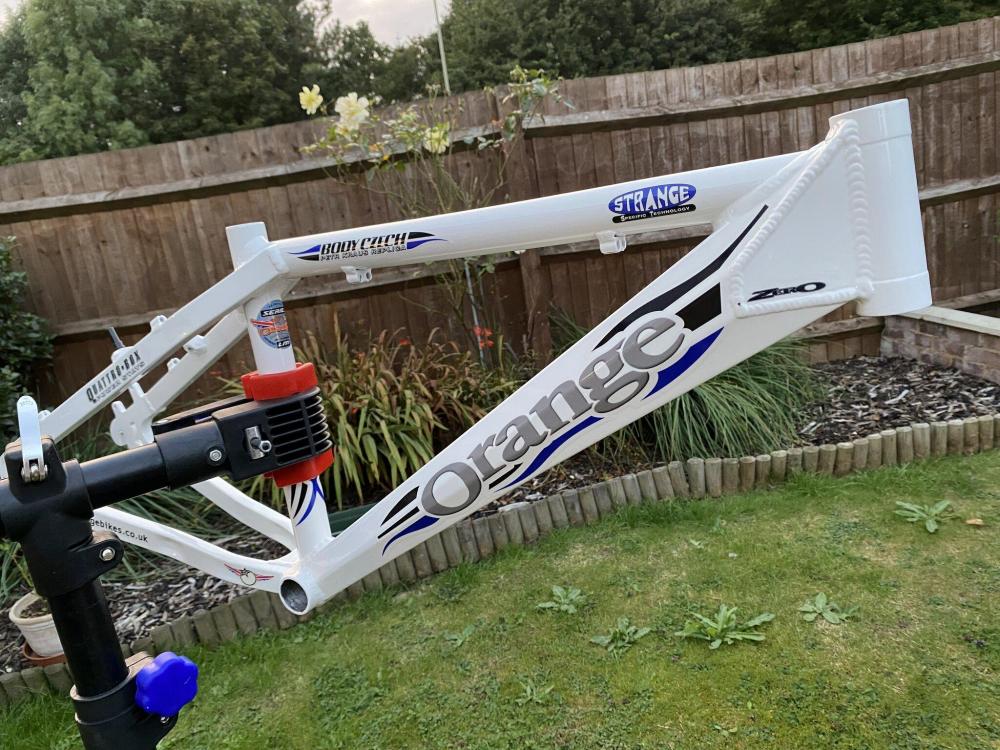
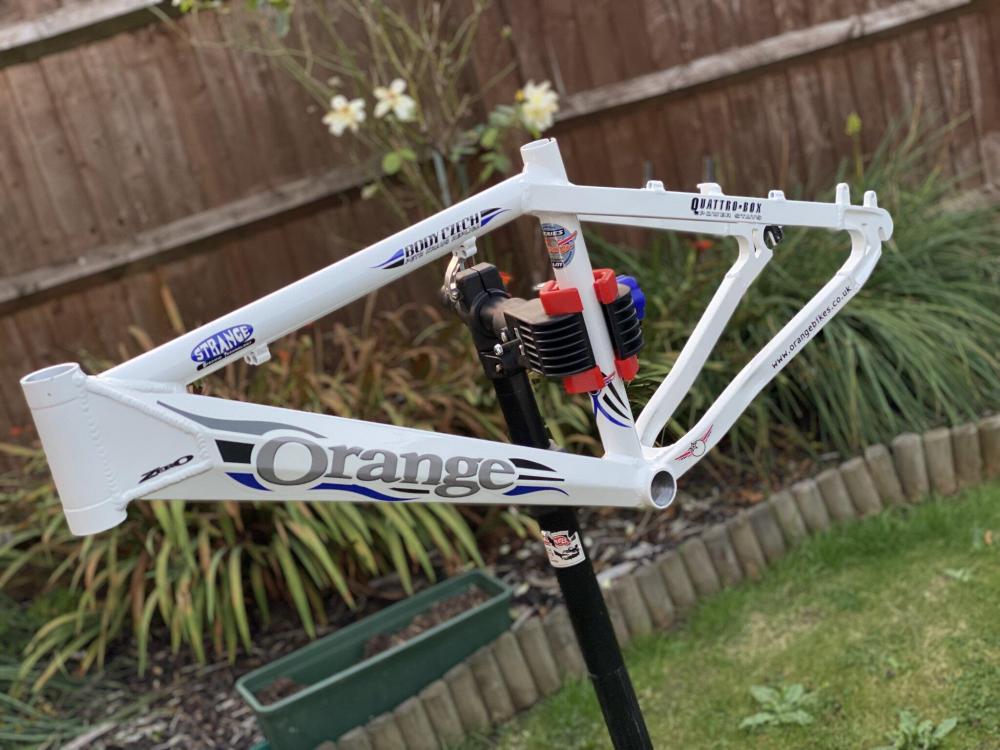
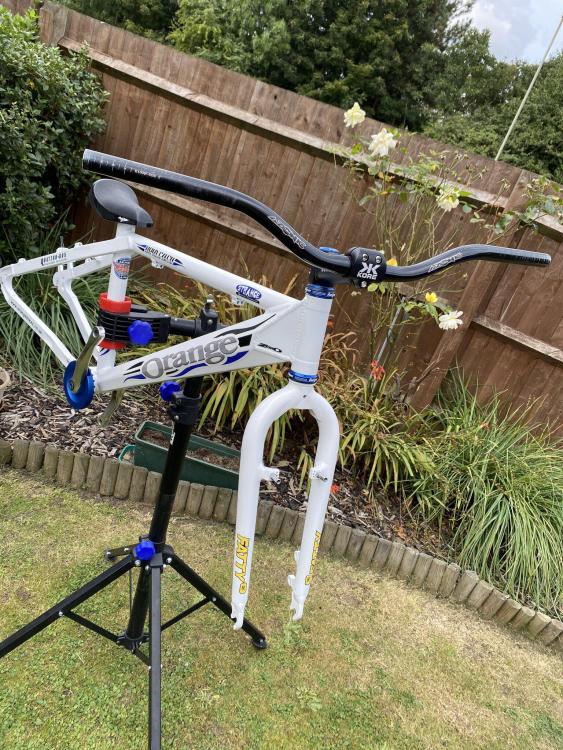
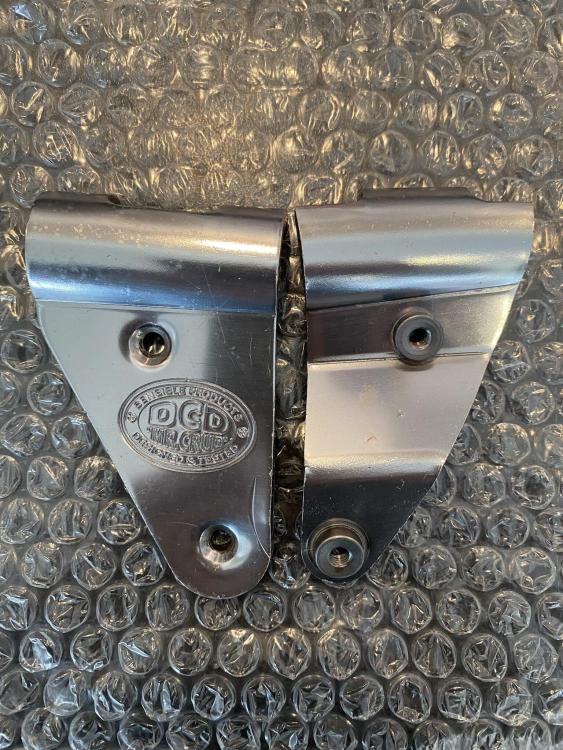
2001 Orange Zero retro trials build.
in Bike Pictures
Posted
Yeah it wasn’t a strong disc mount at all, a lot were snapped in the mk1. They re designed the disc mount on the mk2 frame. The forks look big probably because of the zoomed in photo.
Thanks so much man. The orange has taken a back seat recently. I need to finish it.