


Alex Dark
-
Posts
7712 -
Joined
-
Last visited
-
Days Won
16
Content Type
Profiles
Forums
Gallery
Posts posted by Alex Dark
-
-
11 minutes ago, Luke Rainbird said:
Proper job, Alex. Some lovely repair work going on there. As always, envious of your workshop access and skills to get involved
")
As always much appreciated Mr Rainbird
") Hows the new LCR? The best colour....still fancy a PD FR
Hows the new LCR? The best colour....still fancy a PD FR
-
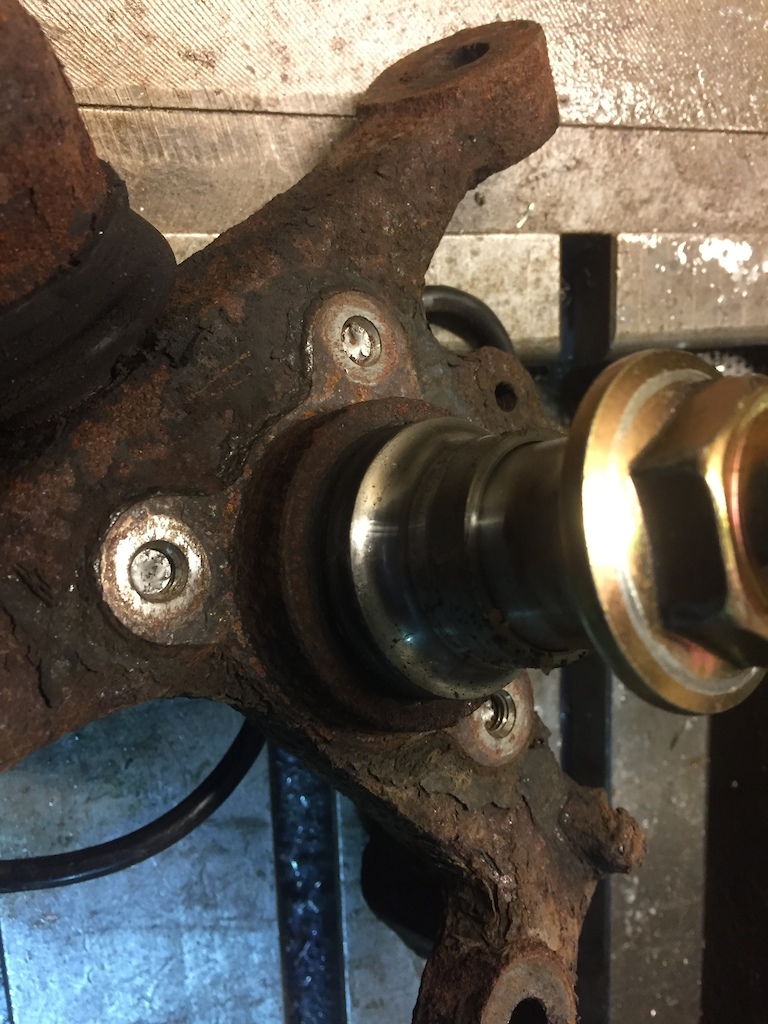
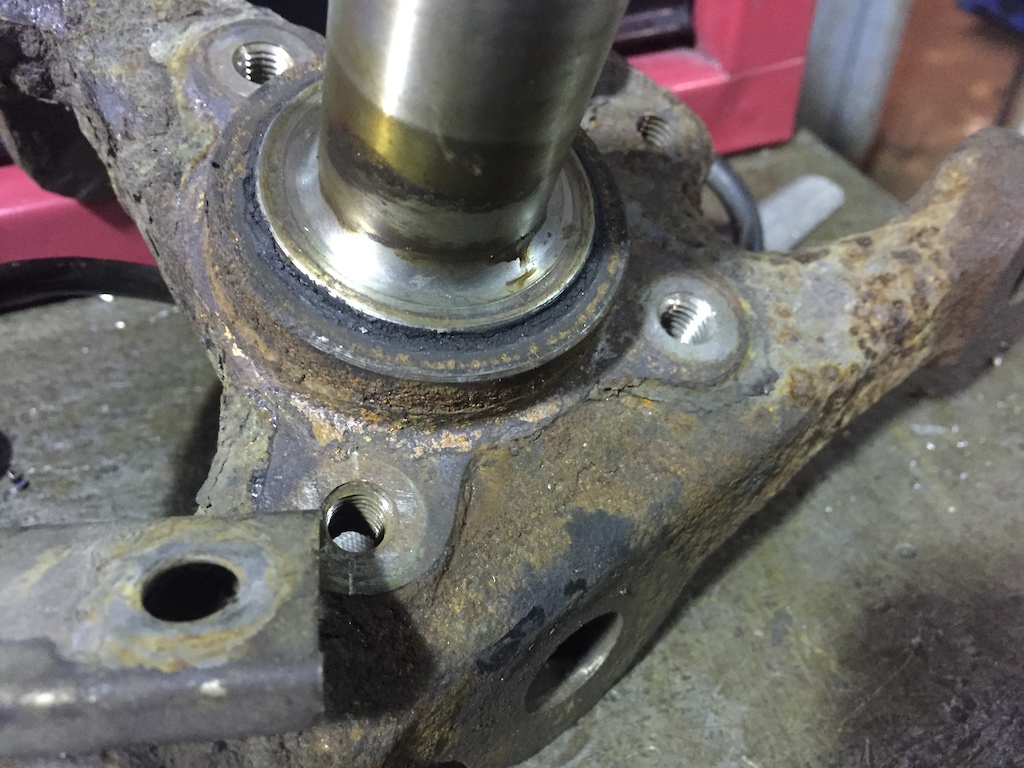
Had a fun distraction in the form of every bolt for my disc shields / abs sensors in the front hub snapping. Cue some inventive fixturing, a couple of carbide endmills and an m8 tap and I had all the threads recovered.
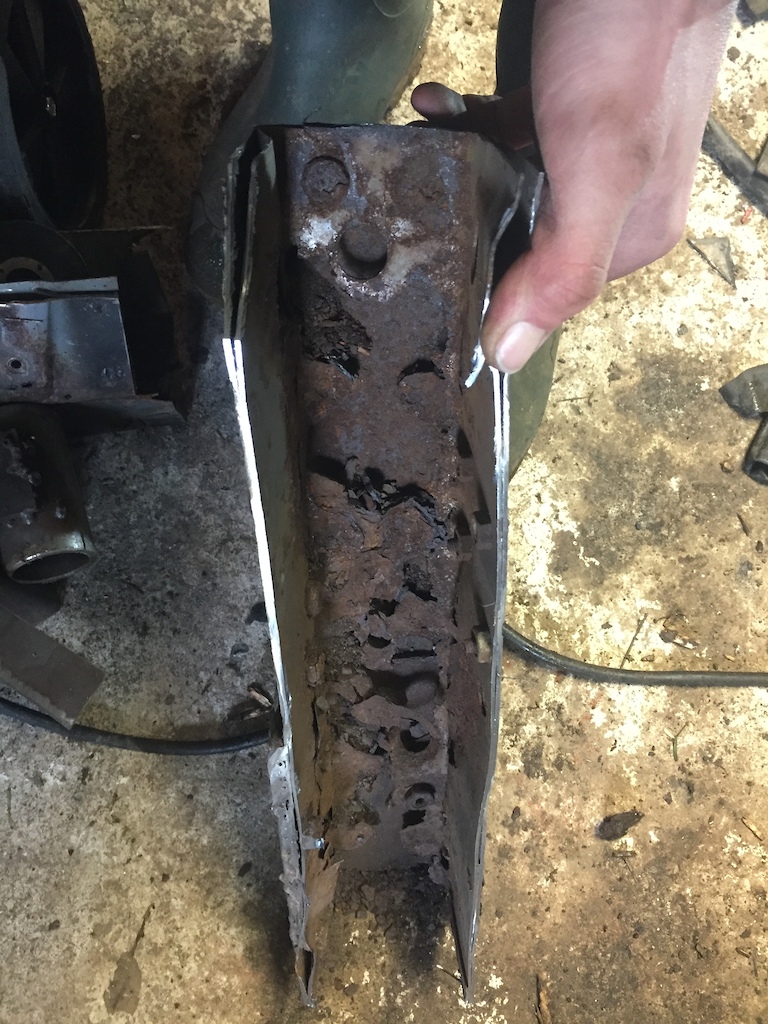
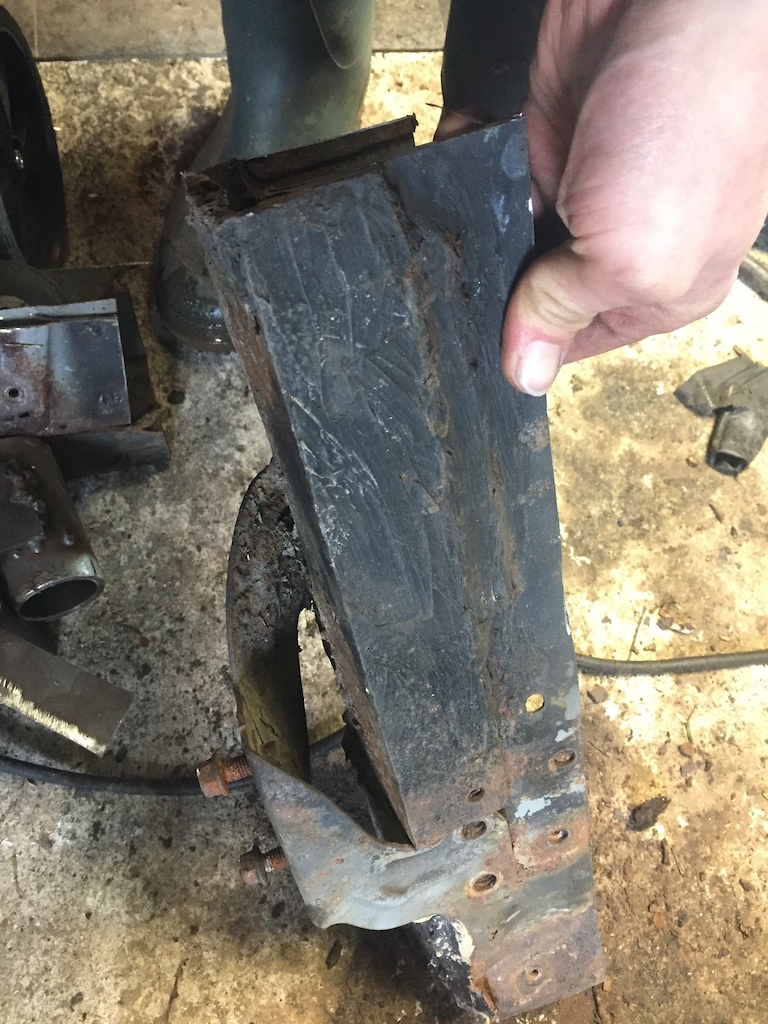
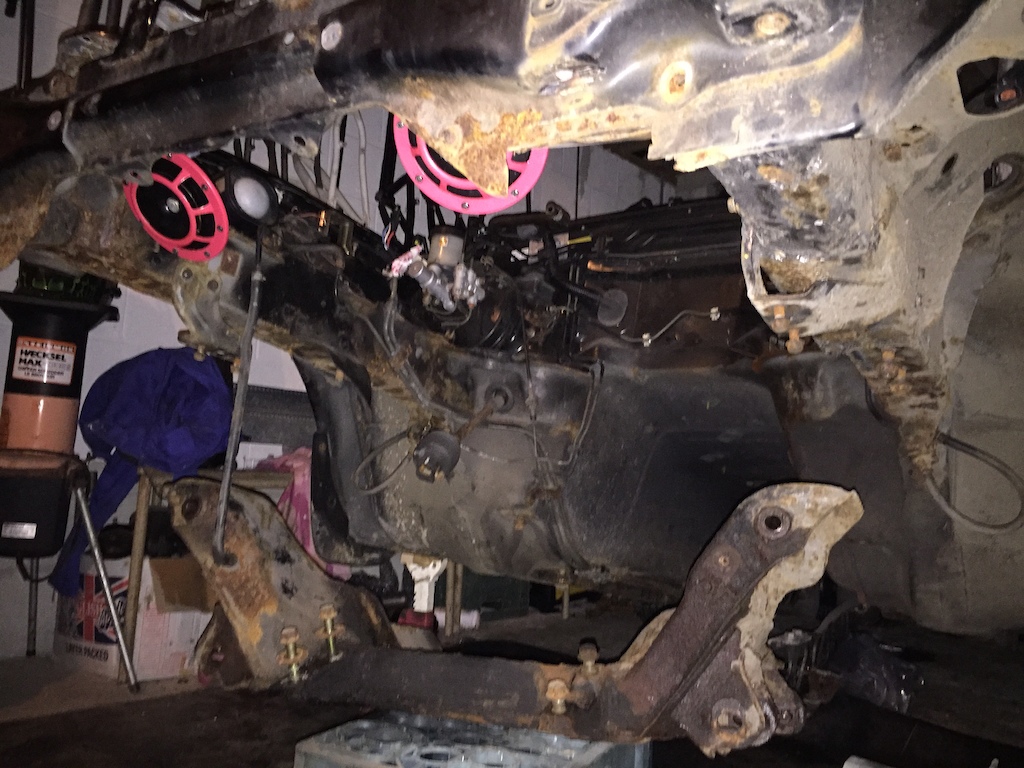
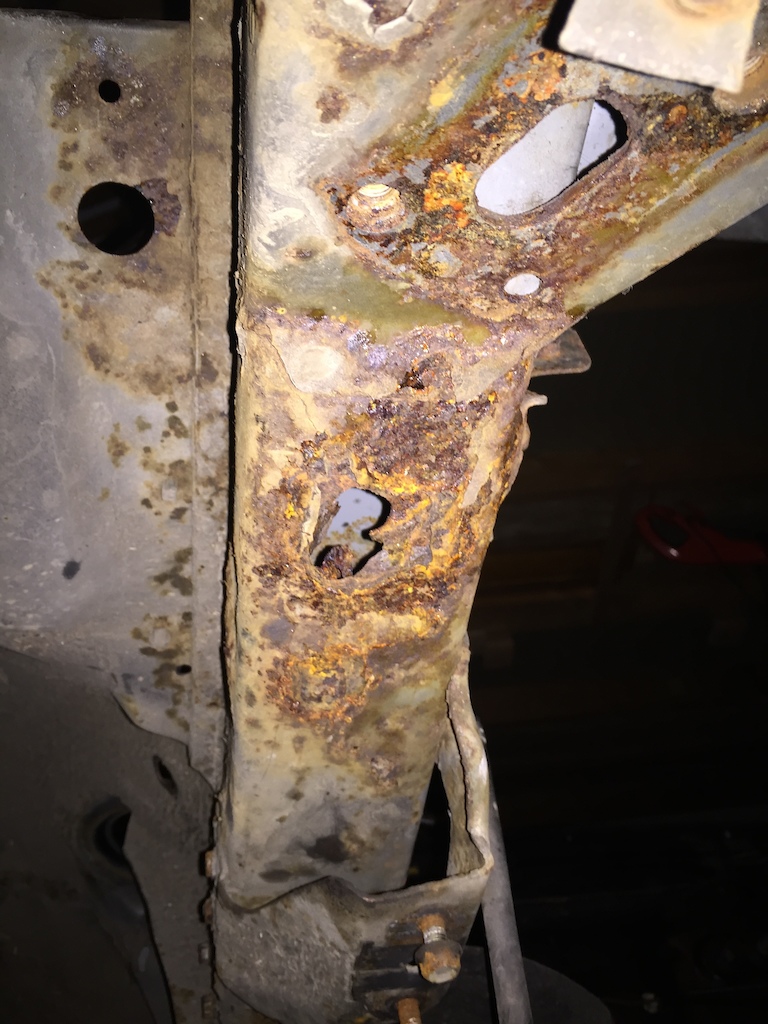
Started the job of cutting the old rails out to see what I was working with. Used the drivers side that hadn't been previously repaired.
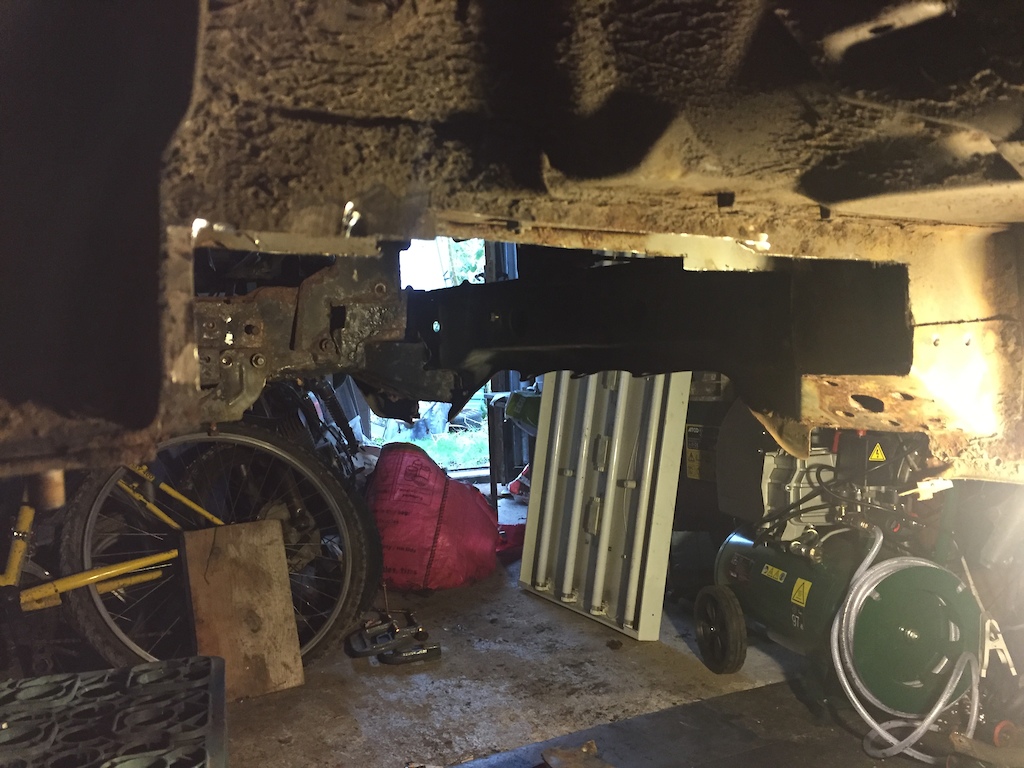
Turns out the rail had blown out so far it was unreal. You can see on the side where its rotted right the way through.
Picked up some box section £11 for both sides, over length by 100mm! Chopped one to size and did a trial fit. Unfortunately when speccing the box section I measured it at 90mm on the width ( I'd measured a section that was blown out clearly ) so cut 85mm up from the bottom.
When I remeasured the internal width and added the wall thickness I realized it was actually only 80mm square! Leaving me with a small gap at the top to fill
 What a bellend.
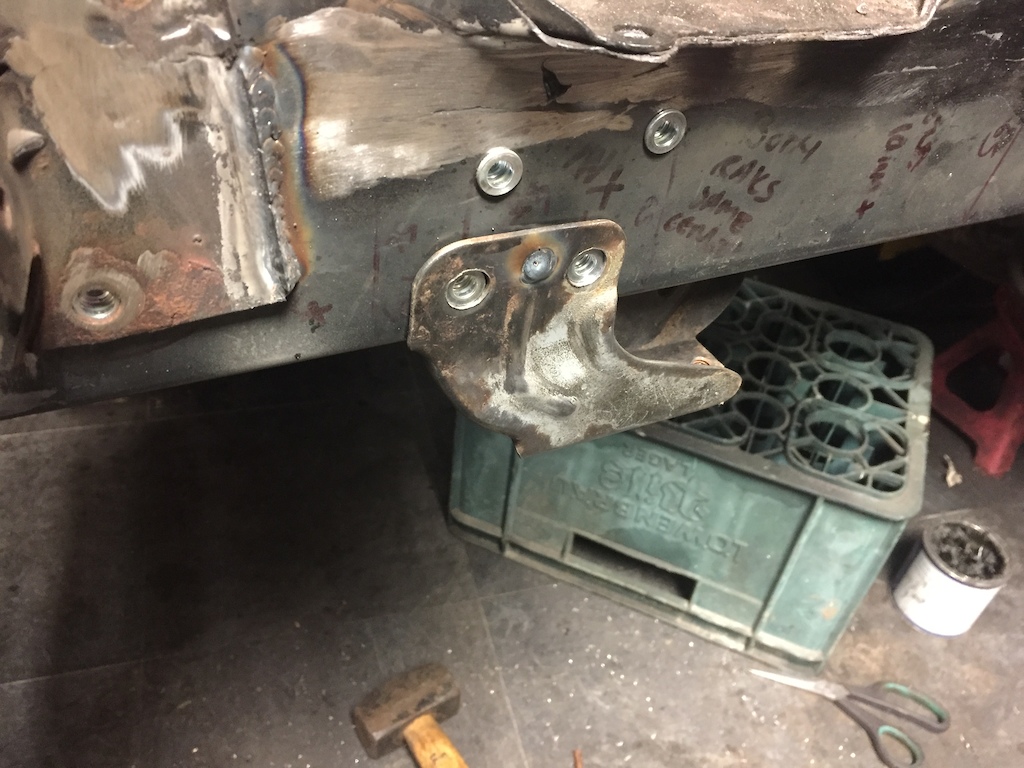
I decided to take out the maximum amount of material easily possible, and went from the very edge of the subframe mounting plate ( So I could weld into this thicker circa 6mm material ) right along to the gusset that reinforces the slam bar at the front ( cut off the spot welded tabs and welded directly onto this ) Rail length was around 570mm each side.
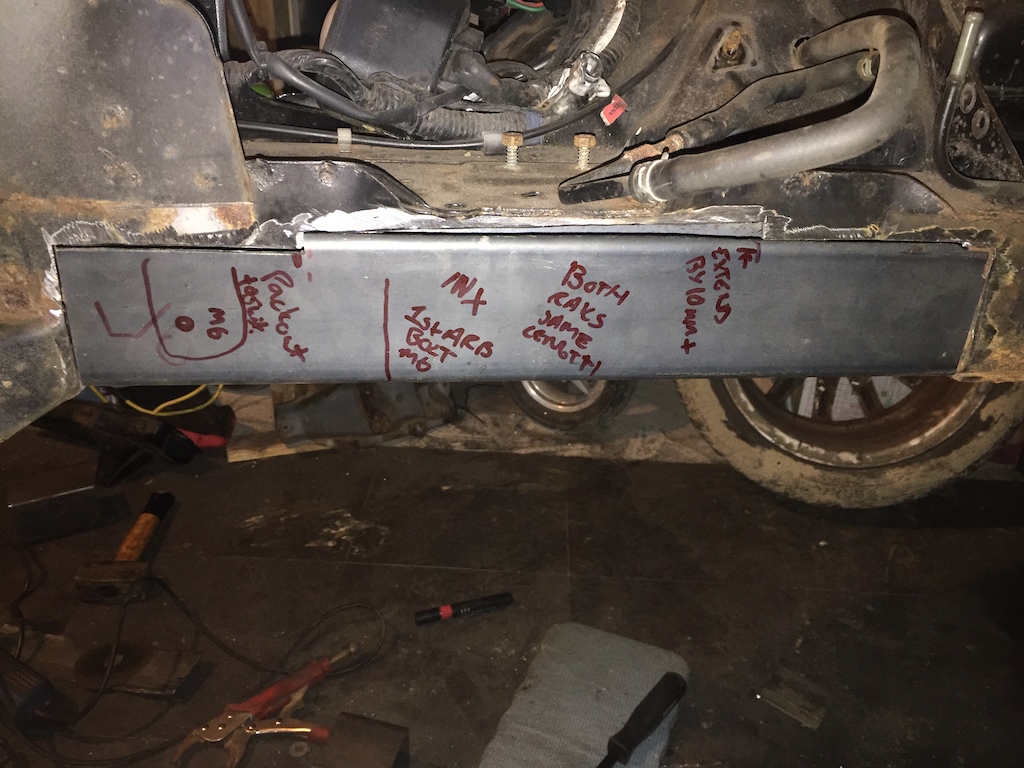
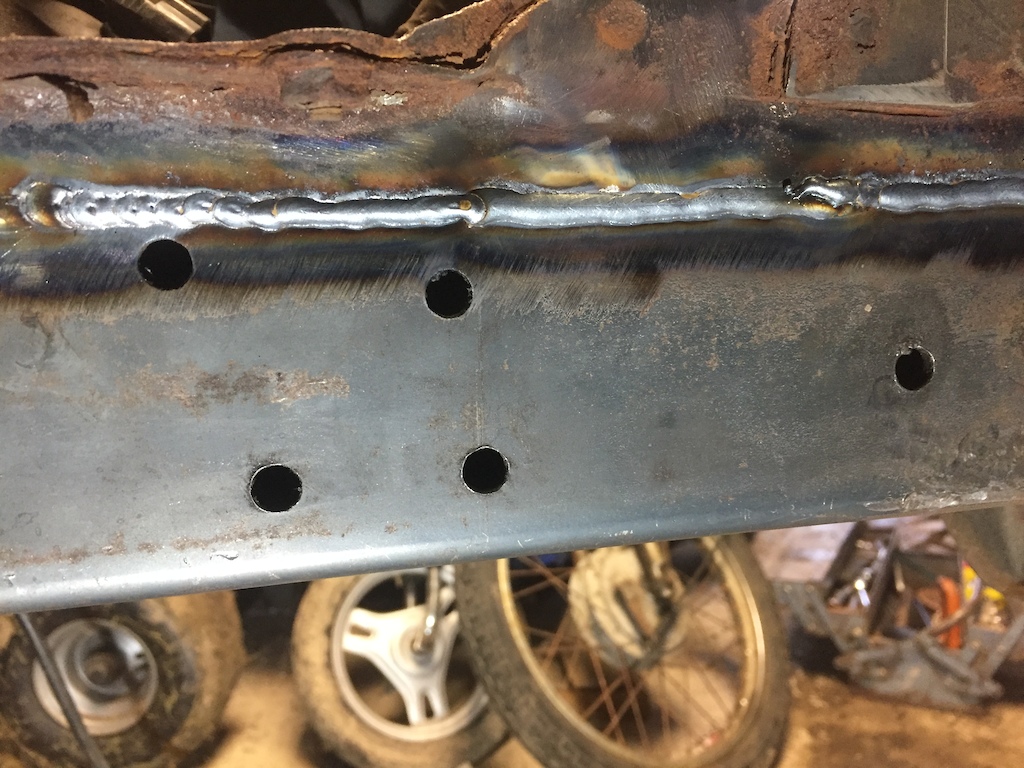
Drilled all the holes on both pieces of box on a mill at work using the old rails as a guide; remembering of course that the passengers is the mirror image of the drivers +/- a few mounting holes.
I needed to shape the box into more of a Vee shape, so chopped the top and used a car jack to widen the top width ( |__| to \__/ )
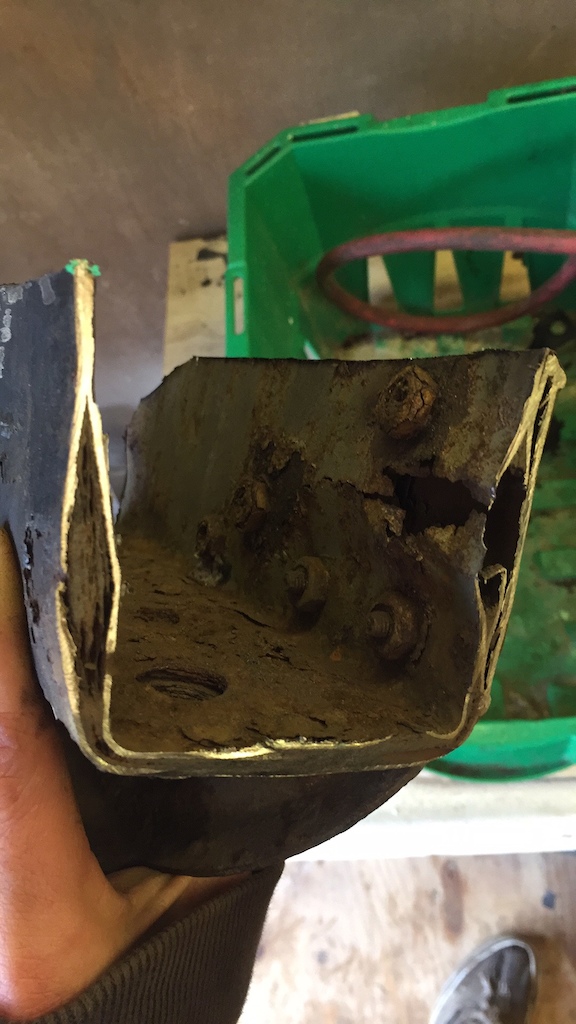
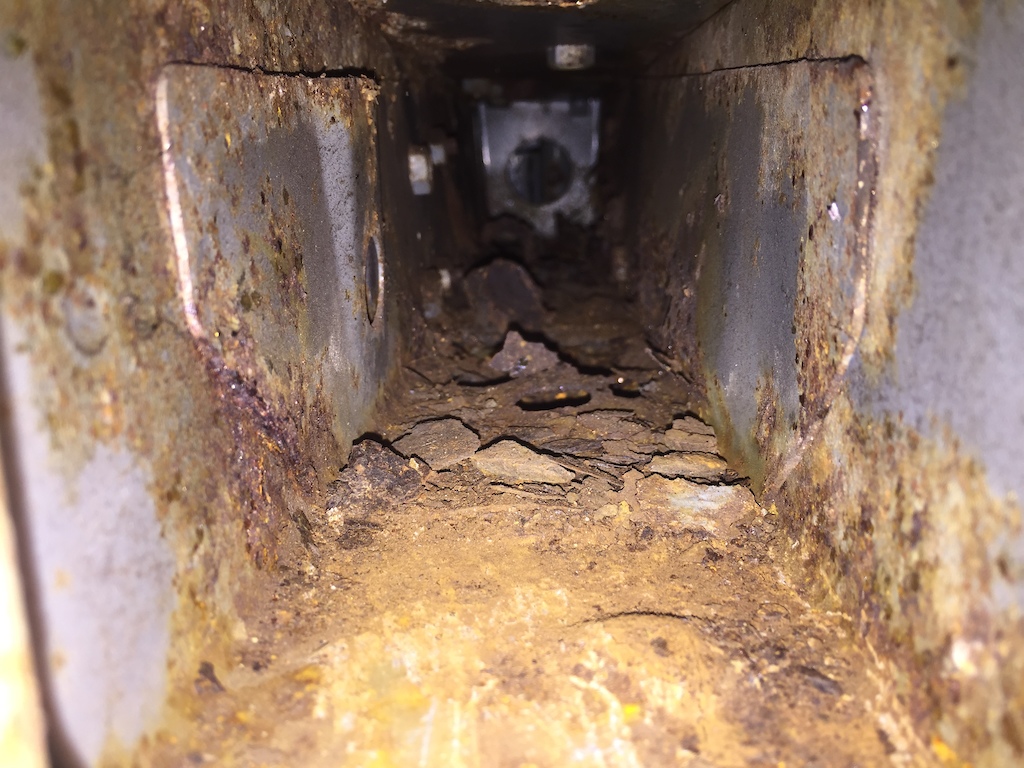
Rot inside the passenger side.
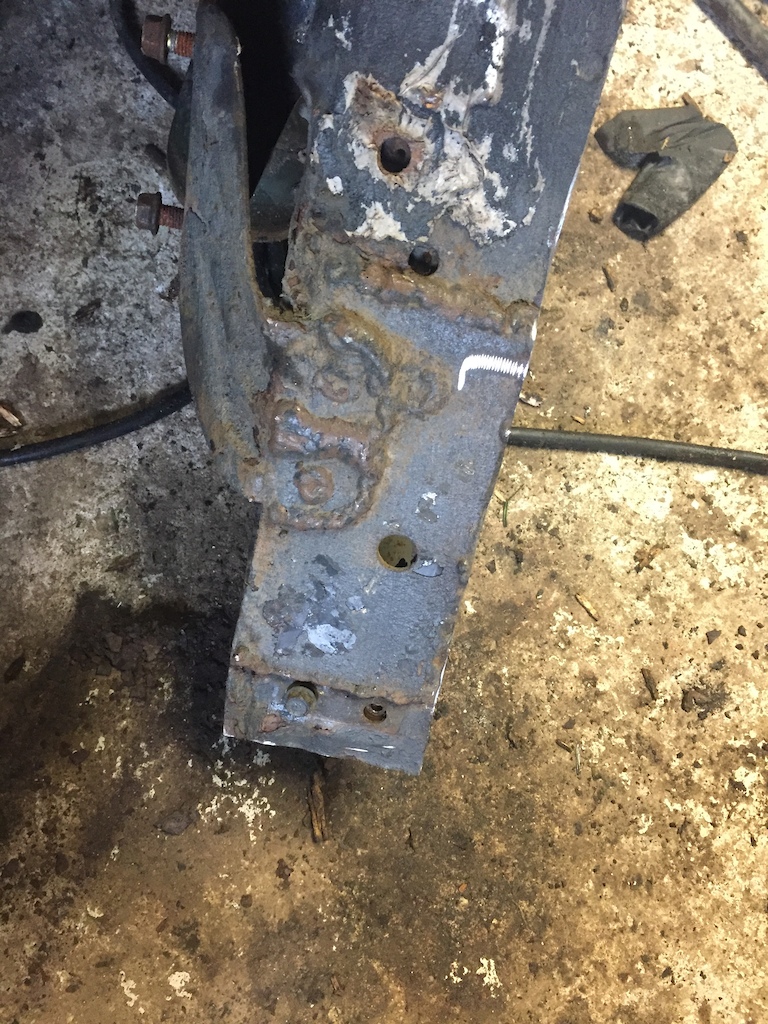
Chopped the passenger and found an even more delightful sight, with some lovely previous repairs.
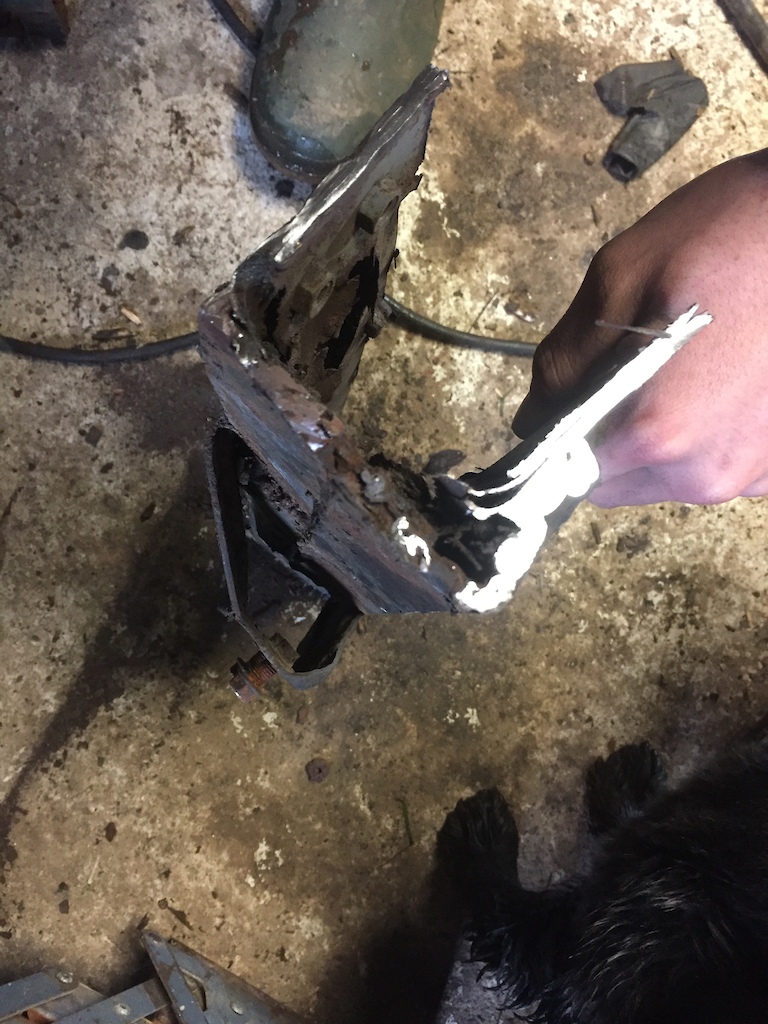
Proper abortion of a repair, plates and angle iron here there and everywhere with the ARB bracket welded on every face possible
Out with the old and in with the new. Originally planned on replicating all the holes, bolting nuts to the inside and welding these into position. Got convinced to give rivnuts a try and can say I'm converted ! They look super clean. After welding the OEM brackets back, and drilling the ARB brackets to accept the larger rivnuts it all looks proper.
Got busy with the melty stick:
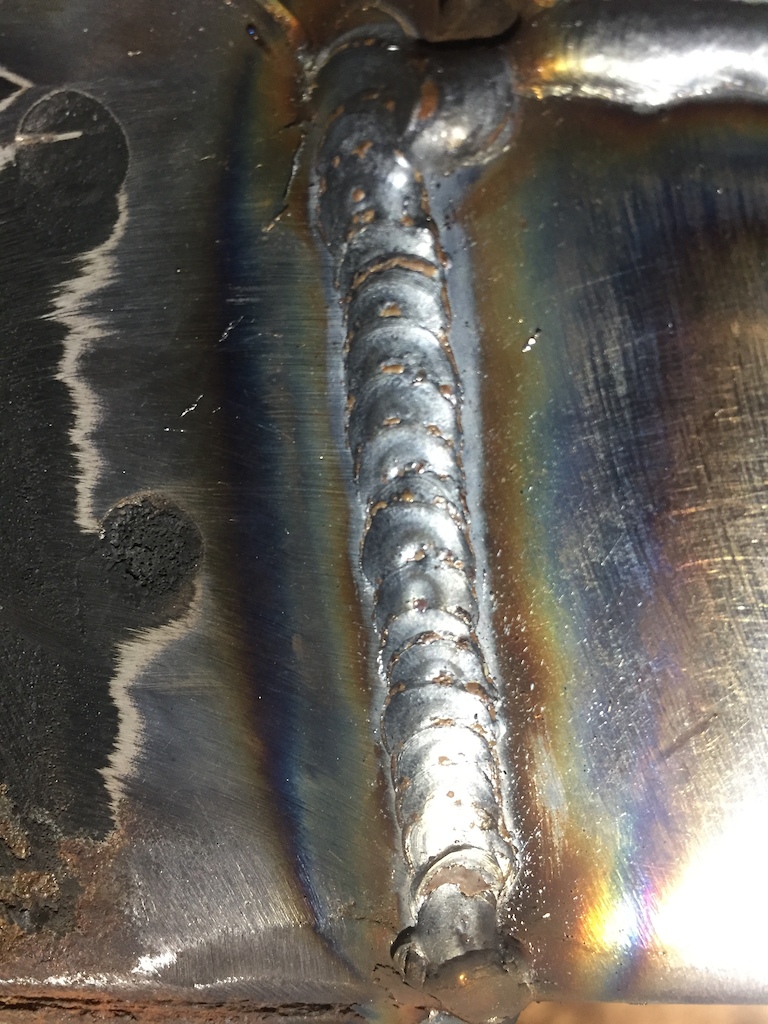
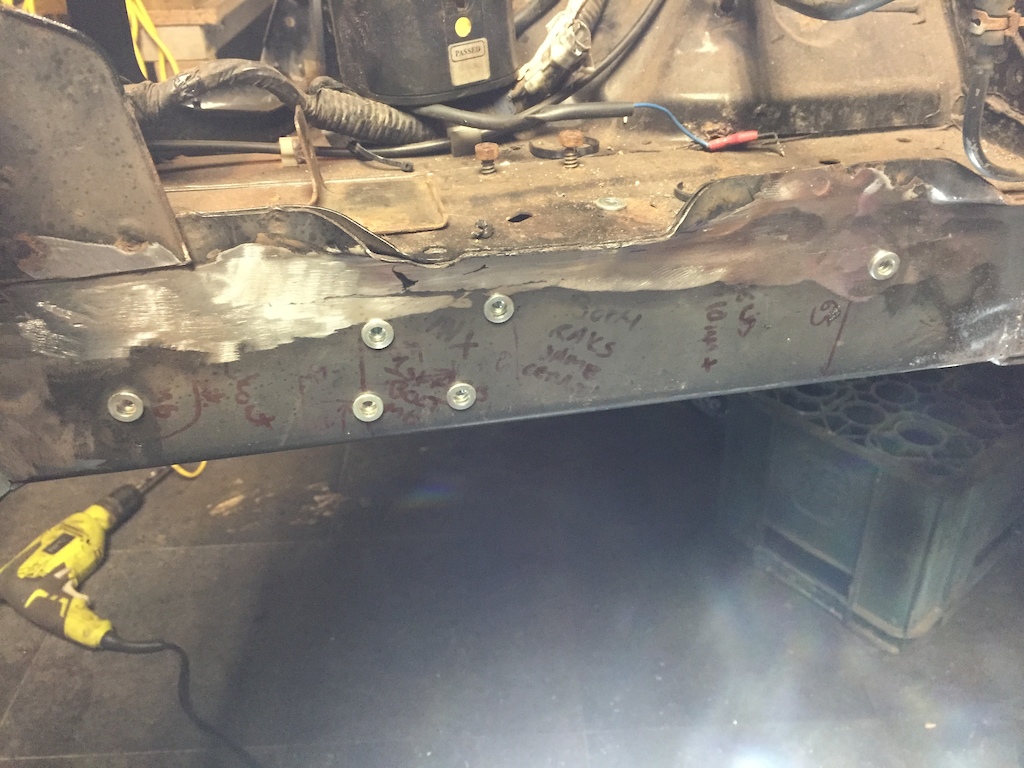
Smoothed all the welds off ready for paint with a 40grit flap wheel.
-
 4
4
-
-
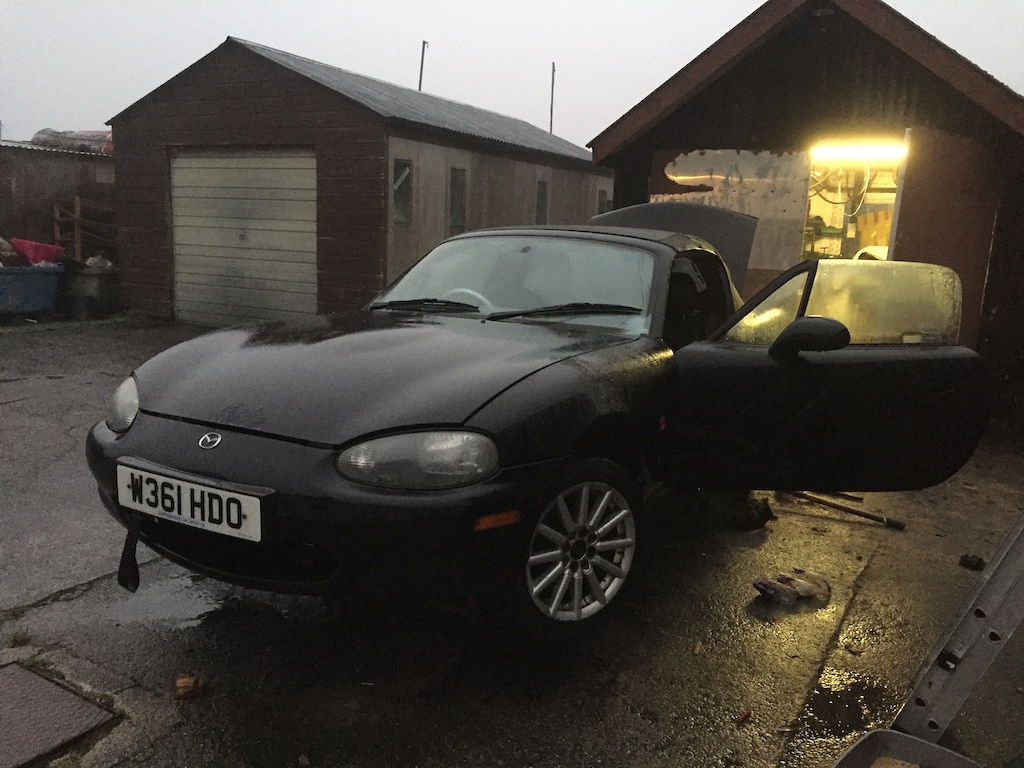
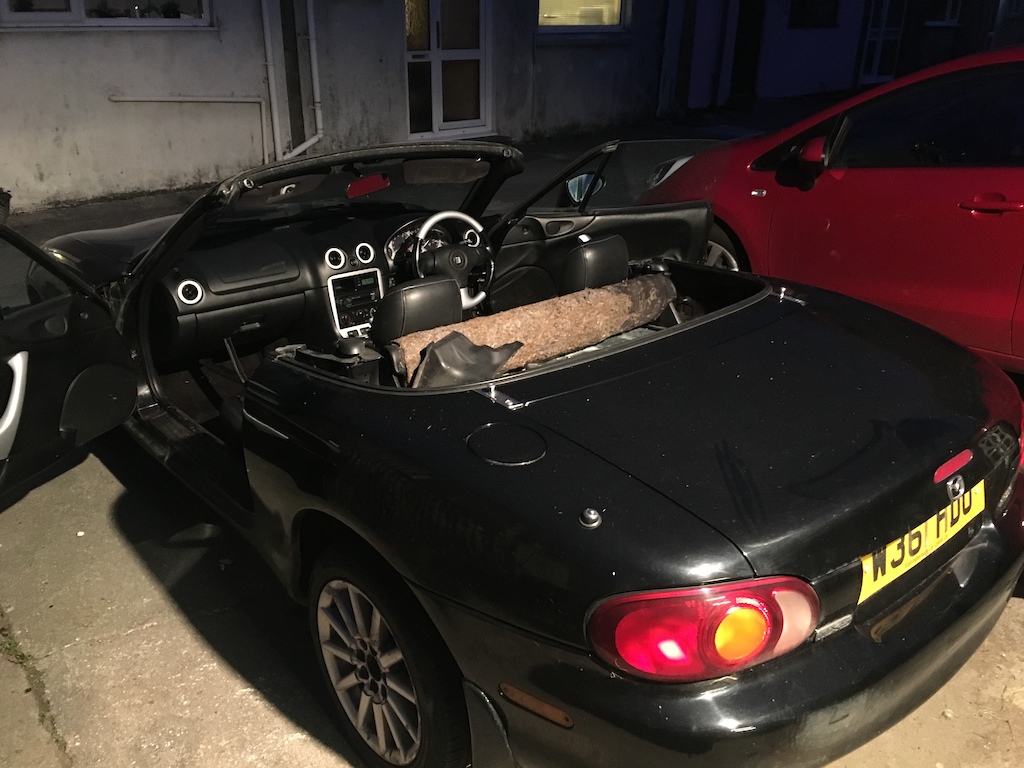
Got a friendly neighbour to trailer the Mx over to my mums place with a nice double garage, requisitioned one bay of it and parked up.
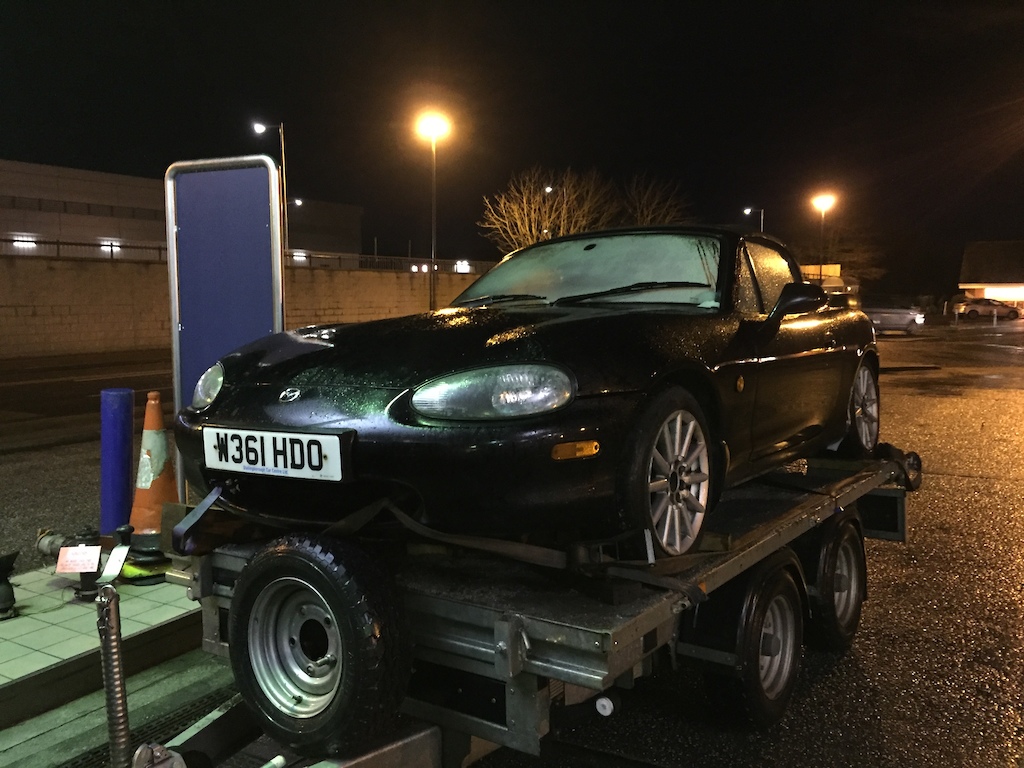
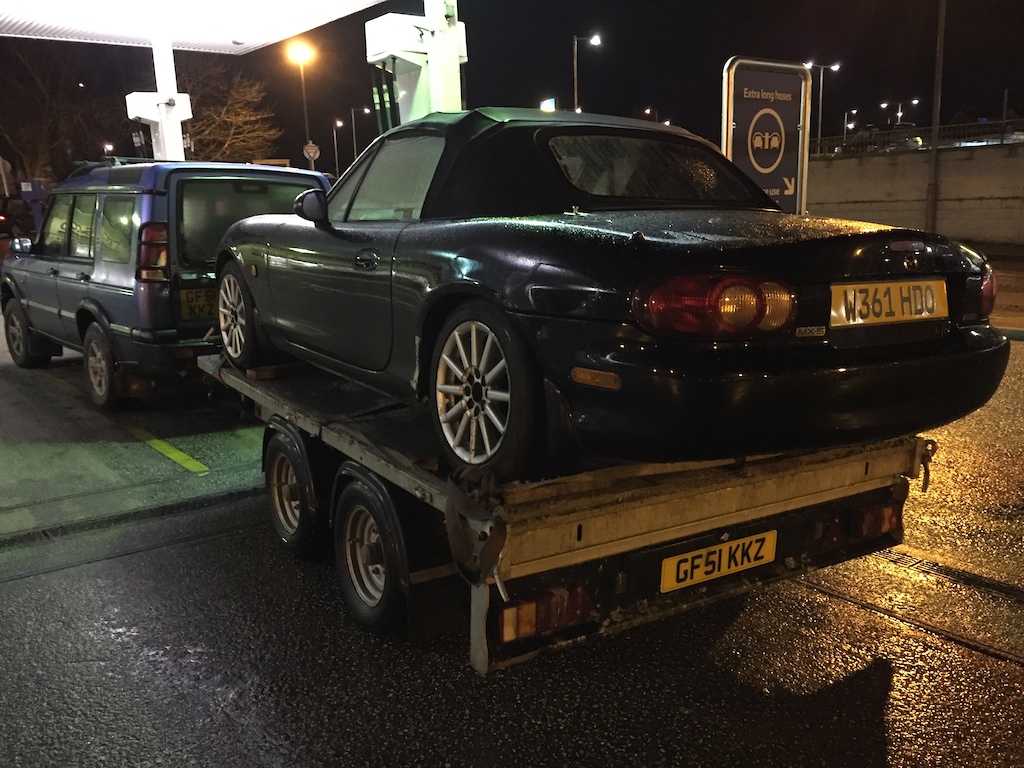
Had to drag the car in with a lawnmower of all things due to not having a drivshaft of diff in place
 Was an interesting few minutes

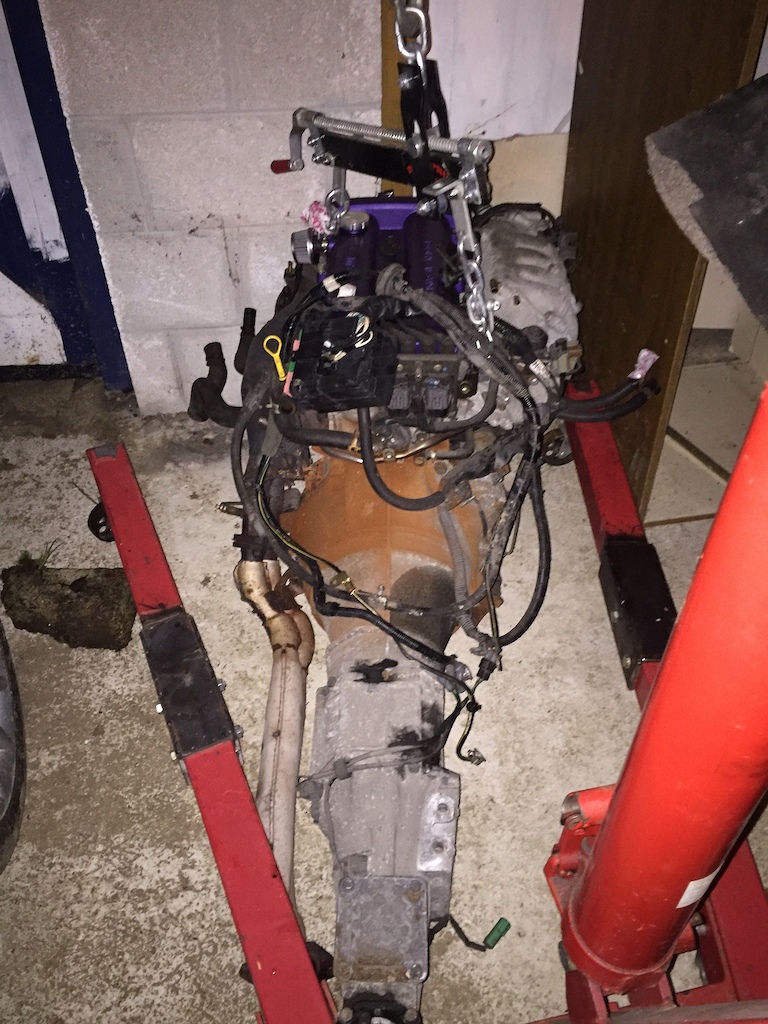
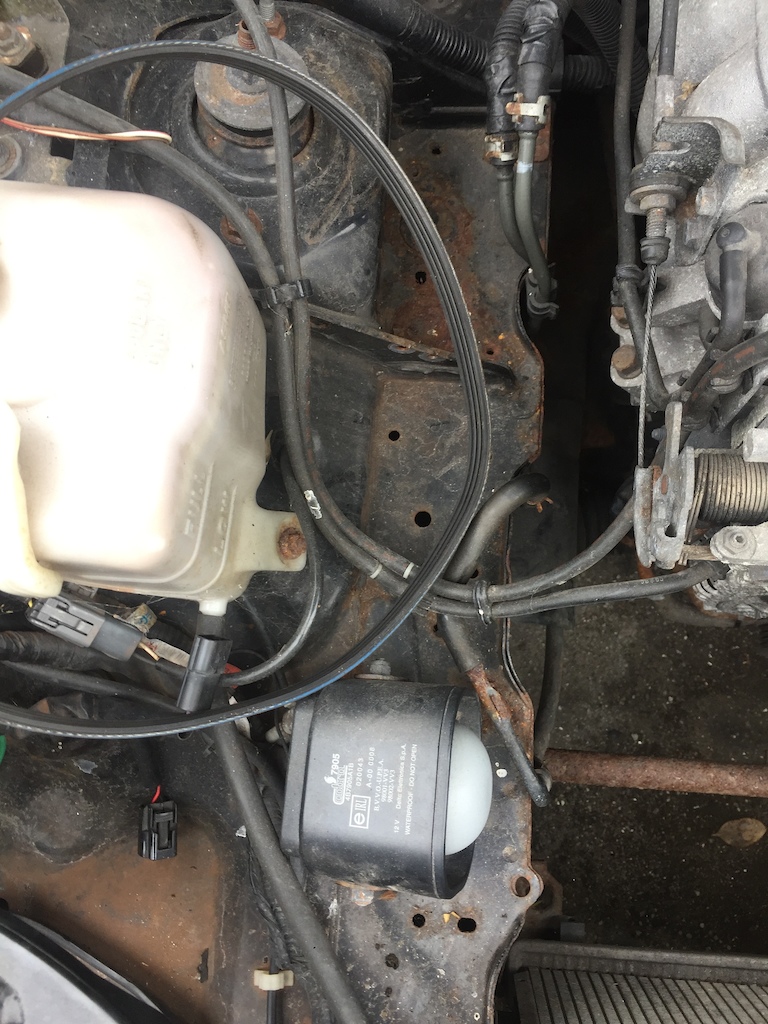
So couple of weekends ago I managed to get a mate to give a hand pulling the engine and box from the mx. You can see the pretty prodigious coolant leak onto my gearbox from the bulkhead coolant pipes

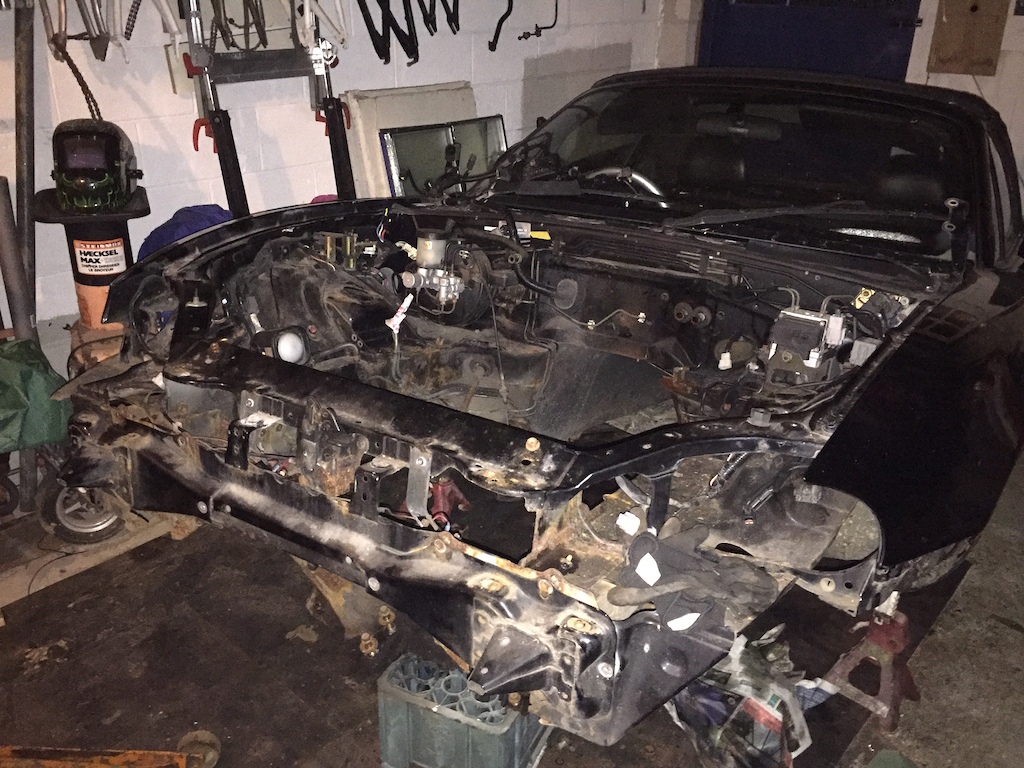
Pulled the bumper and the rest of the front end off too ready for chassis rail replacement and mk2.5 NBFL upgrade.
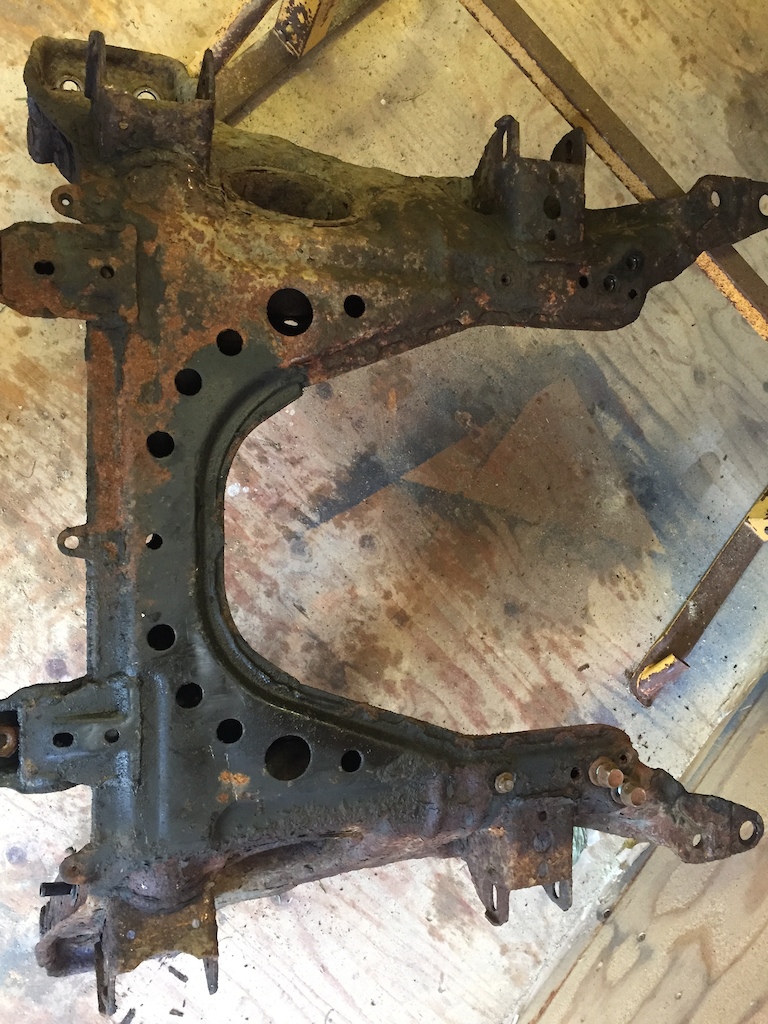
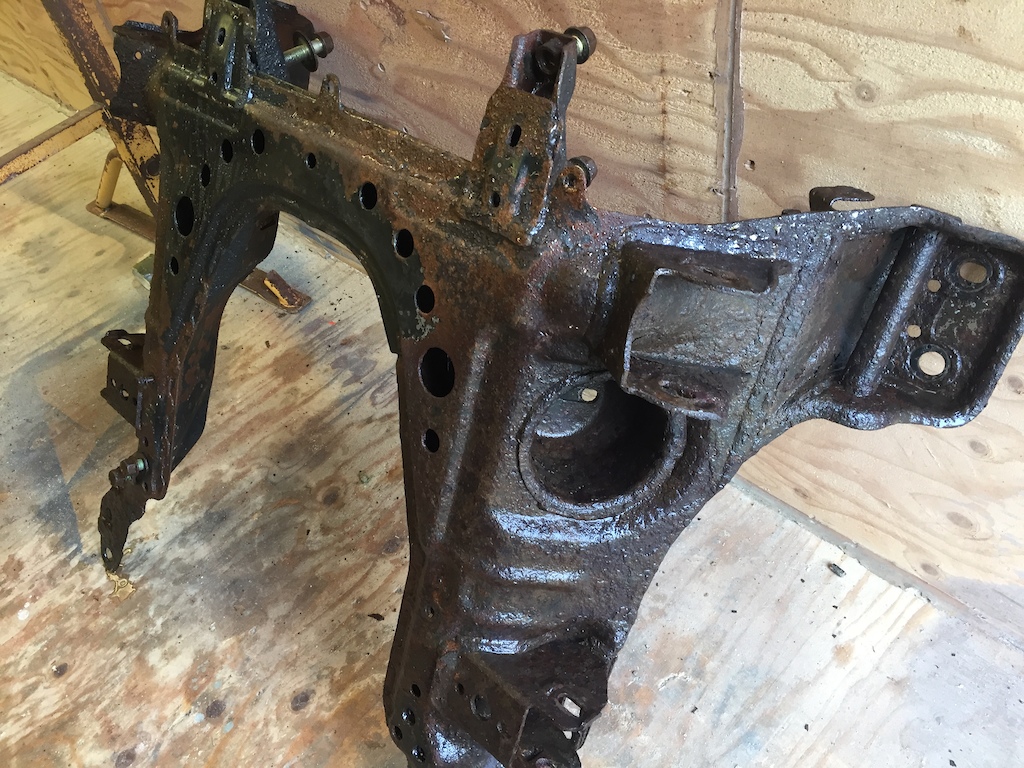
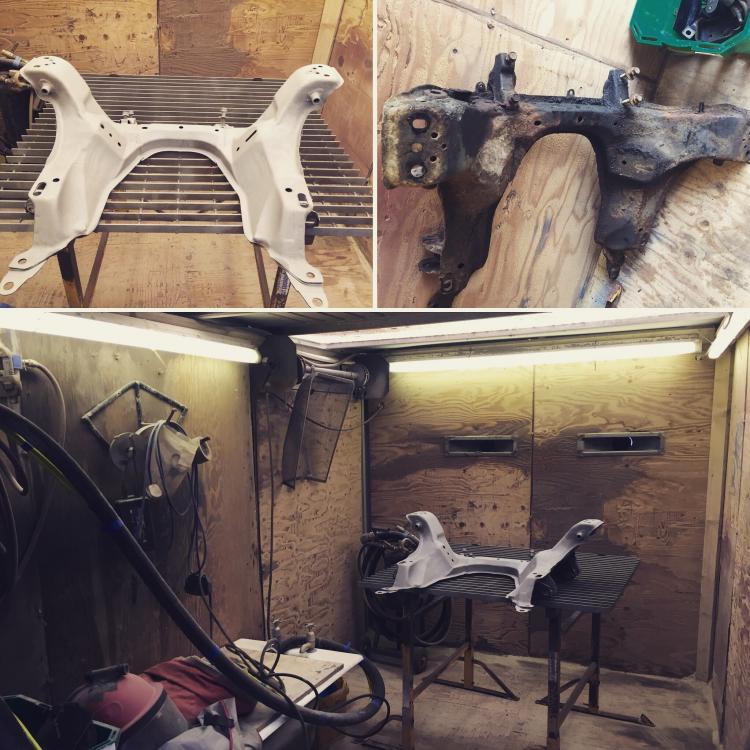
Dropped the subframe off ready for blasting, had one casualty in the form of a snapped subframe stud

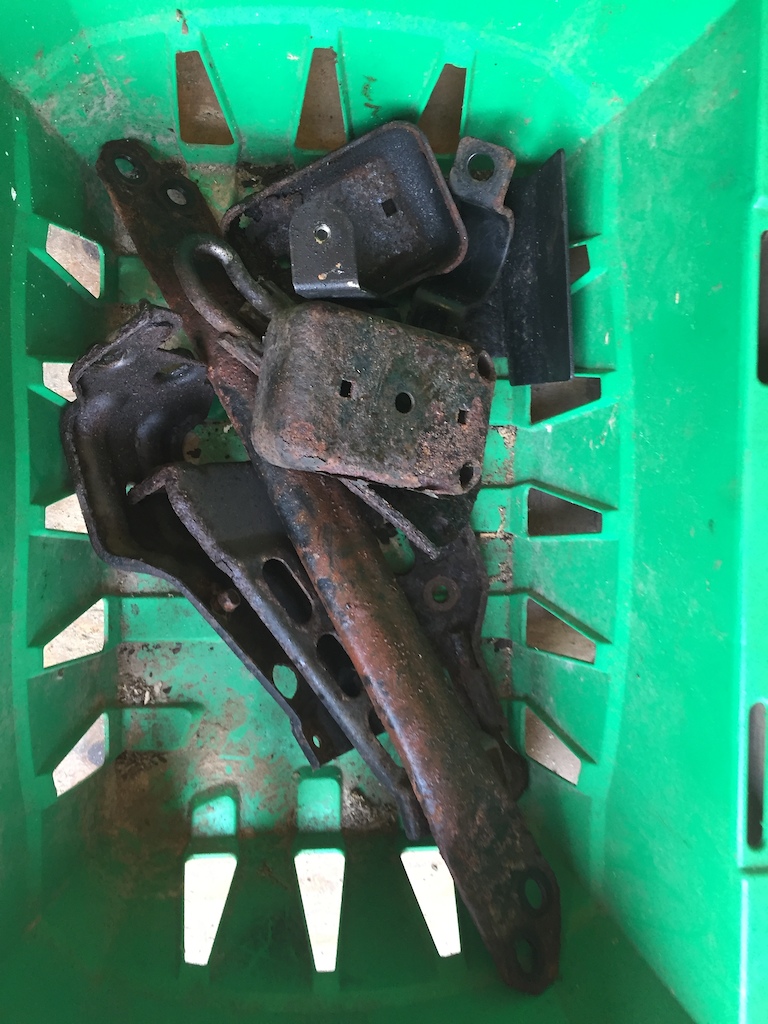
General detritus boxed for blasting
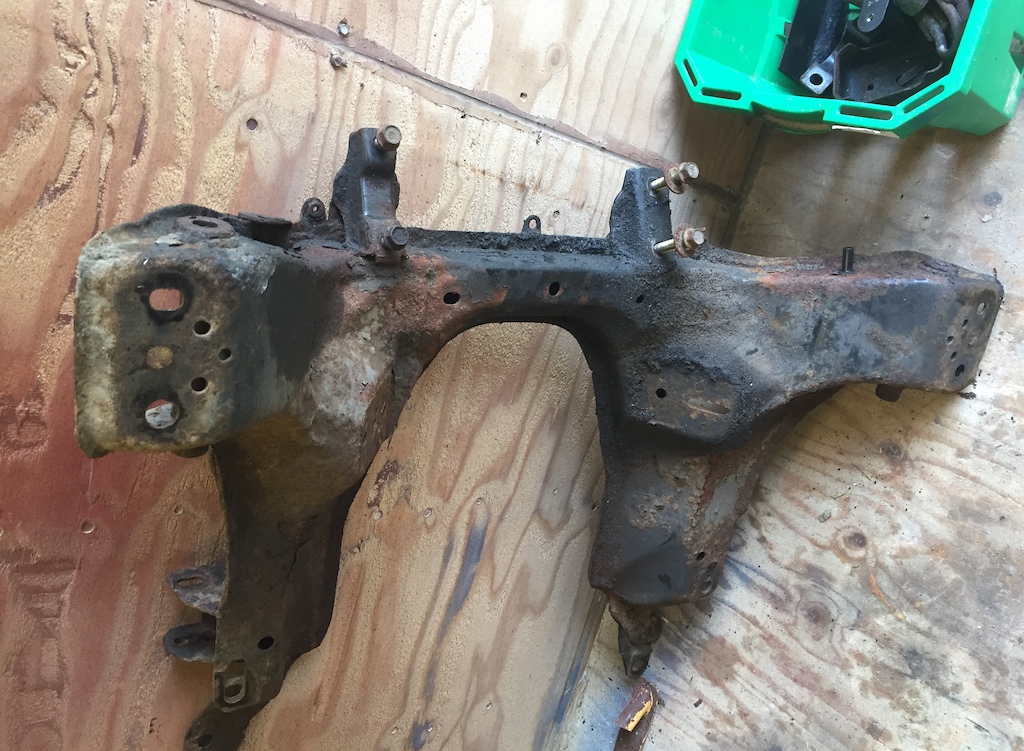
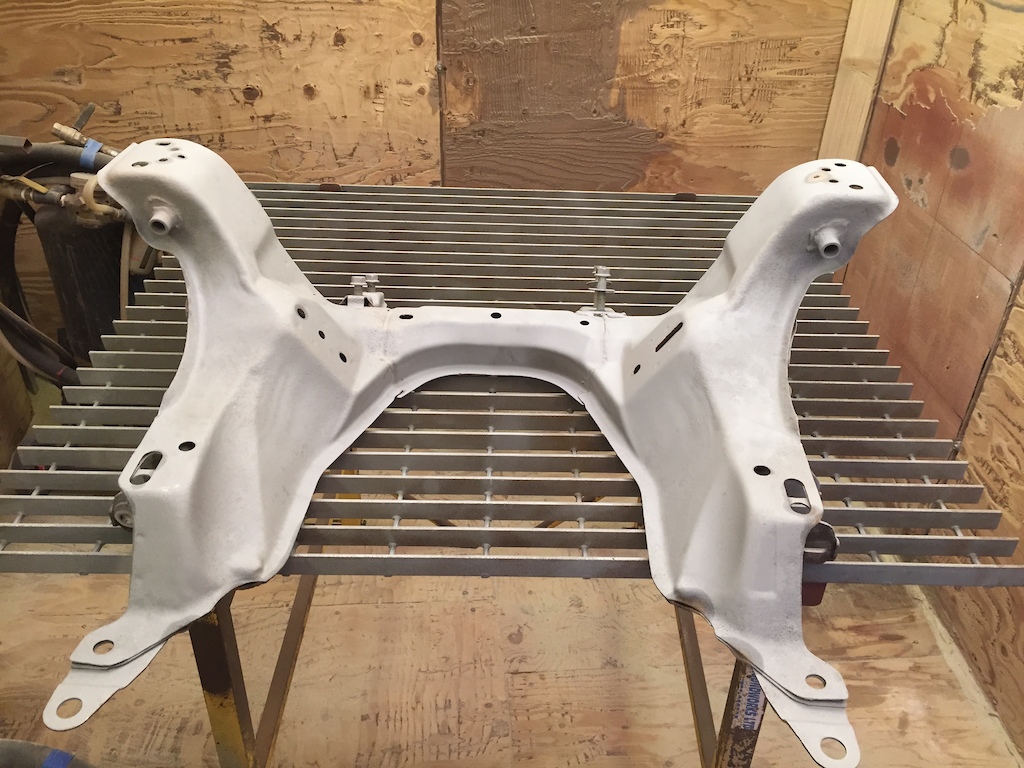
Took the subframe over to a friends for blasting; gave it a quick pressure wash off first. Seems to be far better nick than the rear!
Moody sandblast shed shot: interior.....
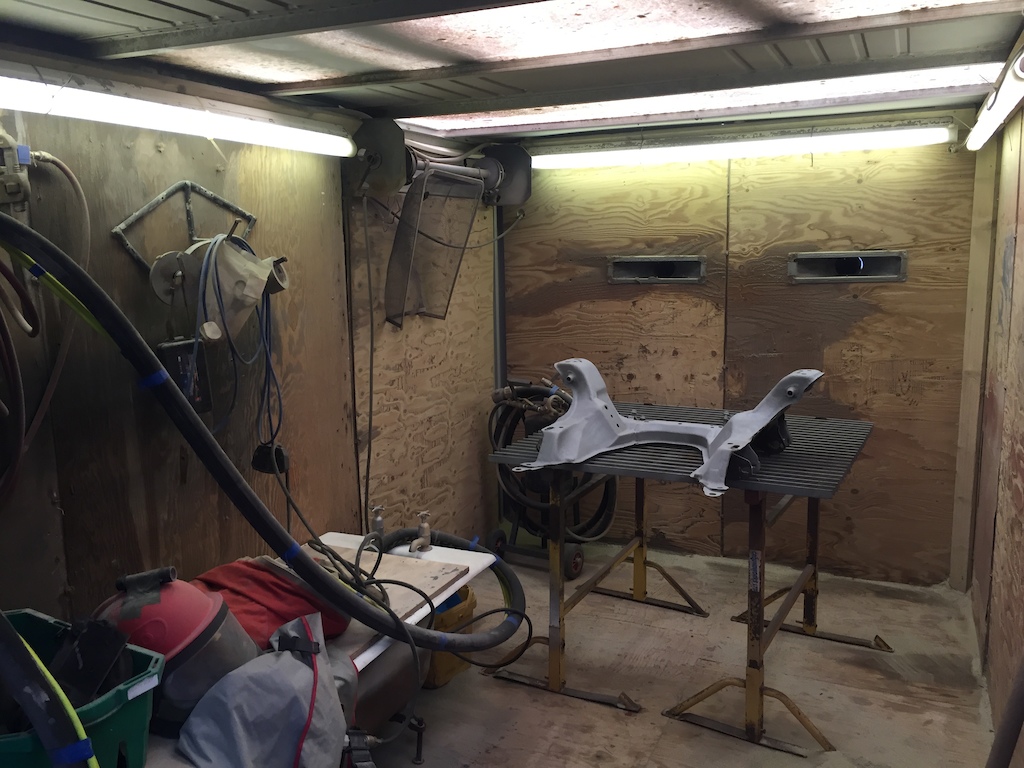
Got it all sandblasted, cleaned up really nice.... shame its not alu as would look so good polished
Sneak peek of what lies ahead....

-
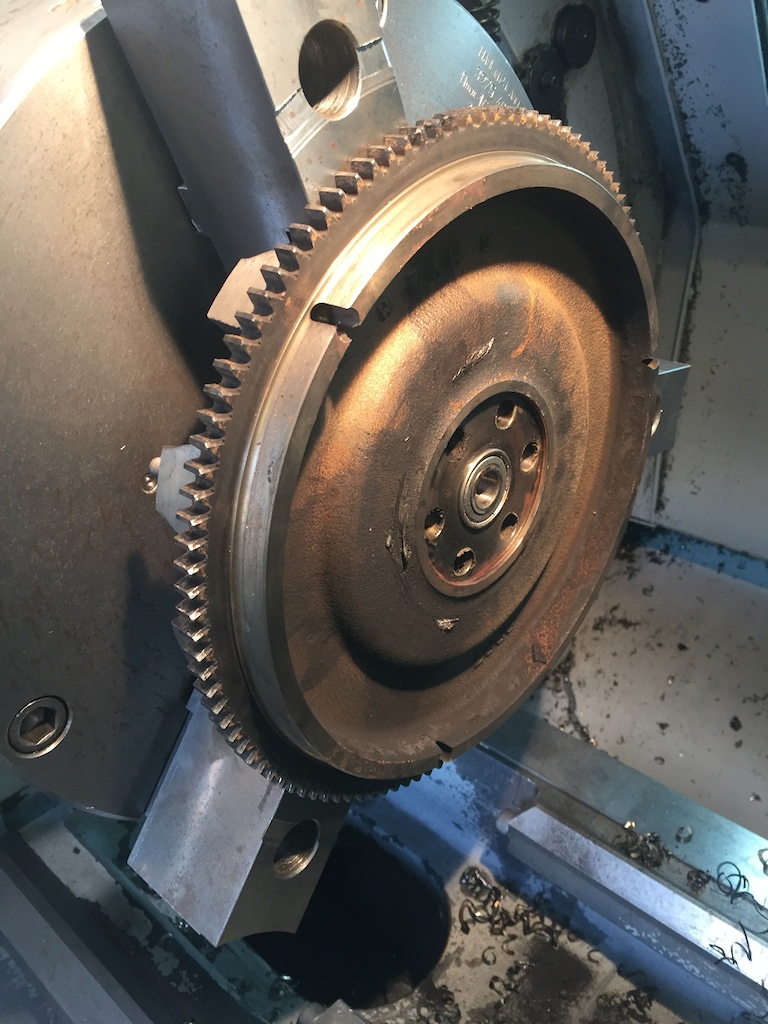
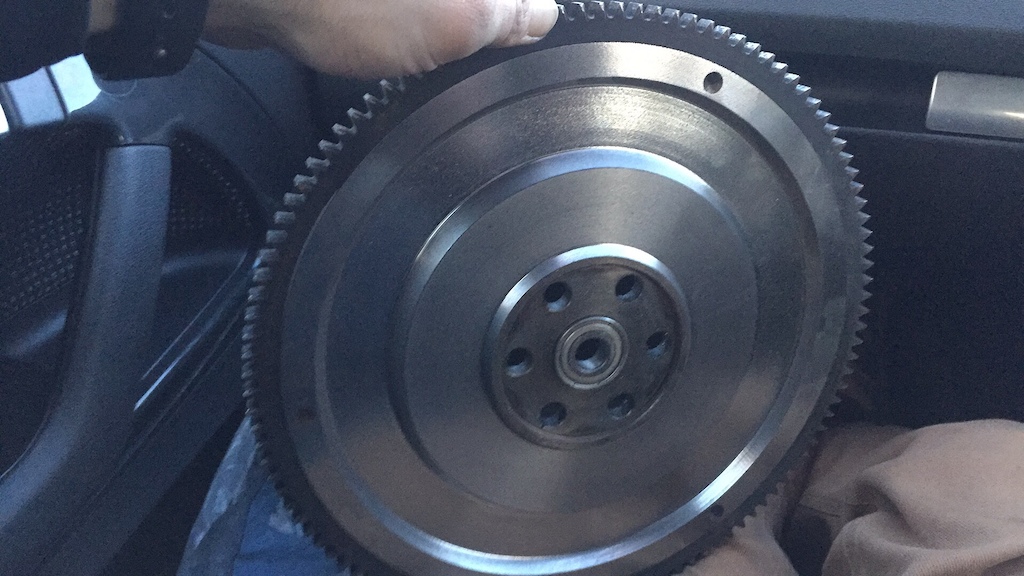
Pulled the engine and gear box for chassis rail repairs, and stripped off the flywheel. Decided I'd lighten it in my lunch break too.
7.95kg down to 6.3kg
-
3
-
-
On 1/15/2018 at 0:44 PM, t33zr said:
What!! a bike without seat?
 Didnt think those existed anymore! lol
Finally some real TGS!

Haha, still some of us out there lurking......
 On 1/27/2018 at 8:53 PM, MikeCottTrials said:
Nice vid man, makes me wonder if I could make a come back
Do it...
")
-
Made some progress this weekend , front subframe blasted. Decided to hold fire spraying it until I get a few other bits prepped though.
-
1
-
-
On 12/29/2017 at 5:47 PM, anndy_anderson said:
Thank god there are still riders like you!
Haha thanks man, there's a few of us left roaming the streets...
On 1/10/2018 at 10:03 PM, Jamie_Trials said:Glad I signed into the forum today. Video reminded me of the good days

Cheers, might have to do a more "up to date " edit next time
-
On 23/12/2017 at 10:05 AM, aener said:
Nice
You've done some pretty serious travelling!
Thanks , love getting out to new spots and meeting new riders.
On 23/12/2017 at 11:39 AM, Greetings said:Saw it on facetube. Reminded me of the "good old days". Music, riding, editing - everything was spot on UK style
Cheers man , big fan of the old TGS videos etc , guess that come across a little haha
On 23/12/2017 at 6:59 PM, Rusevelt said:Loved that little combo line on the angled wall where you pedal up to front stall, and sweetly exited with a 270 drop.
Think I need to do some more creative riding next time
2 hours ago, old boy chez said:Banging dude , nice one
Cheers lad
-
1
-
-
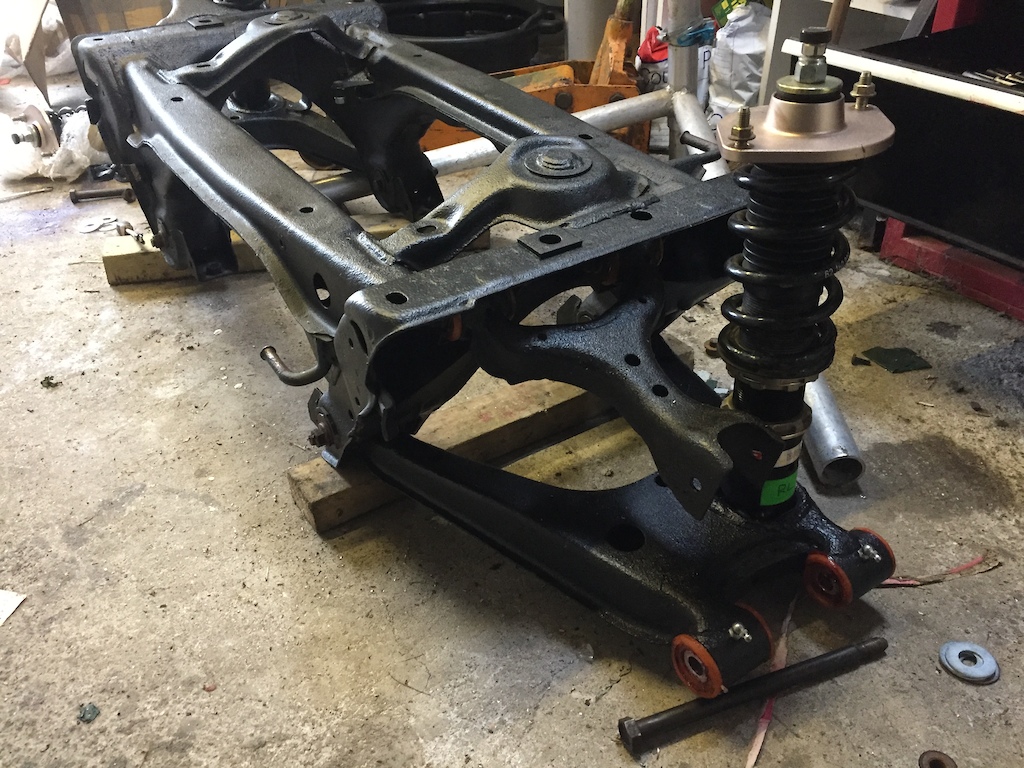
Had a productive couple of days, managed to get the arms back on the front end and some wheels on at long last.
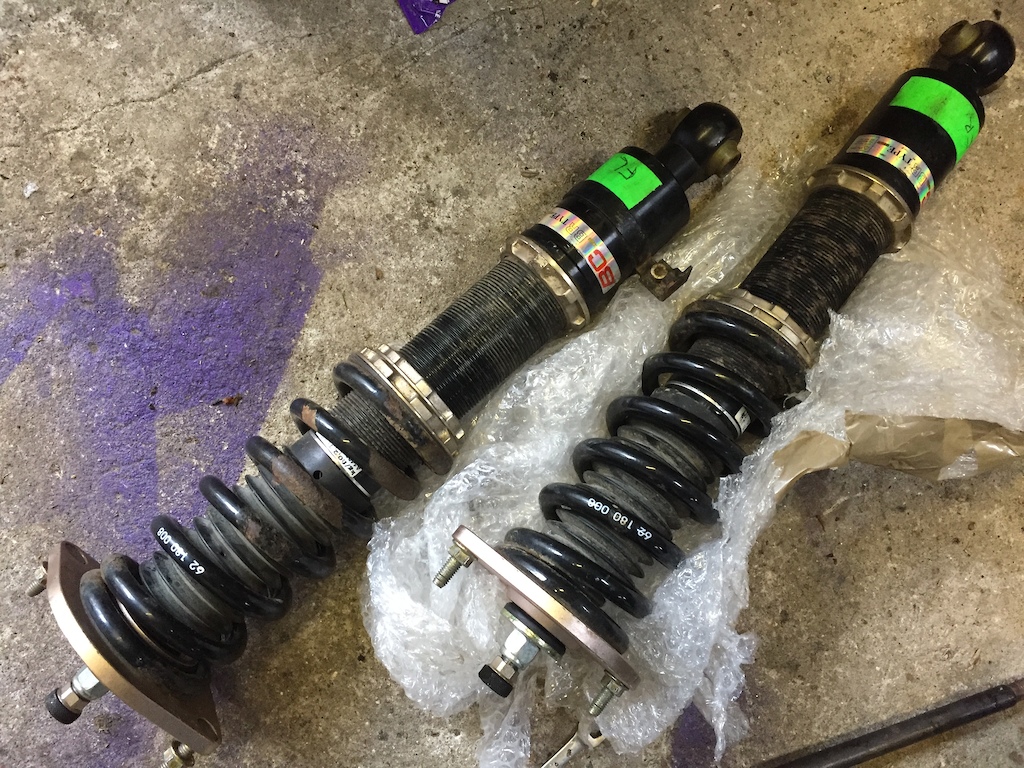
Found that I didn't have enough time to rebuild the Tein shocks, so picked up these nice BC racing in pretty immaculate condition ( barring some spring corrosion ). Planning on stripping the springs off and spraying with some UPOL raptor when i do the front subframe.
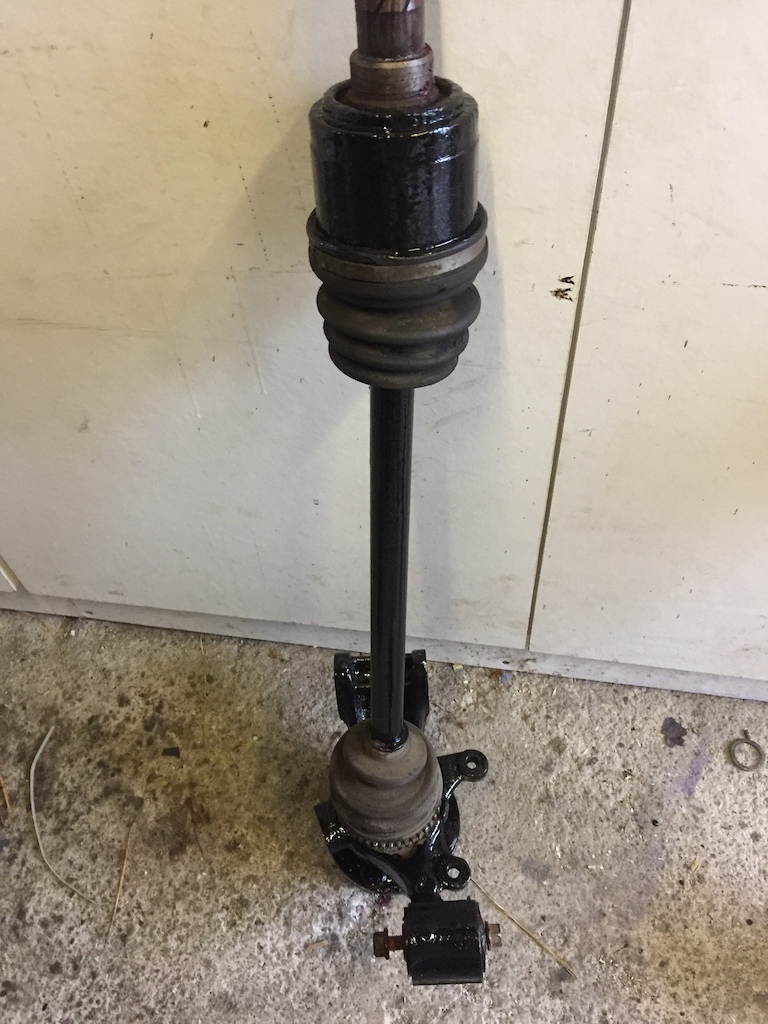
Pulled the hubs/driveshafts off for a clean-up and paint. Ground the Disc guards off, wire brushed them thoroughly and gave them a lick of hammerite.
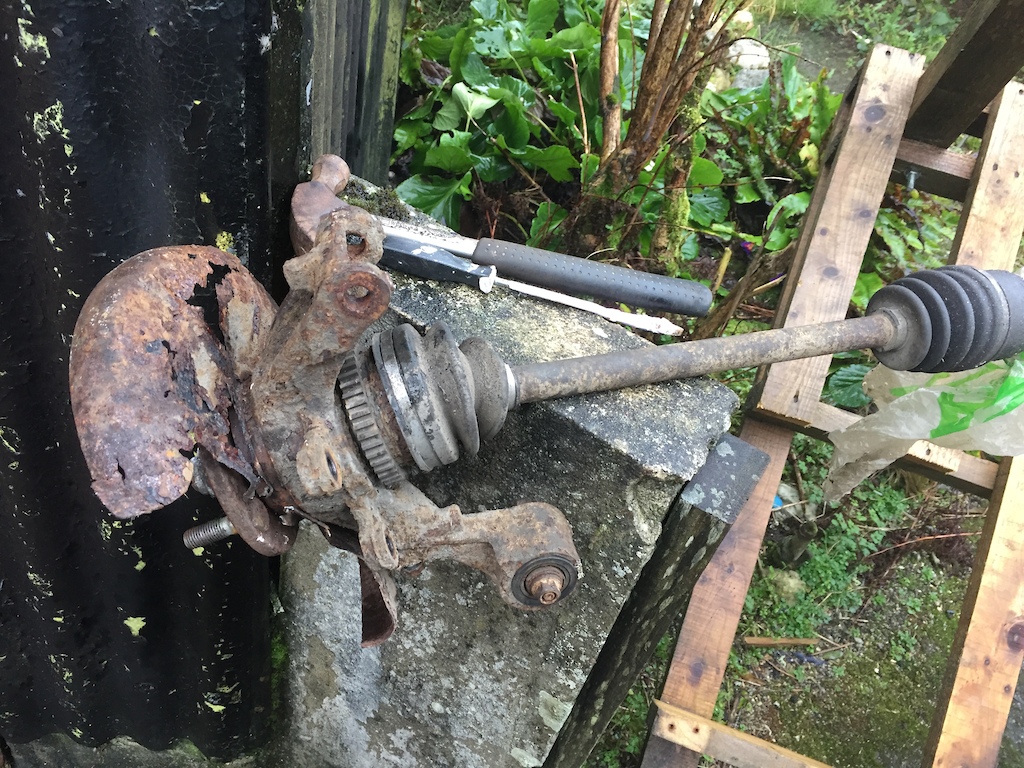
Slight improvement.
Built the Bc shocks to the subframe ready for installation.
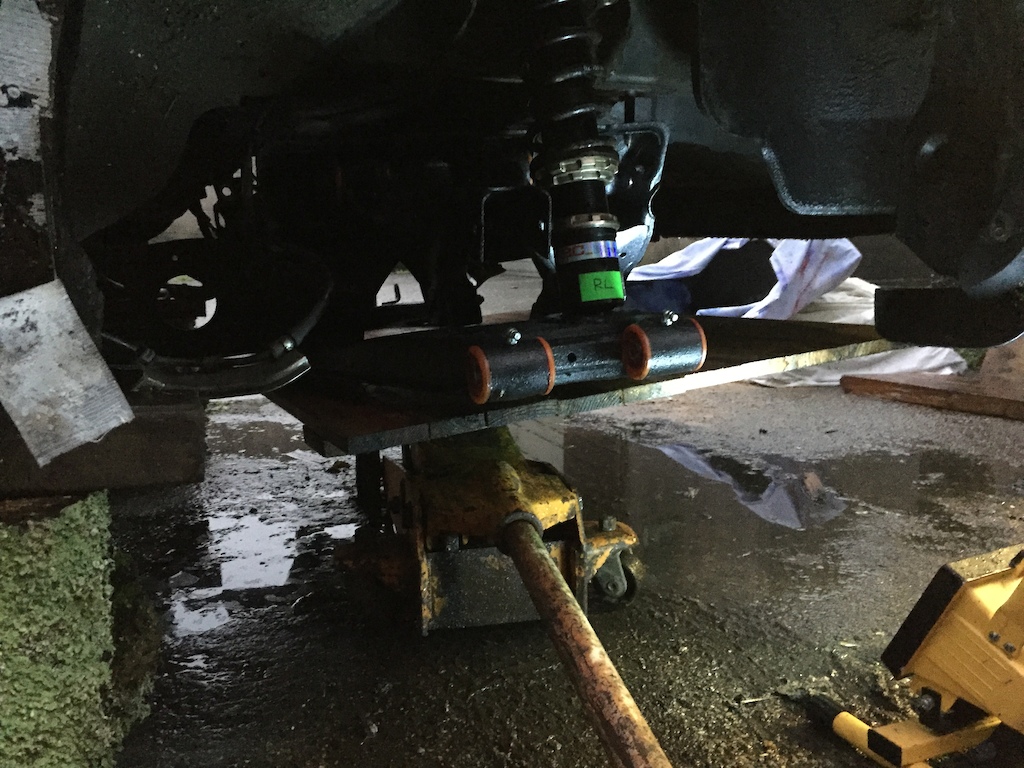
Had a bit of a nightmare fitting the subframe, lad that was going to help me bailed so I had to struggle with a trolley jack in the rain.

Managed to get it bolted up with some persuasion.
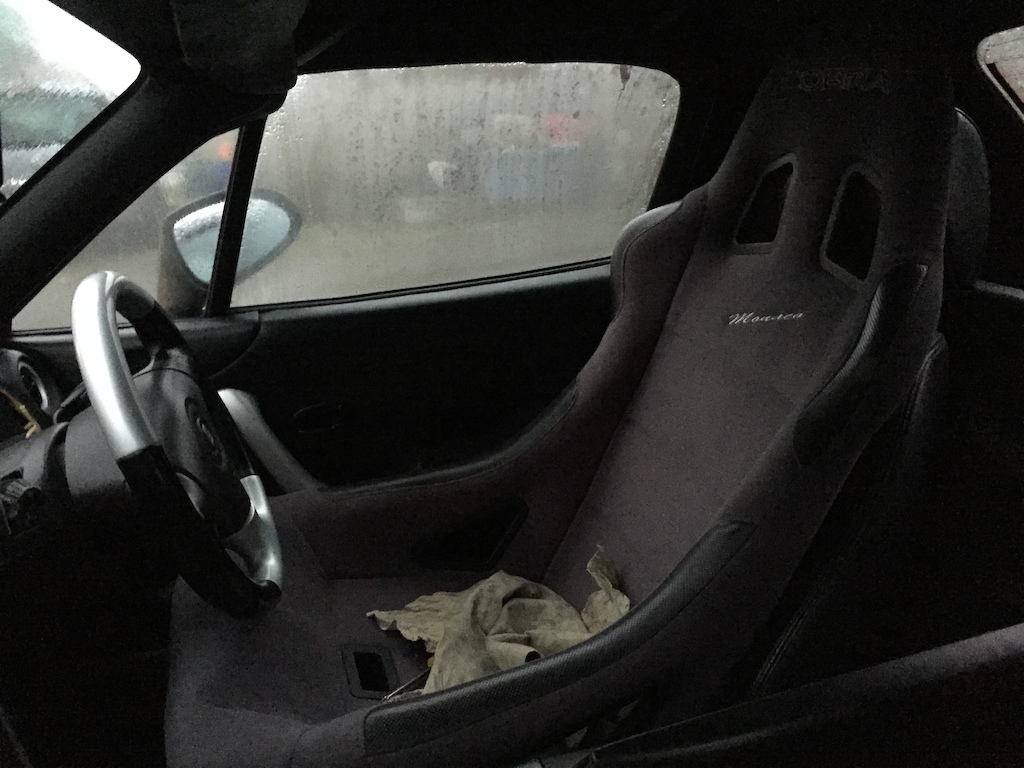
Quick shot of my bargain bucket seat; £15 from a charity shop of all places.
-
3
-
-
7 hours ago, Luke Rainbird said:
Cracking progress, Alex. Very envious of your access to (and skills with...) Decent workshop equipment! Car's in a far better state now than the start of those posts for sure
Thanks man , I’ll take that as a complement. I’m pretty lucky where I work ! It’s getting there still needs loads
2 hours ago, MadManMike said:Speedy work dude, nice!
Thanks man , so looking forward to getting it out on a track next year
-
It's becoming less and less frequent that I'm able to get a video together these days due to work / family etc committments but I've finally got something together.
I'm not 100% happy with the edit or song choice, so I've sat on it fir a month or three, but at the same time quite proud of some of the riding. It's reassuring to get some video proof that I am actually making progress no matter how disheartening and frustrating trials sometimes gets.
As a sidenote I know some people will whinge about a certain dropgap , but it's something I've wanted to do since I started riding trials 8 years ago so for me its a massive achievement.
Hope you all enjoy, Merry Christmas and all that......
-
13
-
-
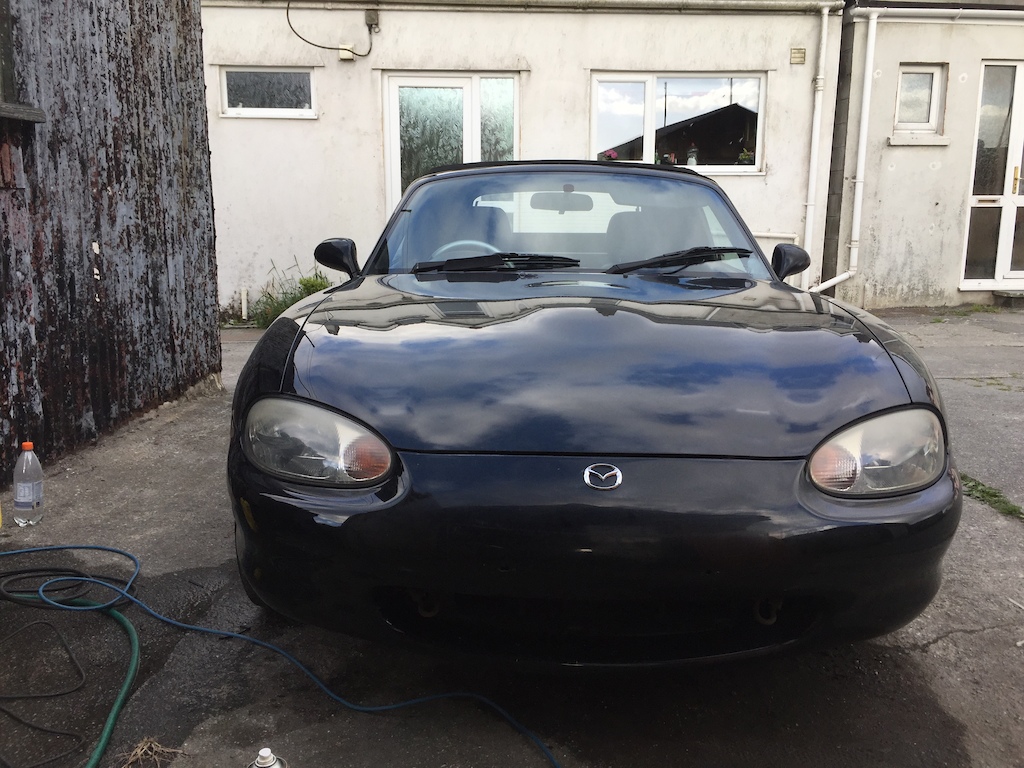
Fancied de-tangoing the headlights, blacking them out and polishing the lenses. While I was in charge of the sprog for an evening I got busy with the heat gun.
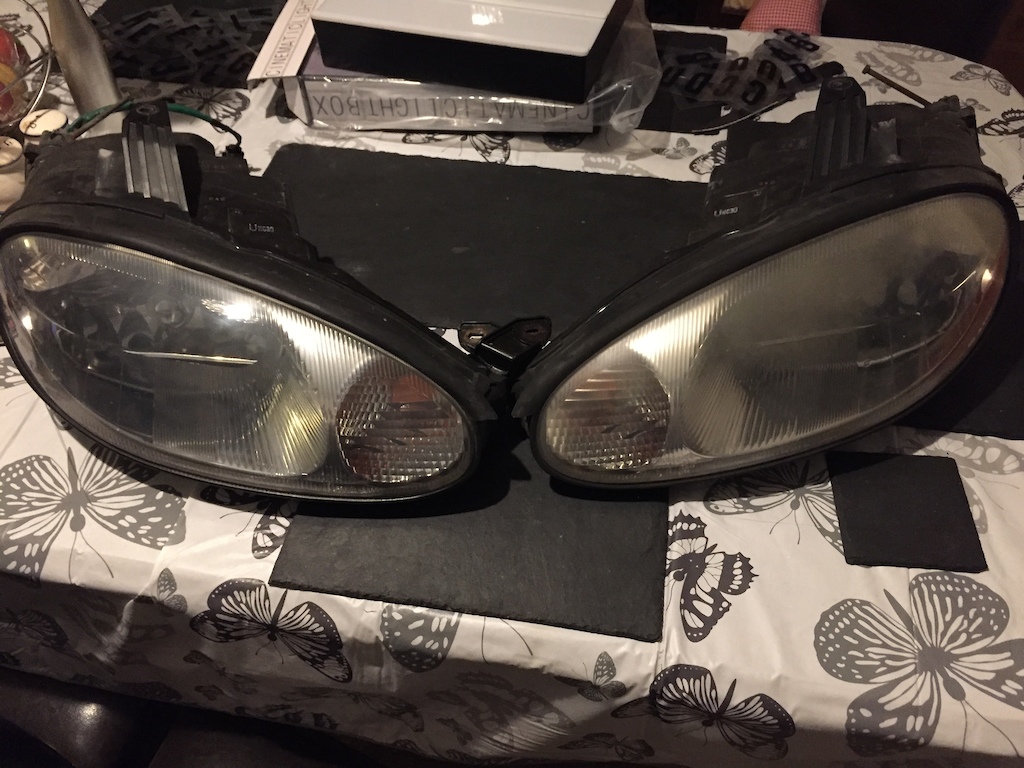
Much better

Chucked one of those silly towstraps on too
Had a quick nosey around the suspension whilst sorting a dragging brake caliper for my MOT ( she passed! somehow
) and found a hell of a lot of surface rust, knackered bushes and not a sign of any original paint.
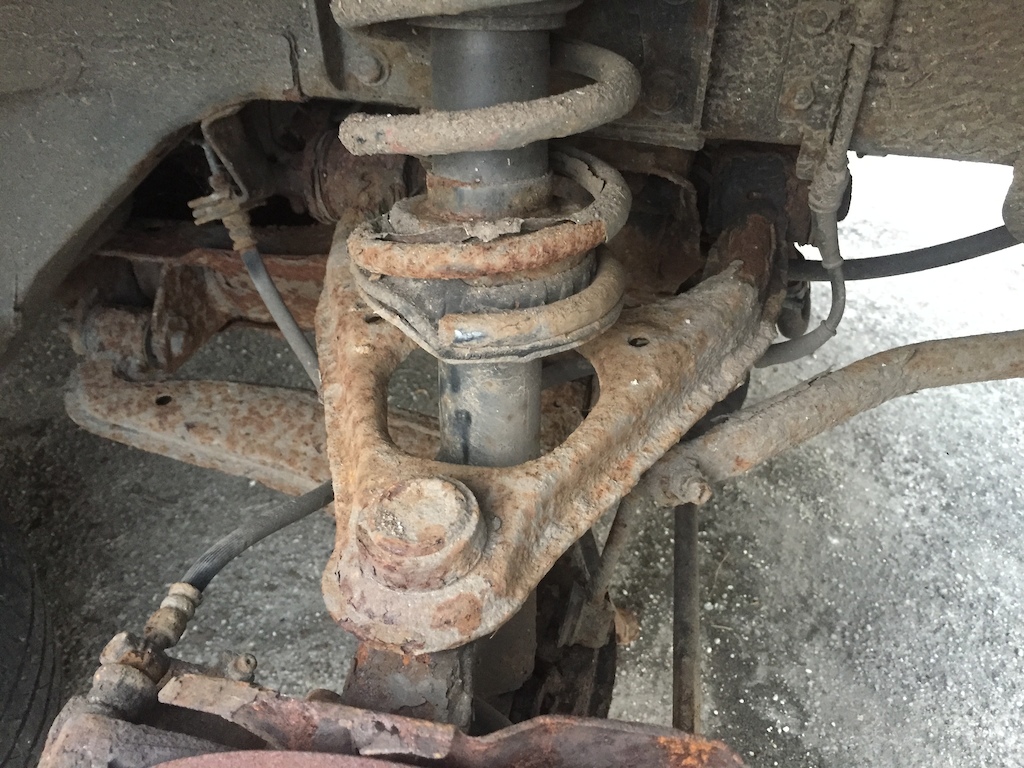
Found a polybush kit and got it paid for ( £65 Flo-flex kit ) with ARB bushes. Started ripping arms off, and ran into many seized bolts , rounded heads and general bollocks. Eventually got them all off. Note bolt seized into front suspension shock and window cut into arm next to lower arm captive nut.
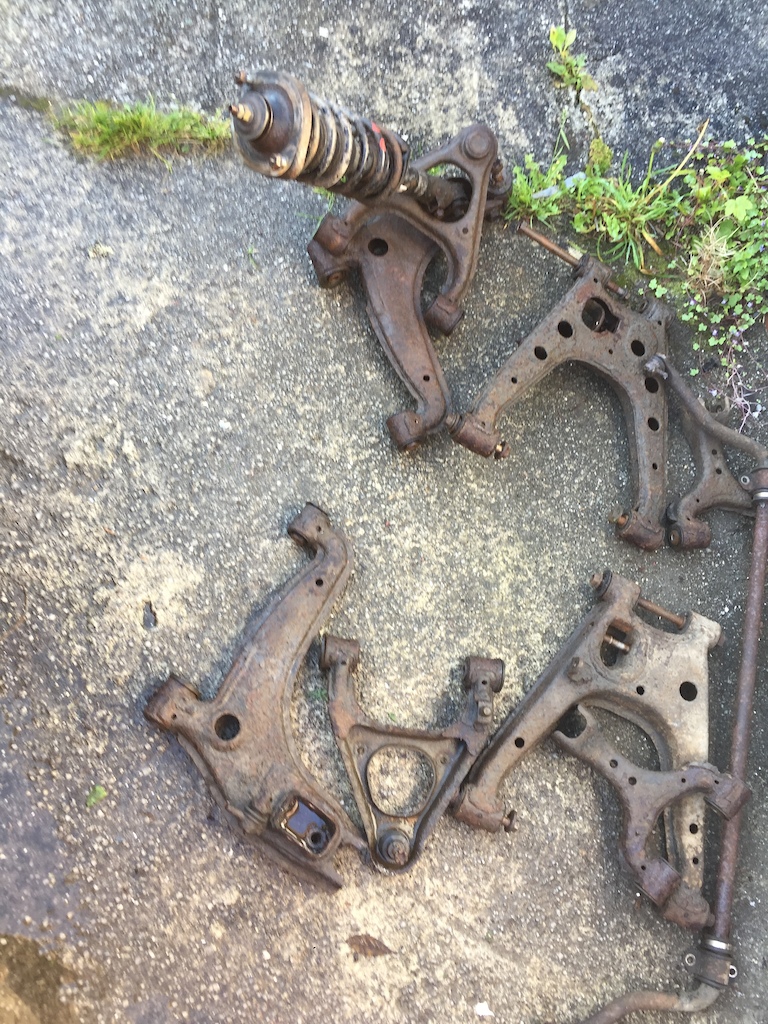
Started pressing out bushes at work , turned up some tube and bar to press them out perfectly squarely.
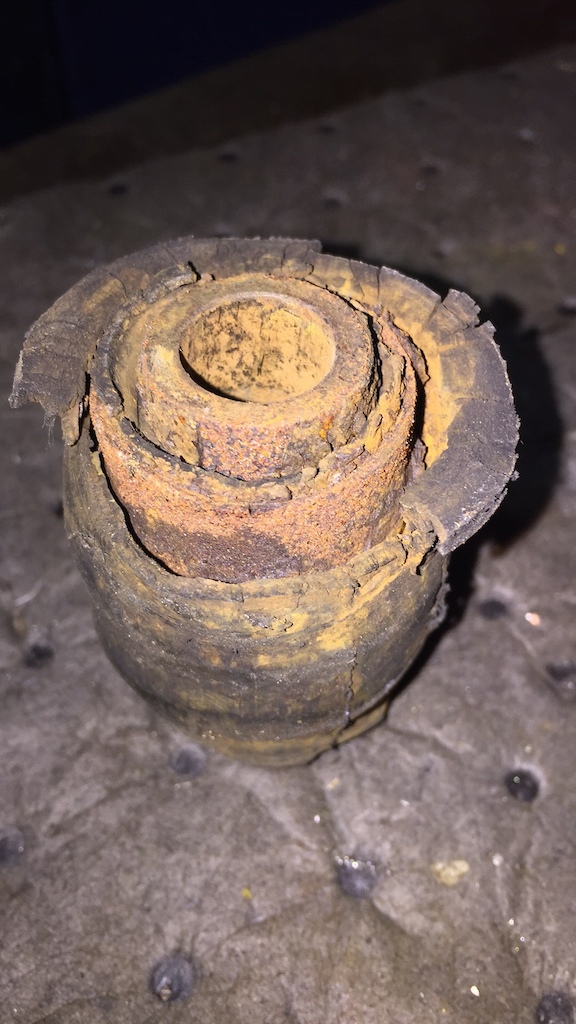
It turns out that they were that seized into the arms that just by pressing them out I managed to flare about 80% of the housings

Fantastic.
Only found this out after getting a mate to sandblast them all and etch prime them.
Tried to source some more, but ended up with a choice of paying £80 for some more ( and having to press out all bushes again , blast and prime ) or turning new housings and welding my original arms. opted for the latter.
Cue a 6pm-2am stint after work turning housings, making guides and cutting and welding.
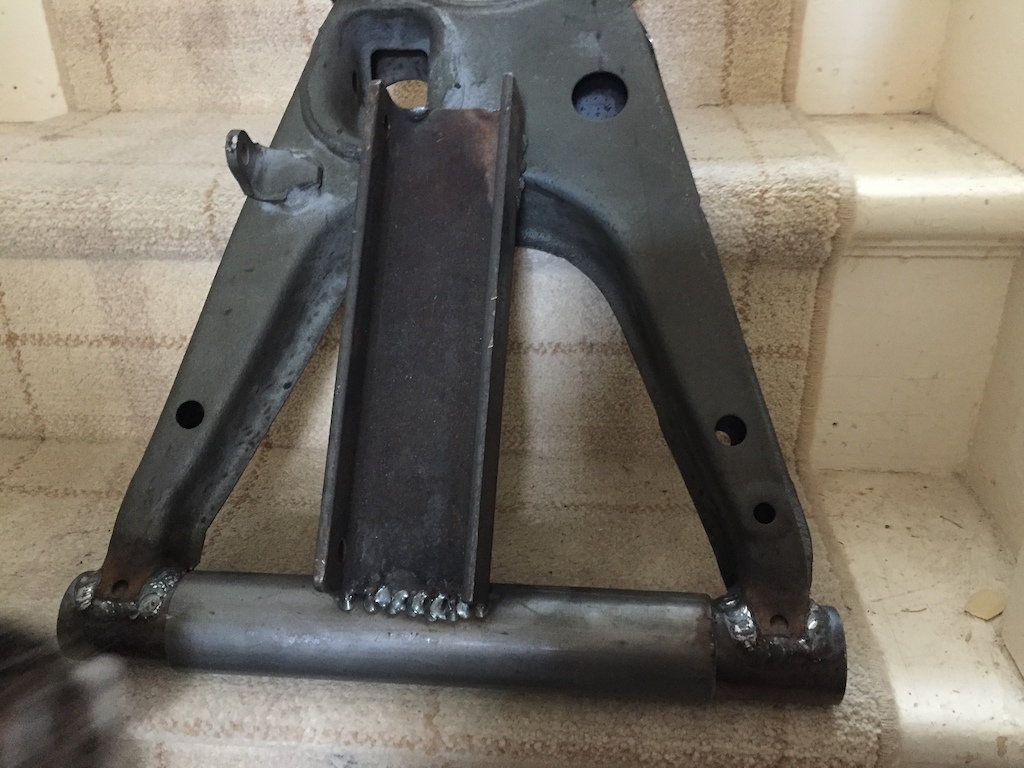
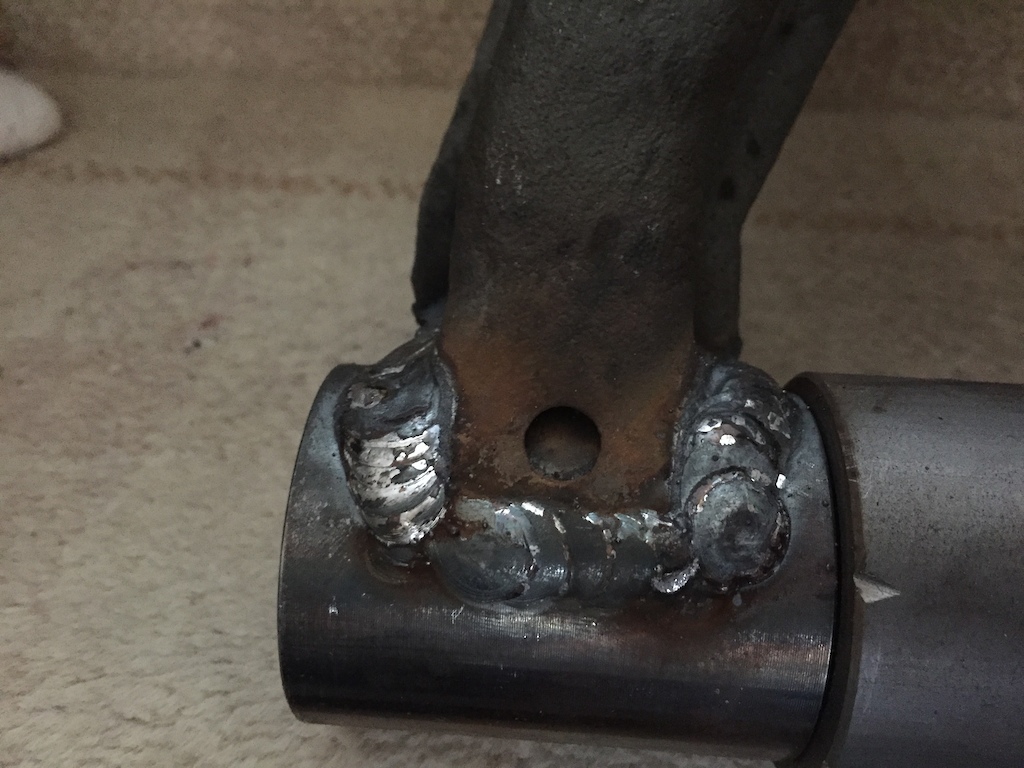
Housings were 45/40 tube. Turned some new from 40/50 and drilled for a grease nipple/
Measured up and made some spreaders to go in-between the housings , slid some 40 dia. hydraulic chrome bar to align and tacked it to the arm with a piece of scrap plate.
Once tacked I ground the original welds off, and tapped off the original housings. Tapped new ones onto the chrome bar and tacked 4 corners onto the arms. I removed the chrome bar and MIG spotted the new housings on.
Turns out the lower arms are a b*****d and took about 4 times as long to gut the welds out

I tapped in some polybushes and dropped the long bolt through the Upper Front arms to check alignment and was pleasantly suprised

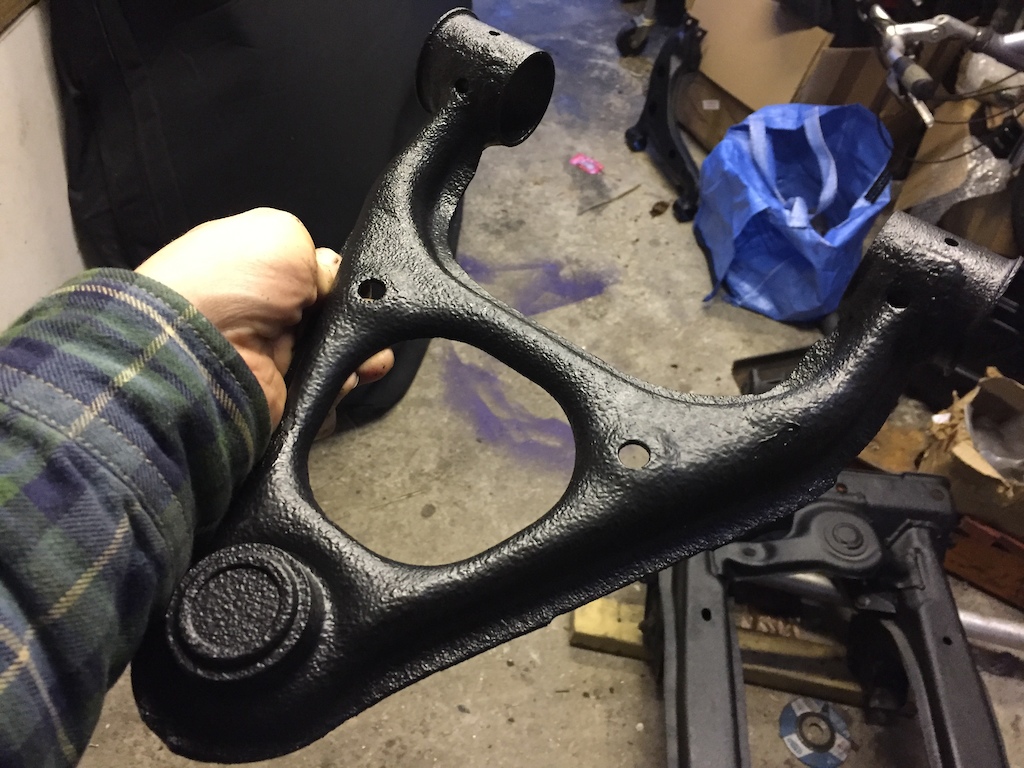
Took all the arms to my garage, cleaned up , welded up any grinder marks and plated the window in the lower rear arm. Then sprayed them all with UPOL Raptor truck liner ( amazing product ) the finish looked great, super pleased.
Now they were all refurb'd I built up the rear subframe and bushed the lot. Red Lithium grease used, so hopefully no squeaks.
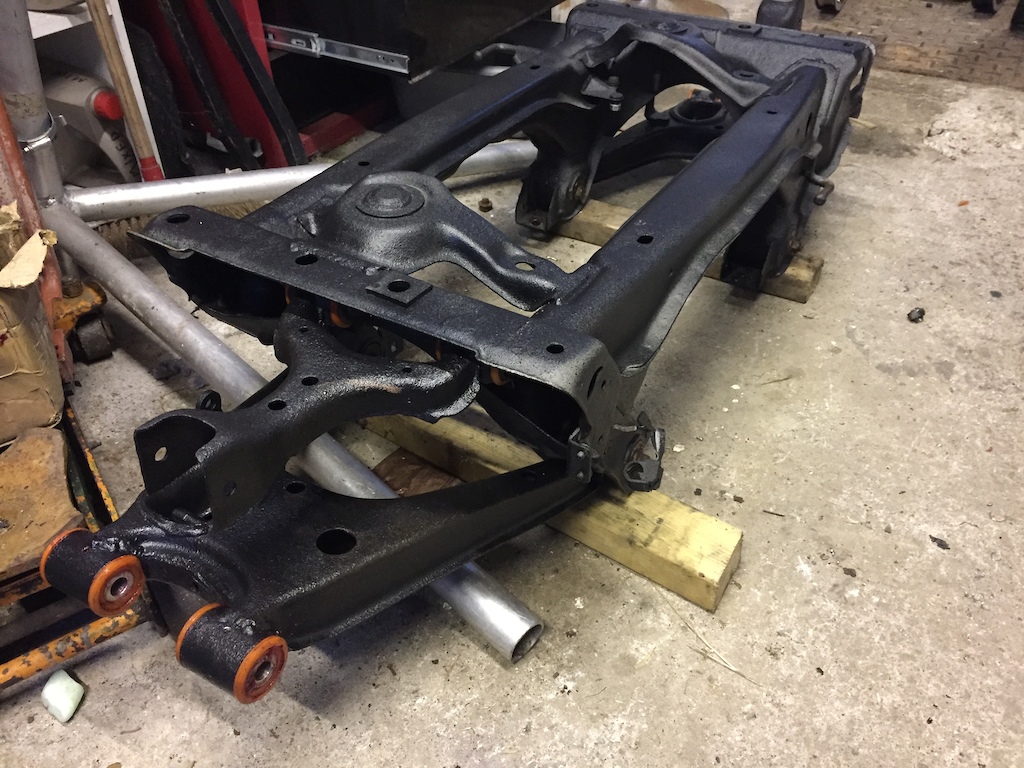
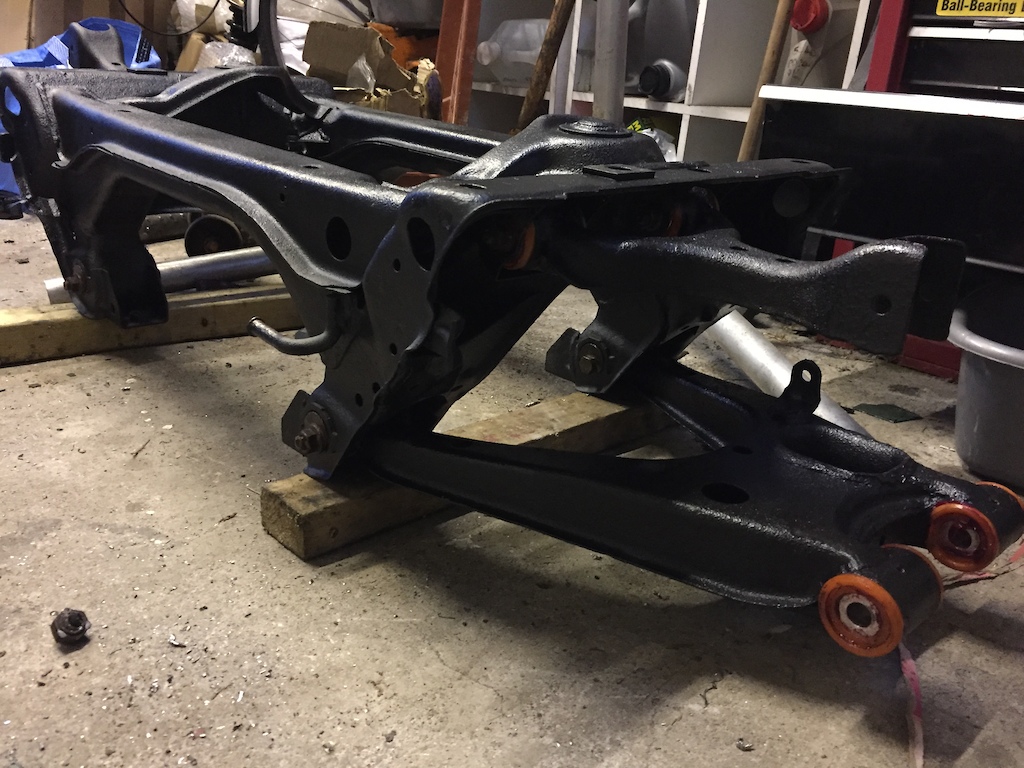
Big improvement.
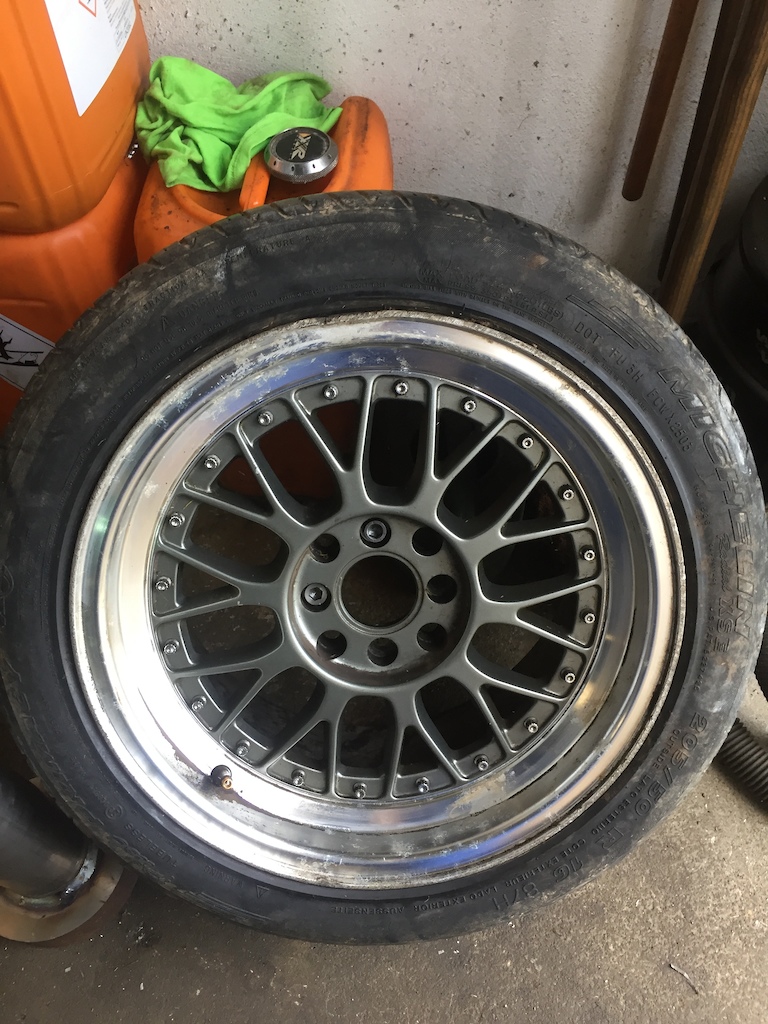
I knocked up a mandrel at work to chuck up my new rims, spent a few hours polishing up the scabby lacquer back to bare alloy.
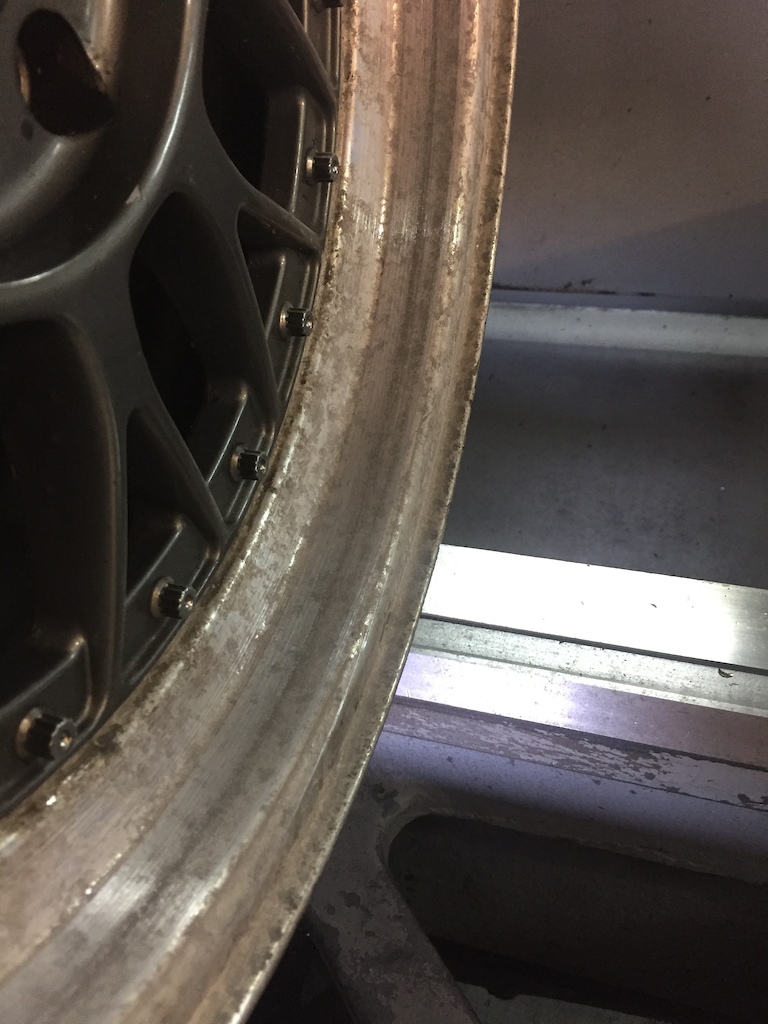
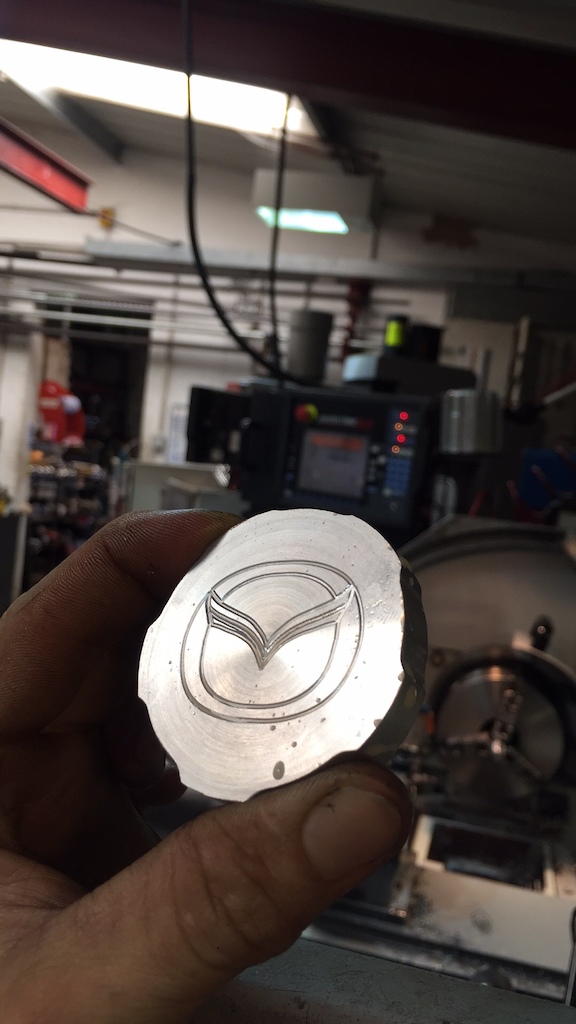
Before and after .... just need some new centre caps and to touch up the powdercoat in the centres.

One damaged wheel that needed some TLC
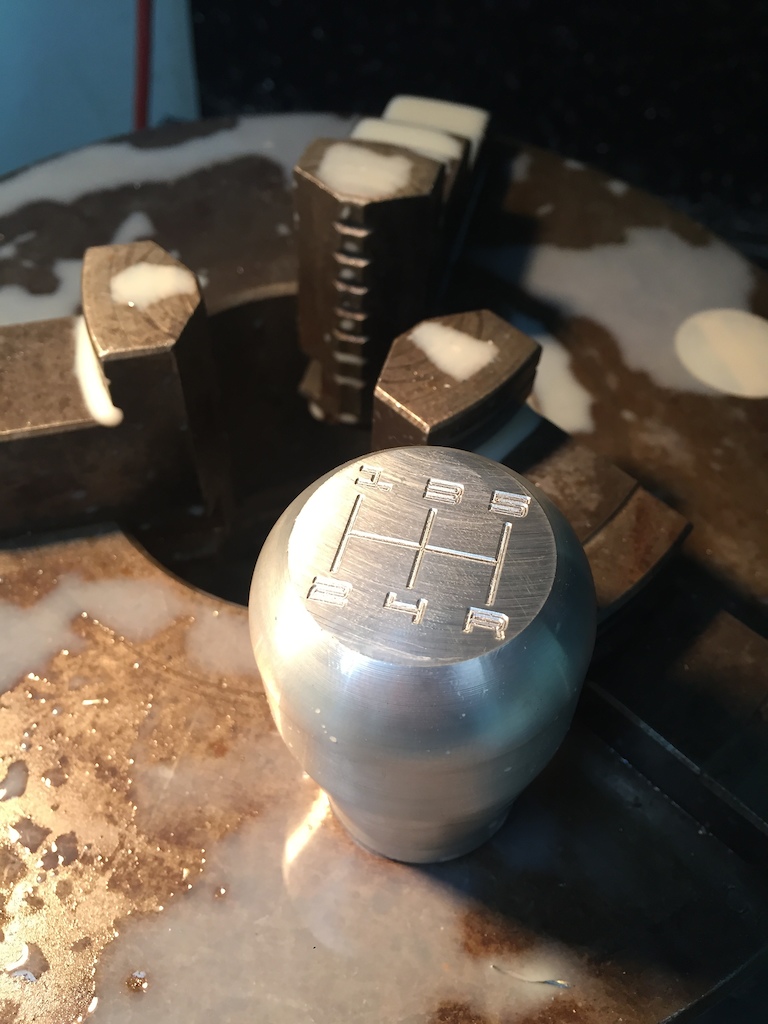
Had some free lunch breaks at work so knocked up a new gearknob to replace the worn painted silver one. ( Quite fancied the 911 font, although not exactly jap )
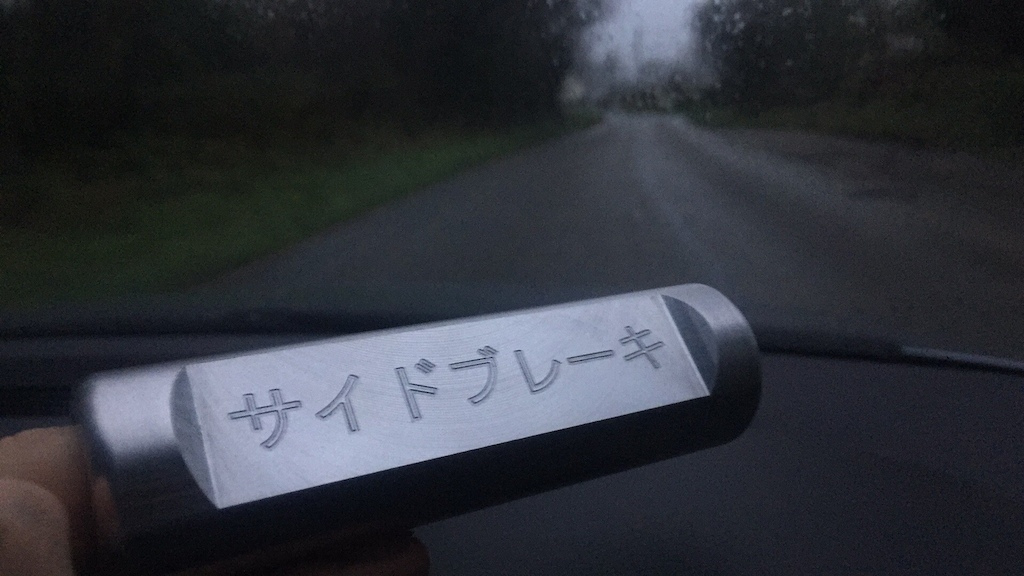
Also made a handbrake lever
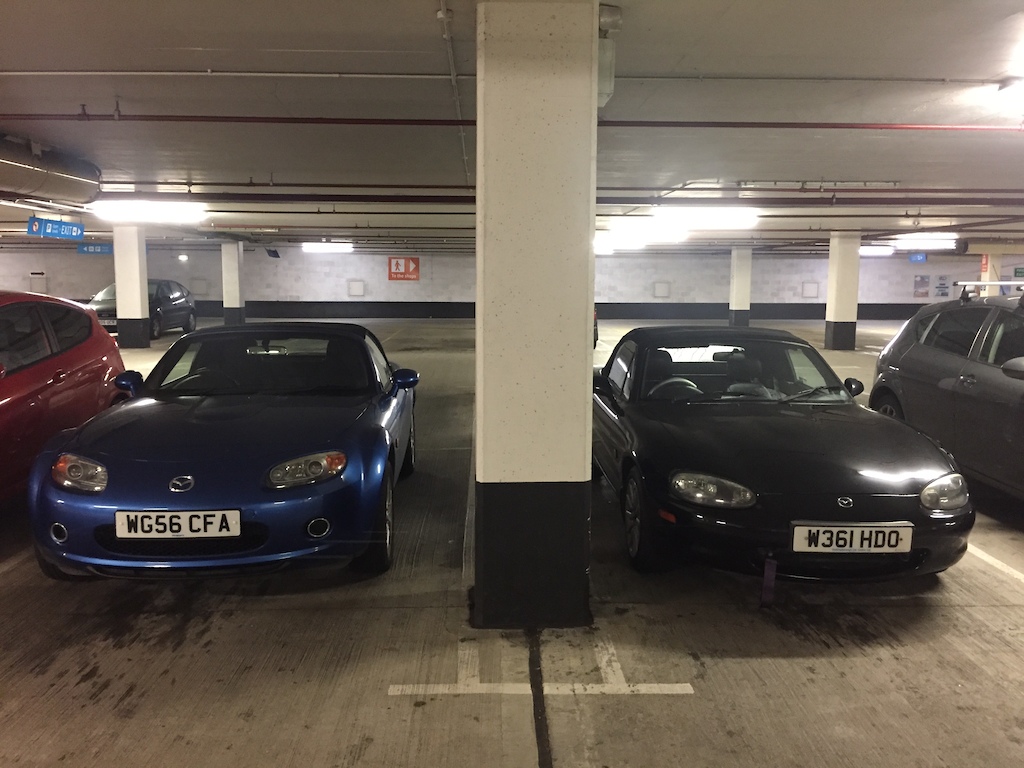
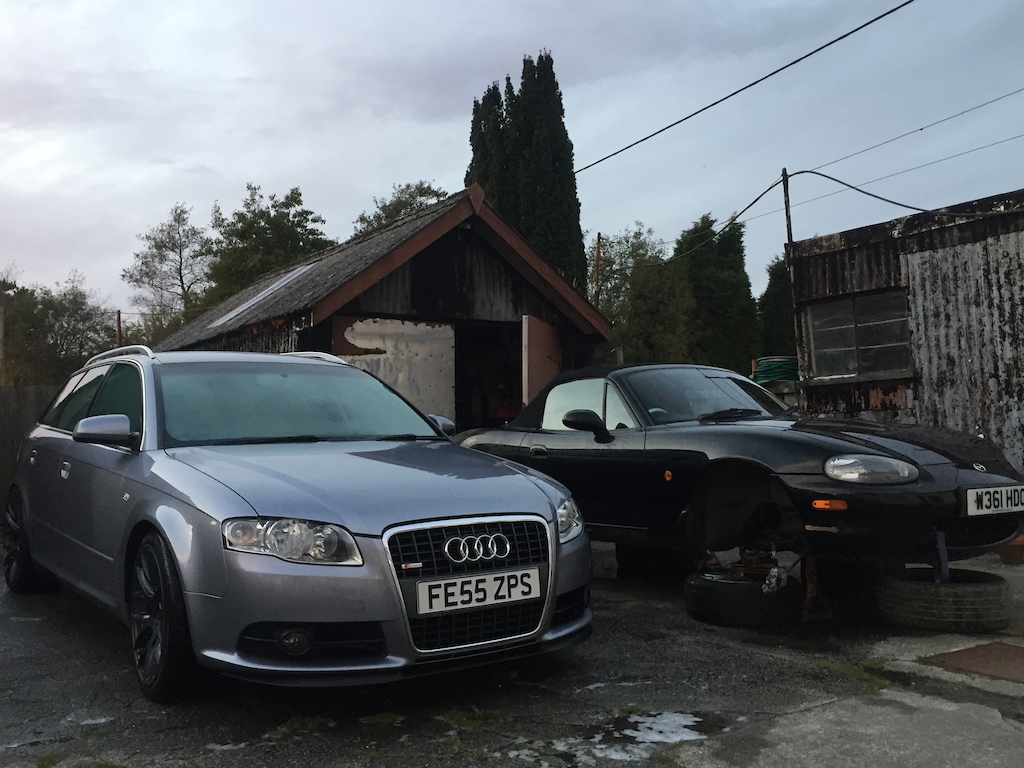
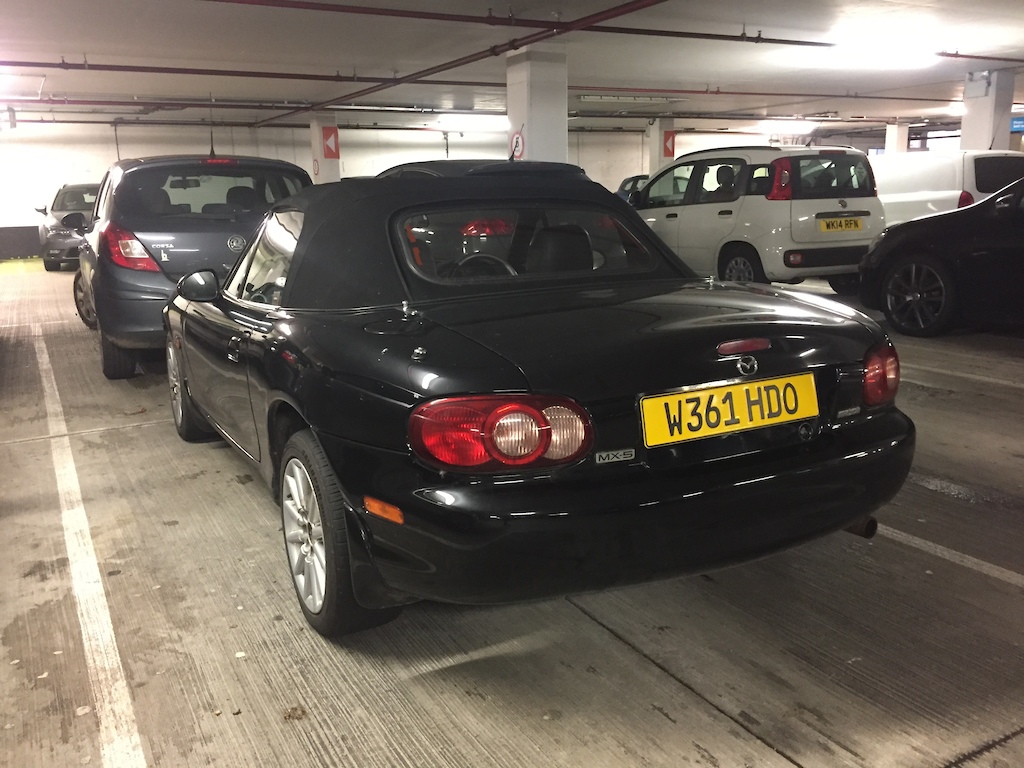
One sad looking Mx5 and one clean Audi.
-
8
-
-
Found a water leak that was causing me to lose about 500ml a week. Fearing the worst i had a good scout round and found this excellent bodge. Snapped tee piece with zip ties holding it in place
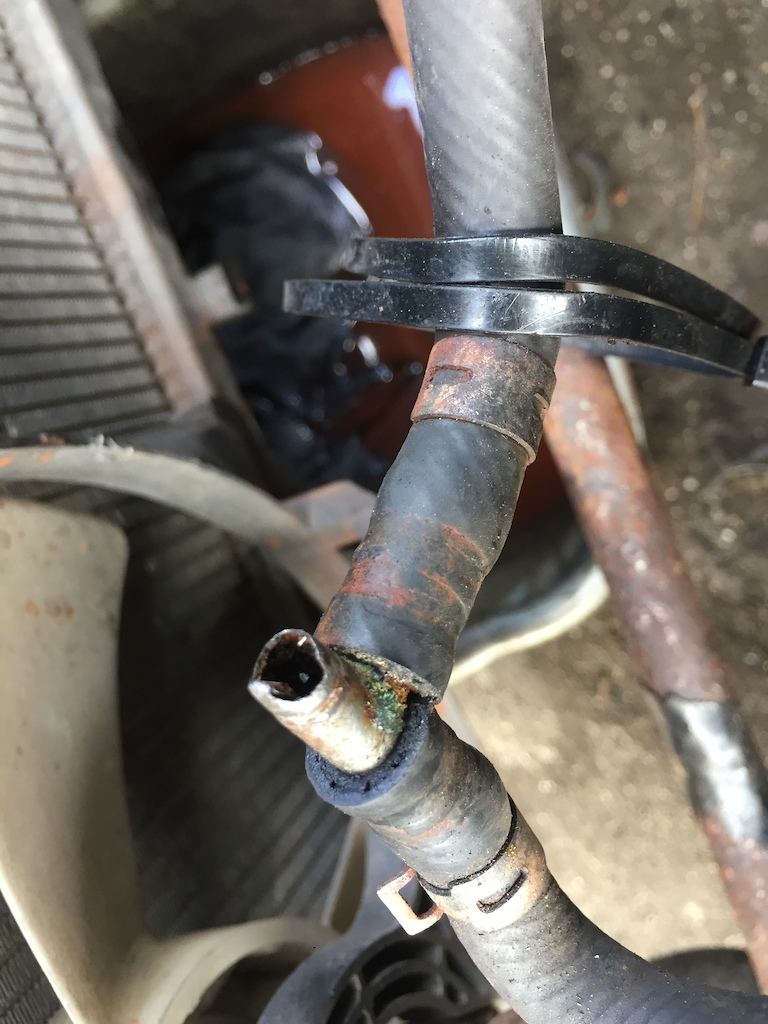
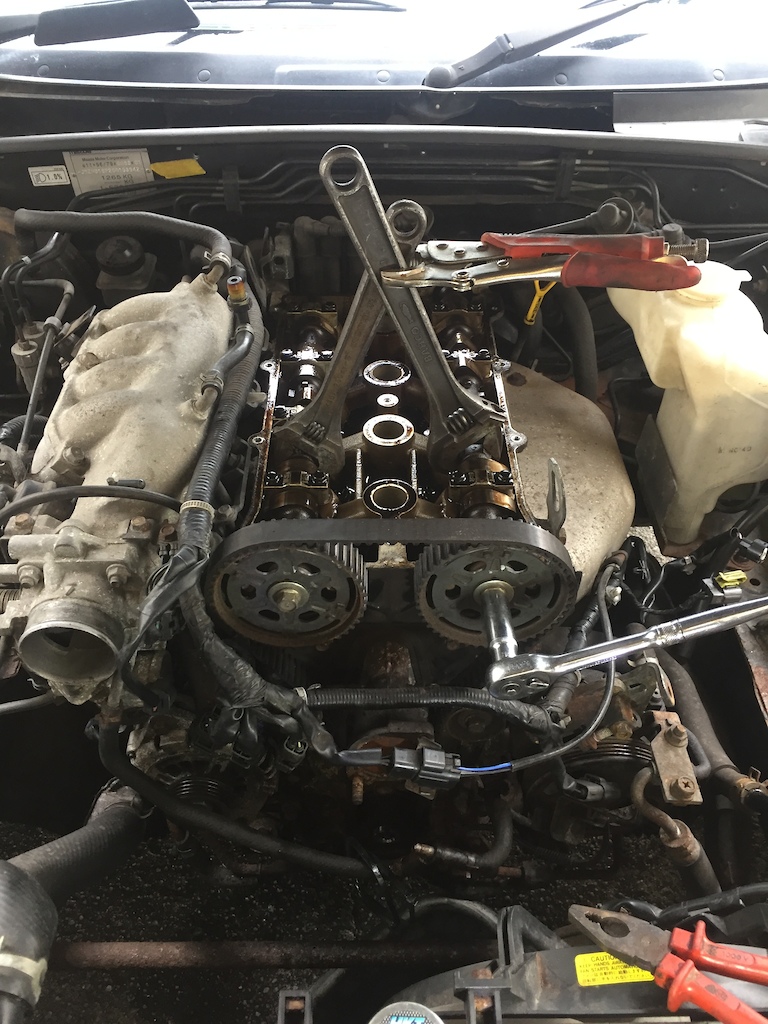
Decided to change the Cambelt, water pump and fix the above.
Decided I really wasn't a fan of the original Jasper Conran wheels so thought a change was in order. Picked up these on the cheap from a local buy/sell page at £95
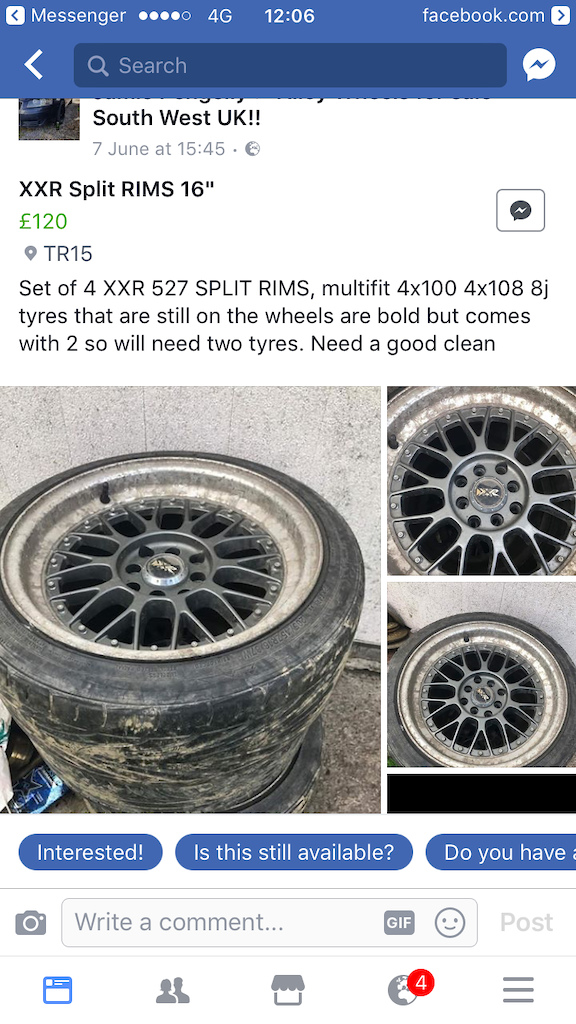
Maybe a tad chunky tyres
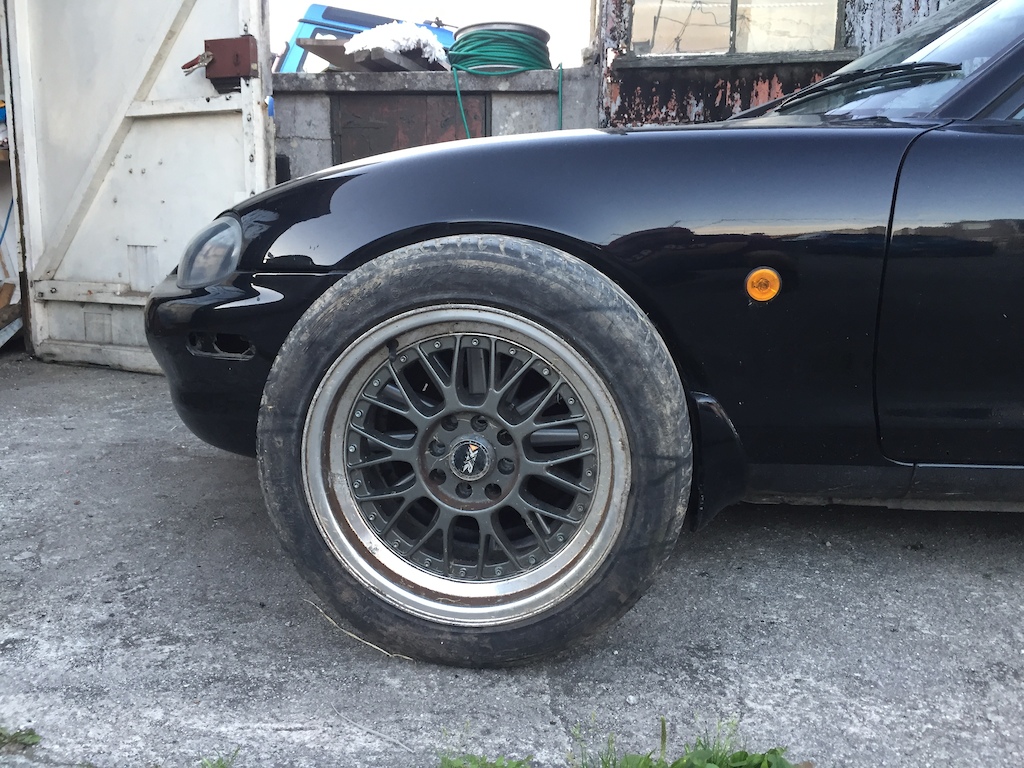
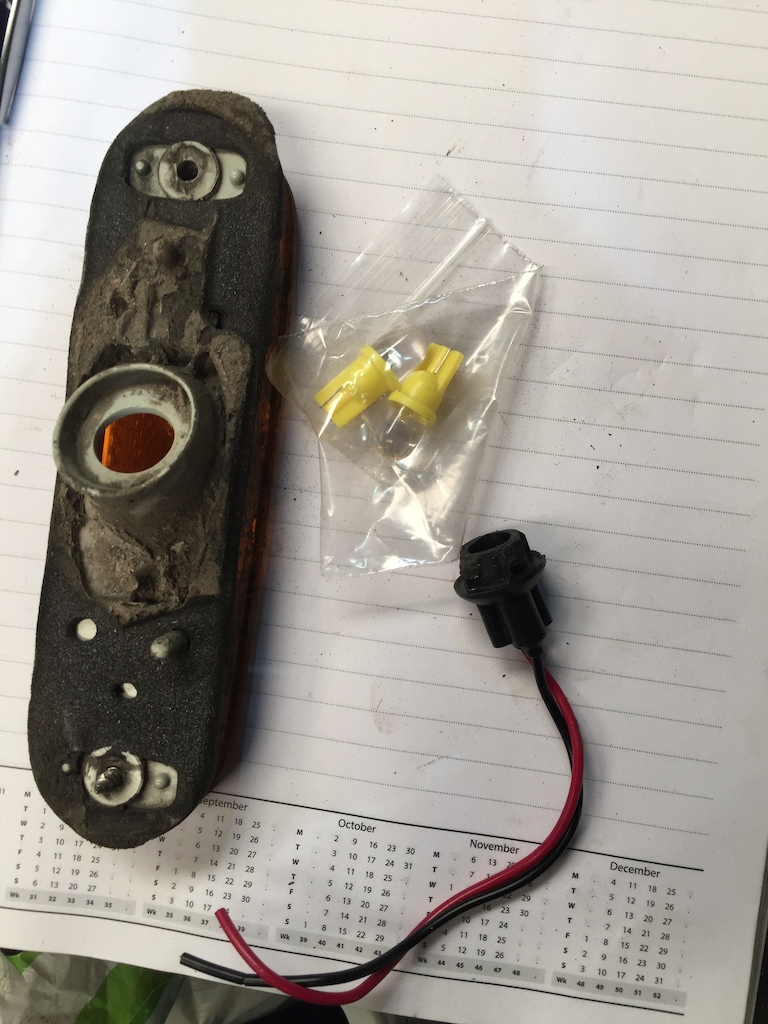
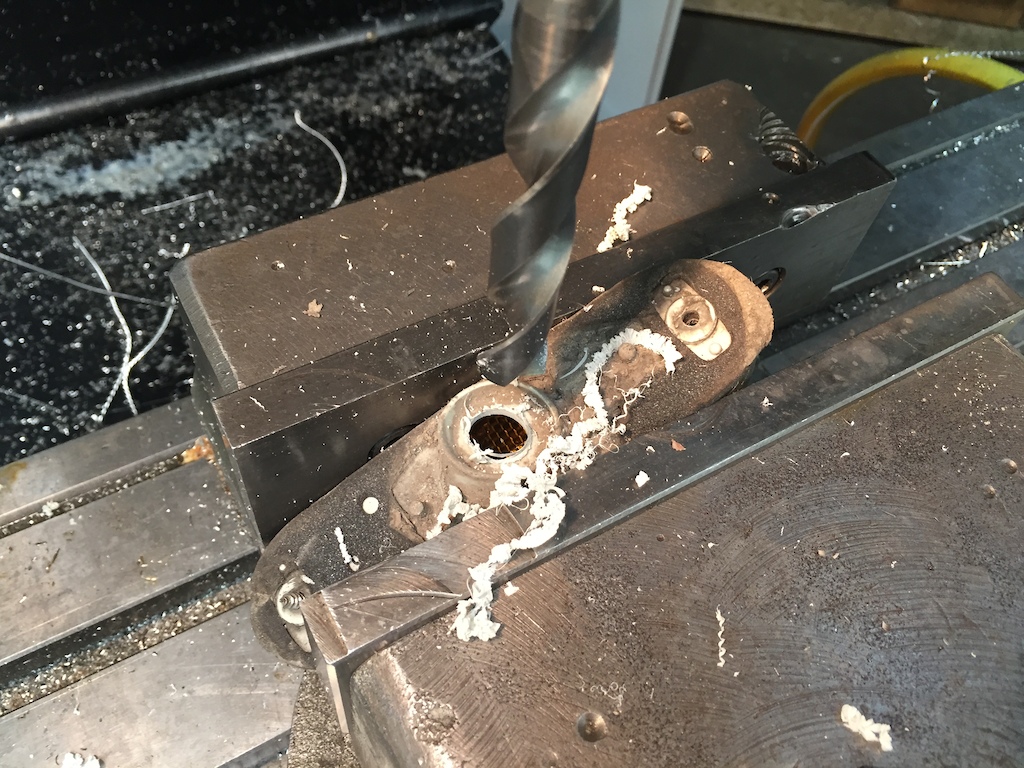
Fancied modifying the standard reflectors into US spec daytime running lights.
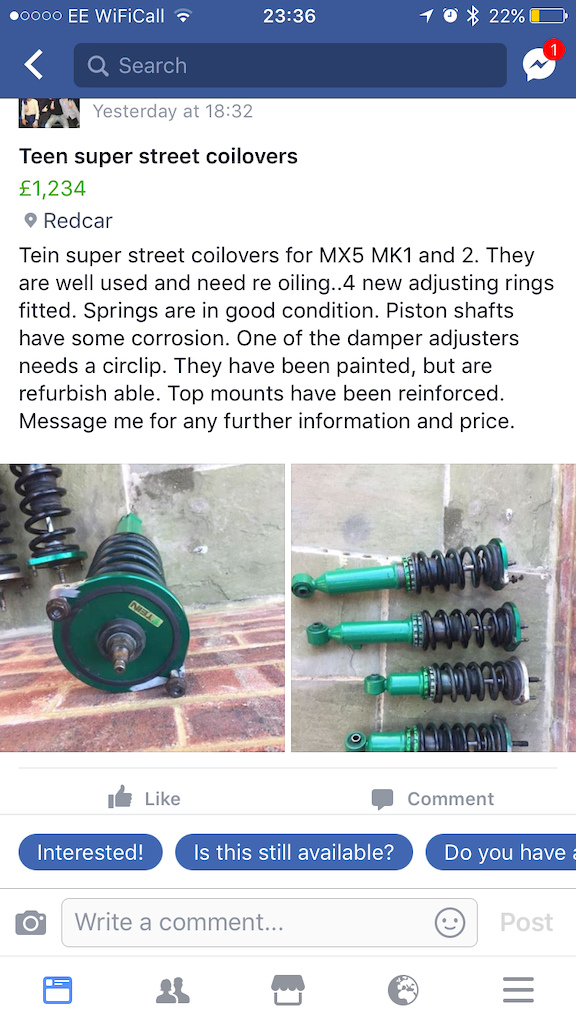
Managed to find some cheap Tein coilovers, fancied rebuilding them as I work at a hydraulics company.
Thought I'd do some more aesthetic improvements so removed the numberplate and its nasty plinth ( found about 4 sets of holes
)
Found a breaker Mx5 on the way up country to see some family so made a detour and grabbed some mint wings , mk2.5 rear lights , bootlid lights wheel nuts and a full airbox setup for £70. Locally managed to source a rear bootlid to replace my rotted one for £15
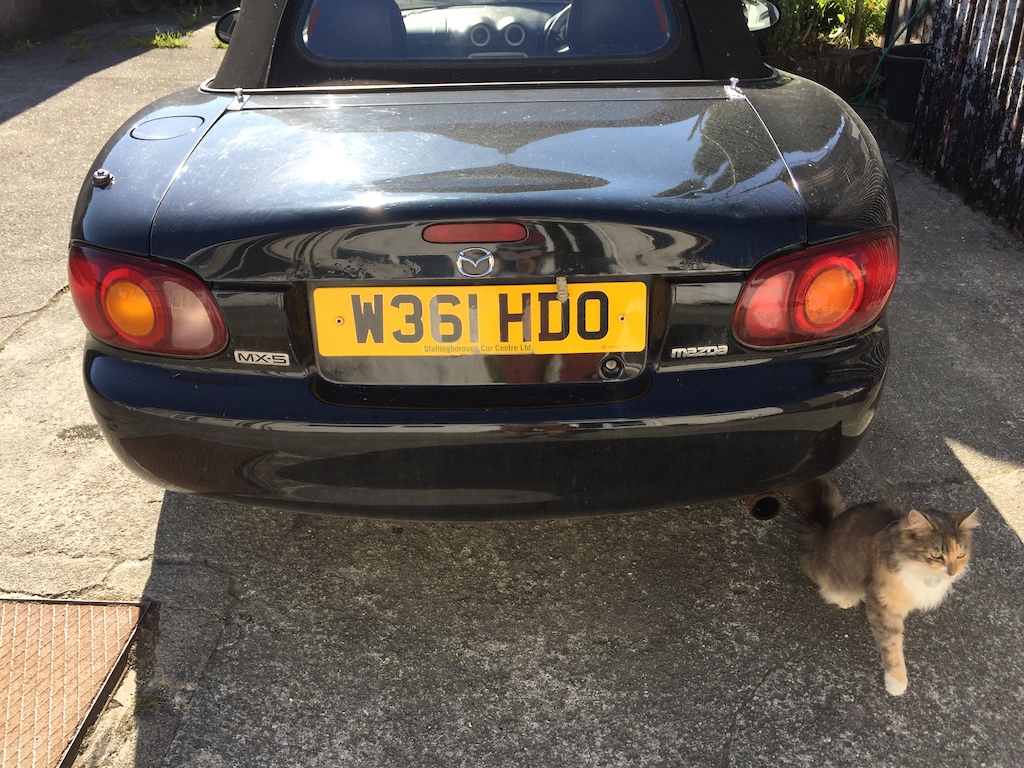
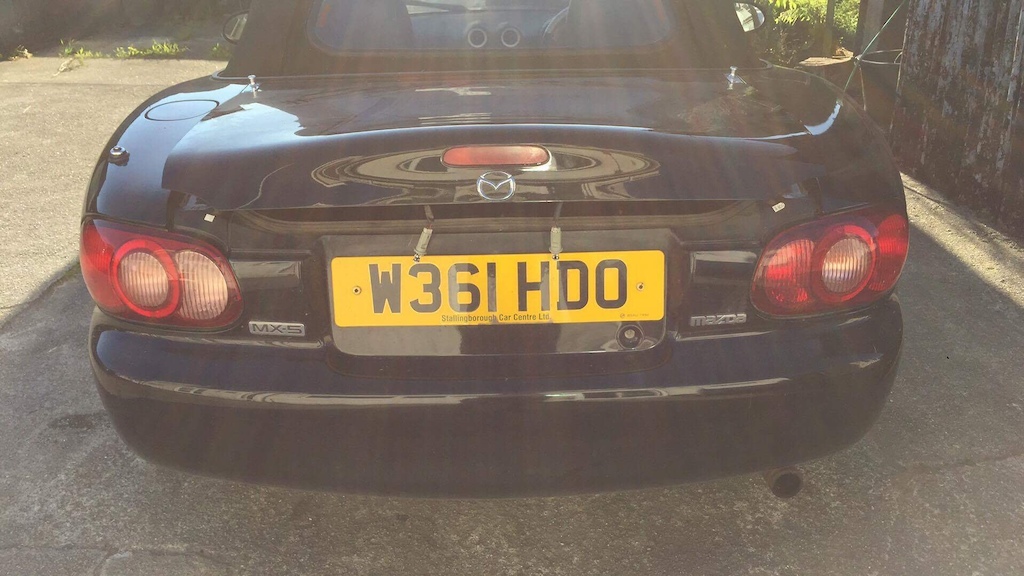
Fancied some pressed plates as thats what I run on my Audi. Not very JDM etc, but I like the look of it.
-
1
-
-
Done loads to the mx5 so going to do a lazy copy-paste from Nutz
As the roof decided to drop copious amounts of water into my passenger footwell, I invested in a new mohair in near perfect condition for £60
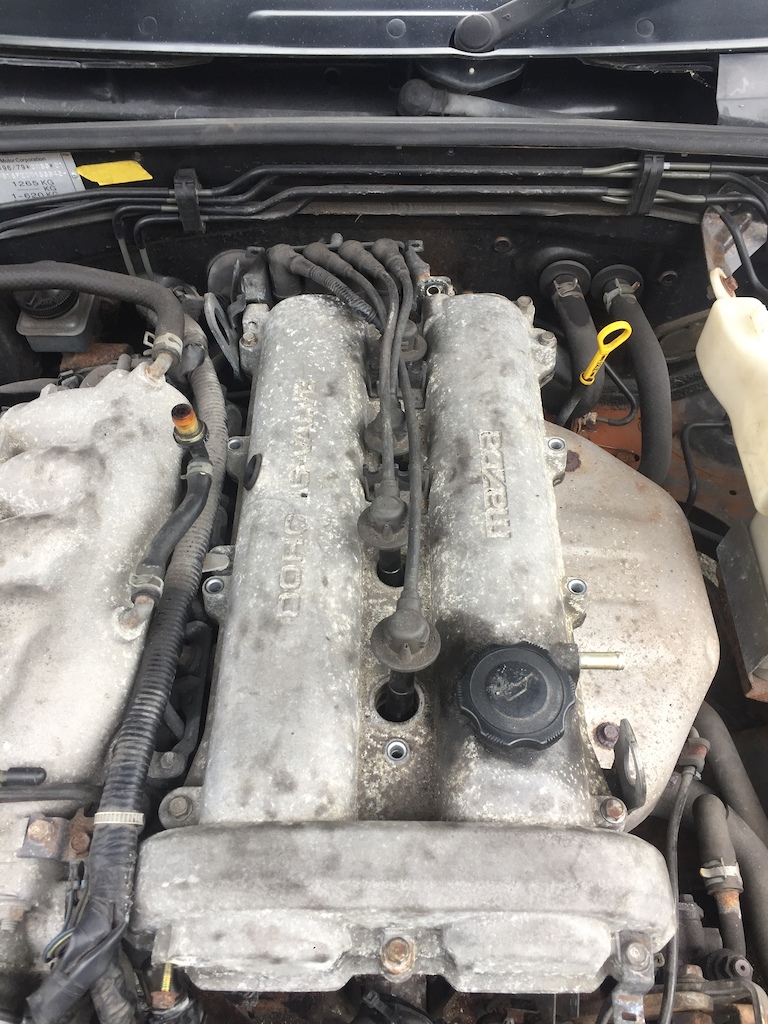
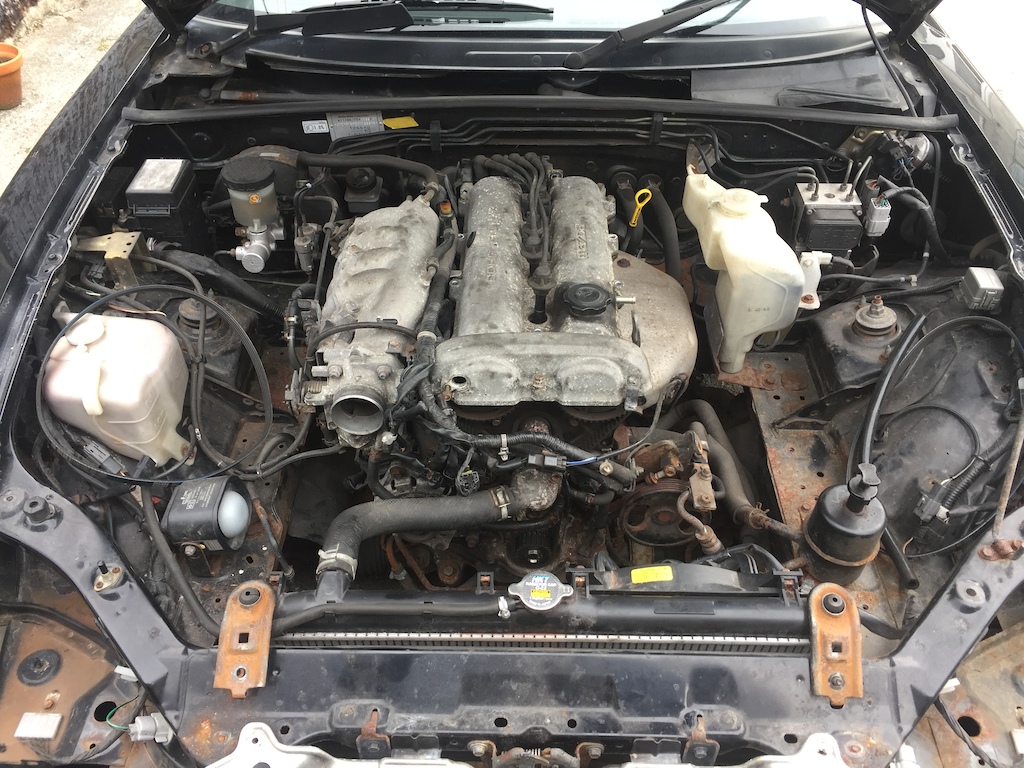
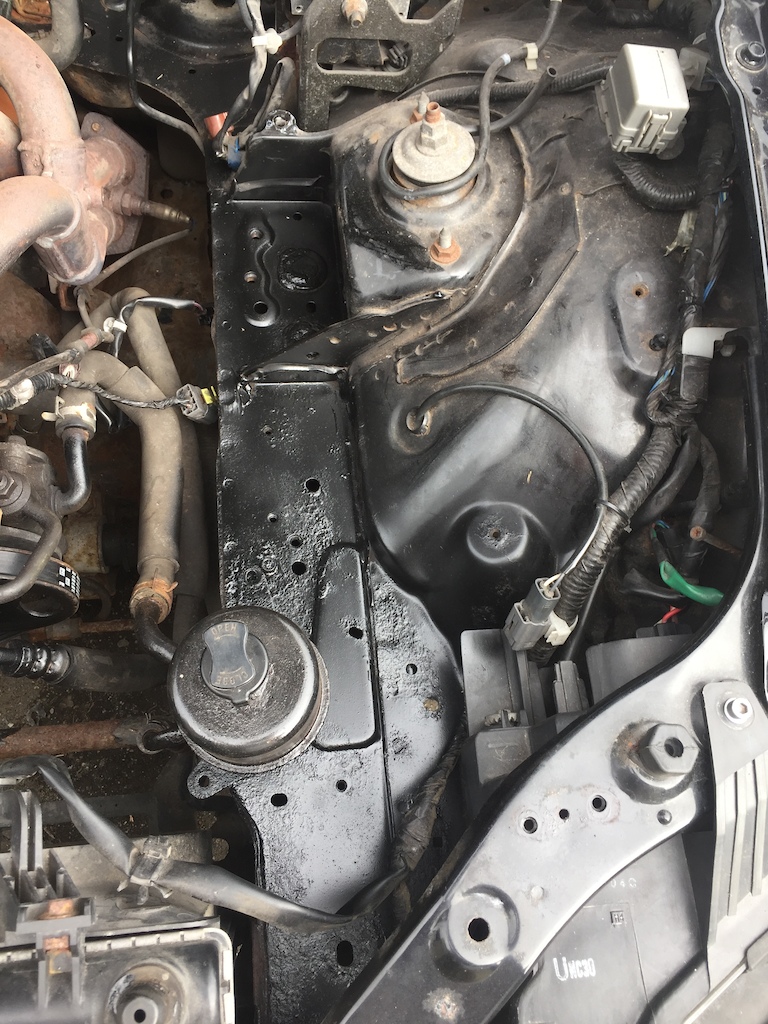
Engine bay looking sorry for itself...note the surface rust on chassis rails. Decided it would be safest not to investigate just yet
What lies beneath?
heatshield looking pretty heavily oxidised

Very grotty cam cover.
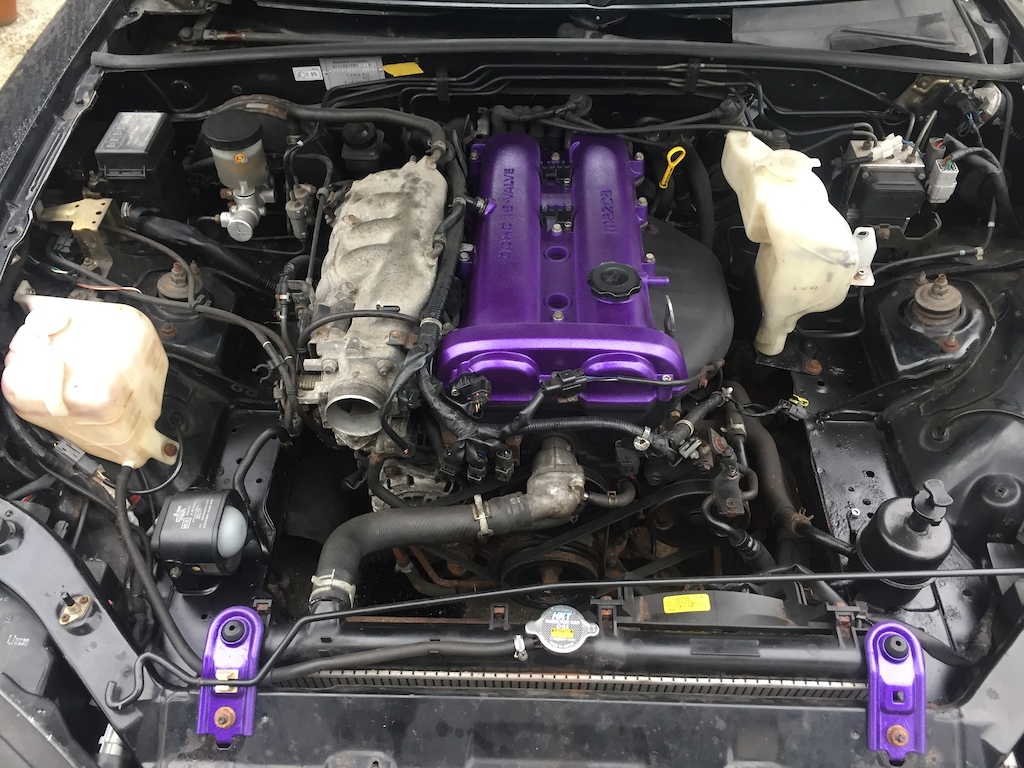
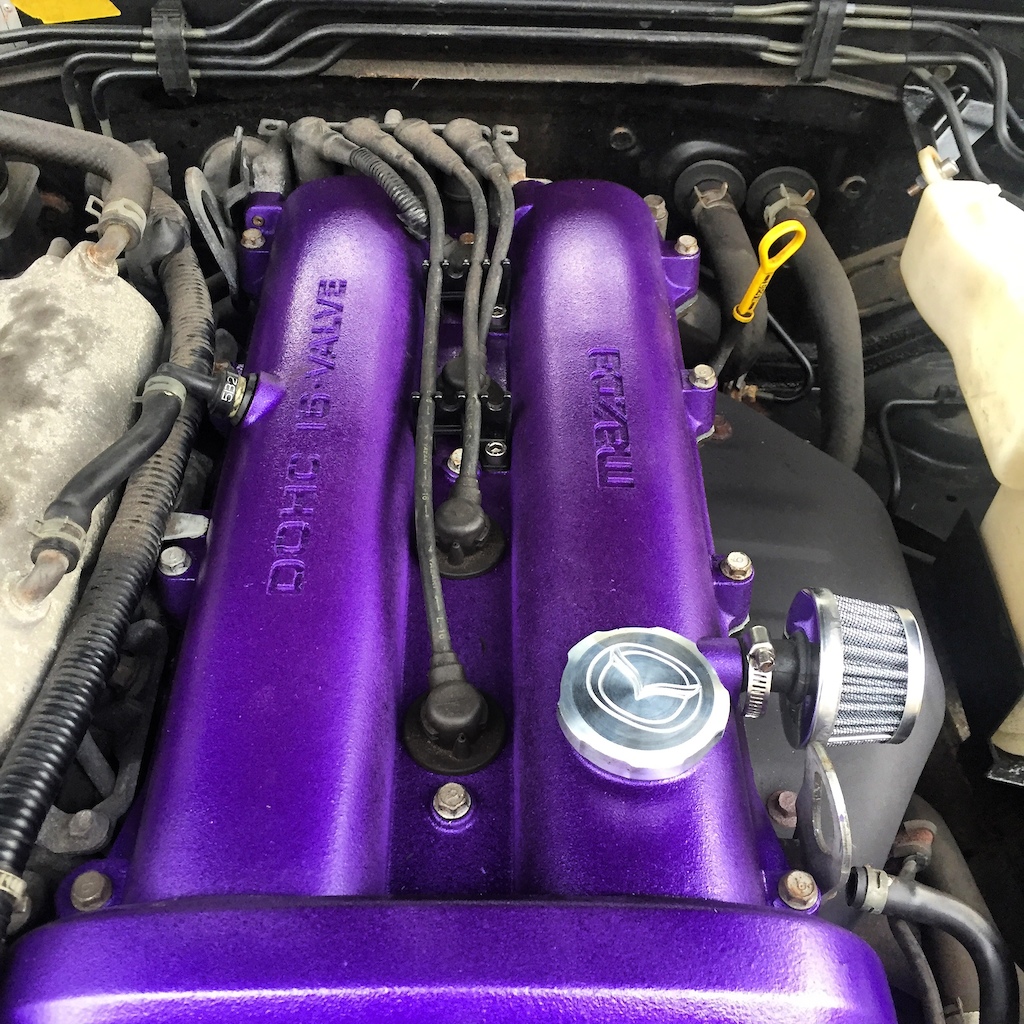
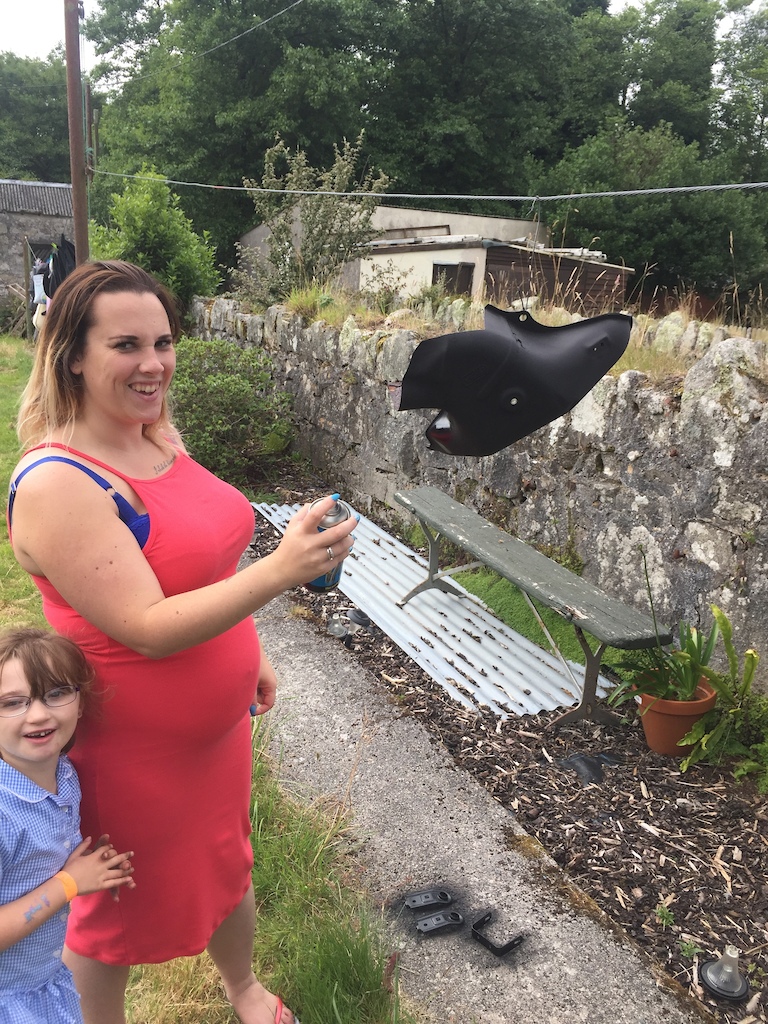
Decided that the bay needed a tidy up ; so painted the cam cover and radiator brackets with metallic purple VHT paint , fitted a crankcase breather and made a new oil filler cap at work ( CNC machinist by trade ) and sprayed the chassis rails and other bits and bobs.
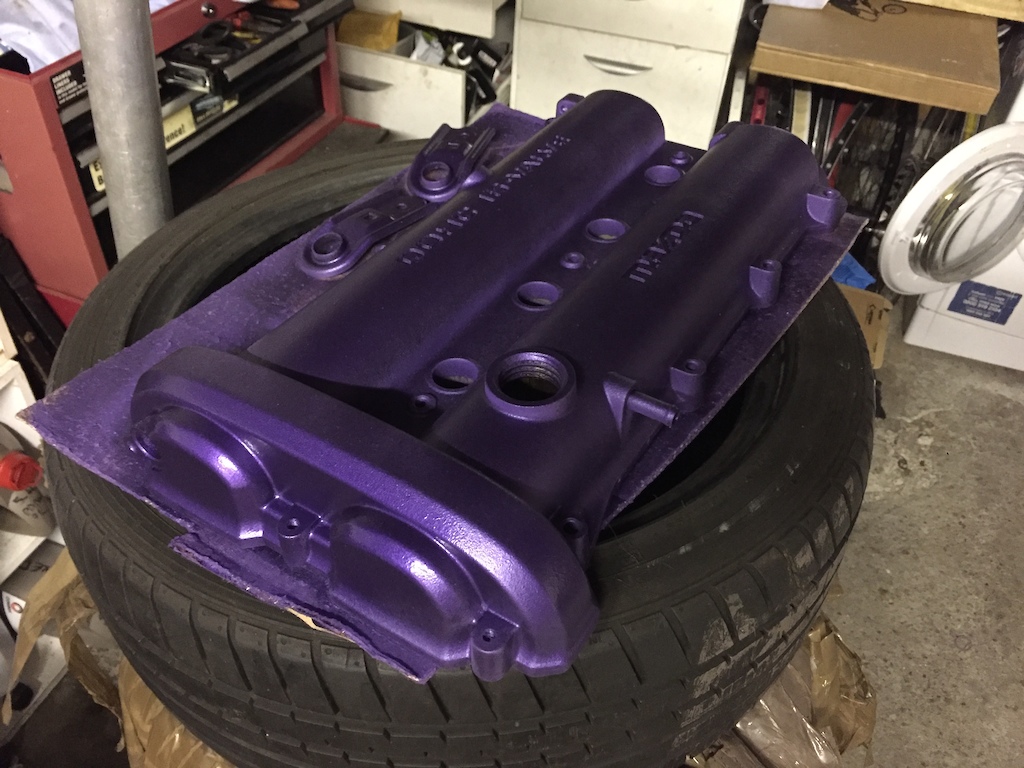
Cam cover whilst painting.
Fresh off the mill
Managed to get the pregnant Mrs involved in spraying / polishing the turd.
Chassis rails after some hammerite spray black
-
1
-
-
I believe its the same as the mk1 Inspired Fourplay geometry.
Got one at home, so could tell you the reach and CS length fairly easily
-
Turn sideways a little, so you're not gapping perfectly forward
Drop your hip toward the back tyre to compress and preload
Make sure you drop the front wheel.
Pickup in the air.
Extend your legs to absorb the impact.
Aim past the edge of the wall ; aim to land on top not against the edge.
-
1
-
-
Theres a few riders Plymouth way, and a pocket of us down in Cornwall
-
1
-
-
July 15th, Castle Park 10am
Would be great if we could get a good attendance to start the Summer
-
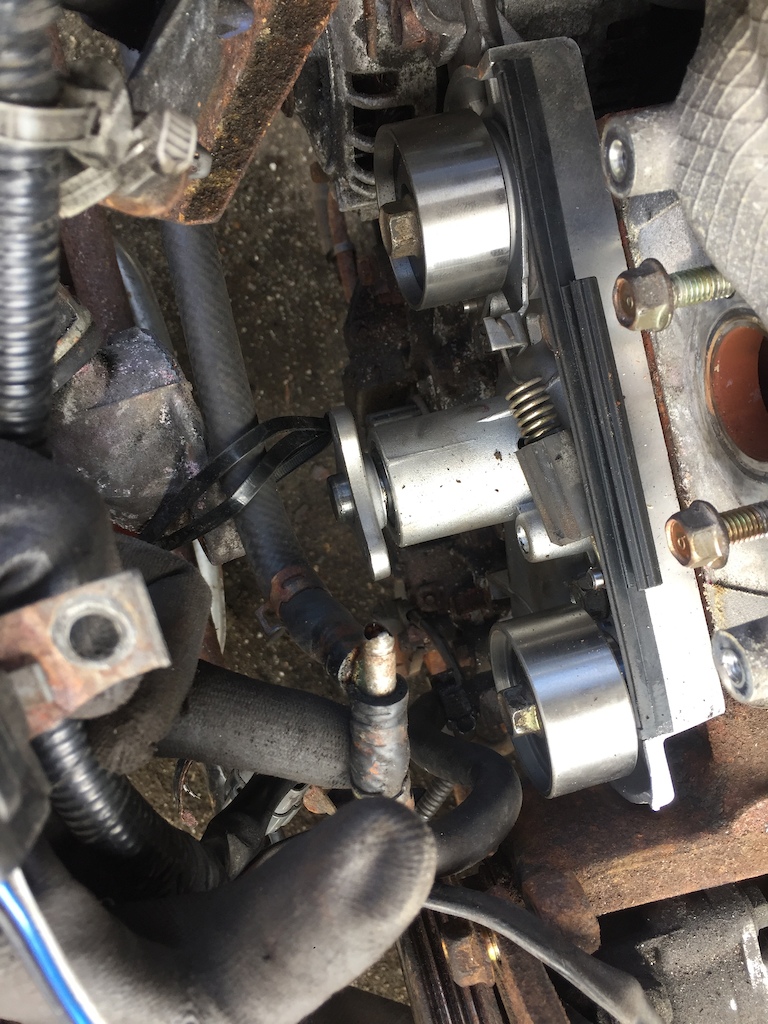
The newer one looks to have wear rings or backup rings installed .
The former will help support the piston and prevent scoring against the bore ; the latter will allow the o ring to tolerate higher pressures without extruding / deforming ( not needed due to the low pressures involved )
-
Few of us Cornish headed up
See you there
-
1
-
-
For the bottom bracket height of the stock the front end is likely far too high as mikeee has pointed out, hence... lose most of the spacers
-
2 hours ago, Mark W said:
Adding another pallet is a pretty sizeable jump in height, and if you've got something like it being above barheight to mess with your head that won't be helping. If you've got any other random bits of wood around you could always try putting them under the top pallet to help boost the height up a little, and build up to it like that? Most pallets are around 6-7" deep, so if you can make a little stepping stone between the two that'll help.
This ...
Also, I'm the same with the 6-7 pallet scenario and I know a few others who top out also.
Seems to be going above bar is quite a mental barrier.
-
1
-
-
If it were me I'd run 1t heavier maximum than on pure trials bike. E.g. 18:14t with 175mm.
-
1
-
-
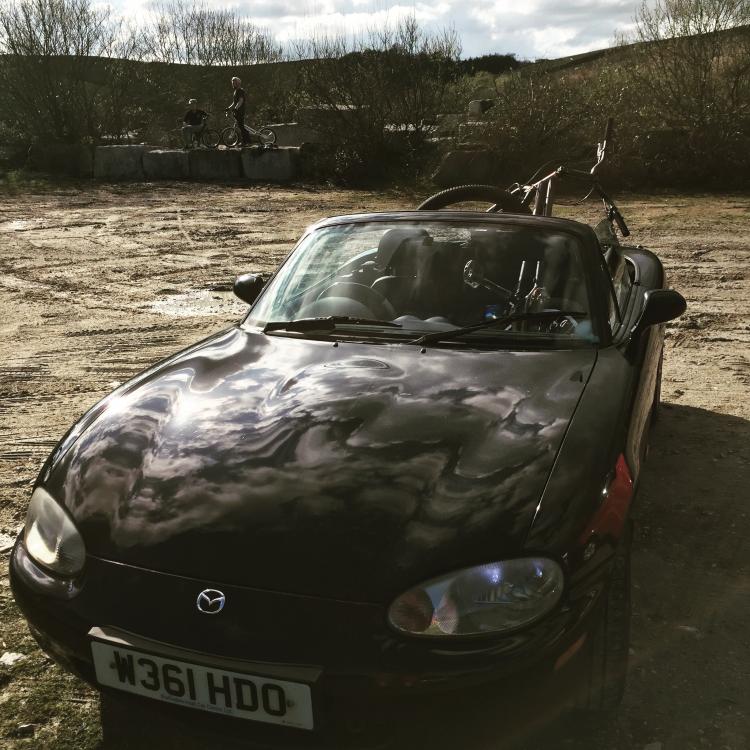
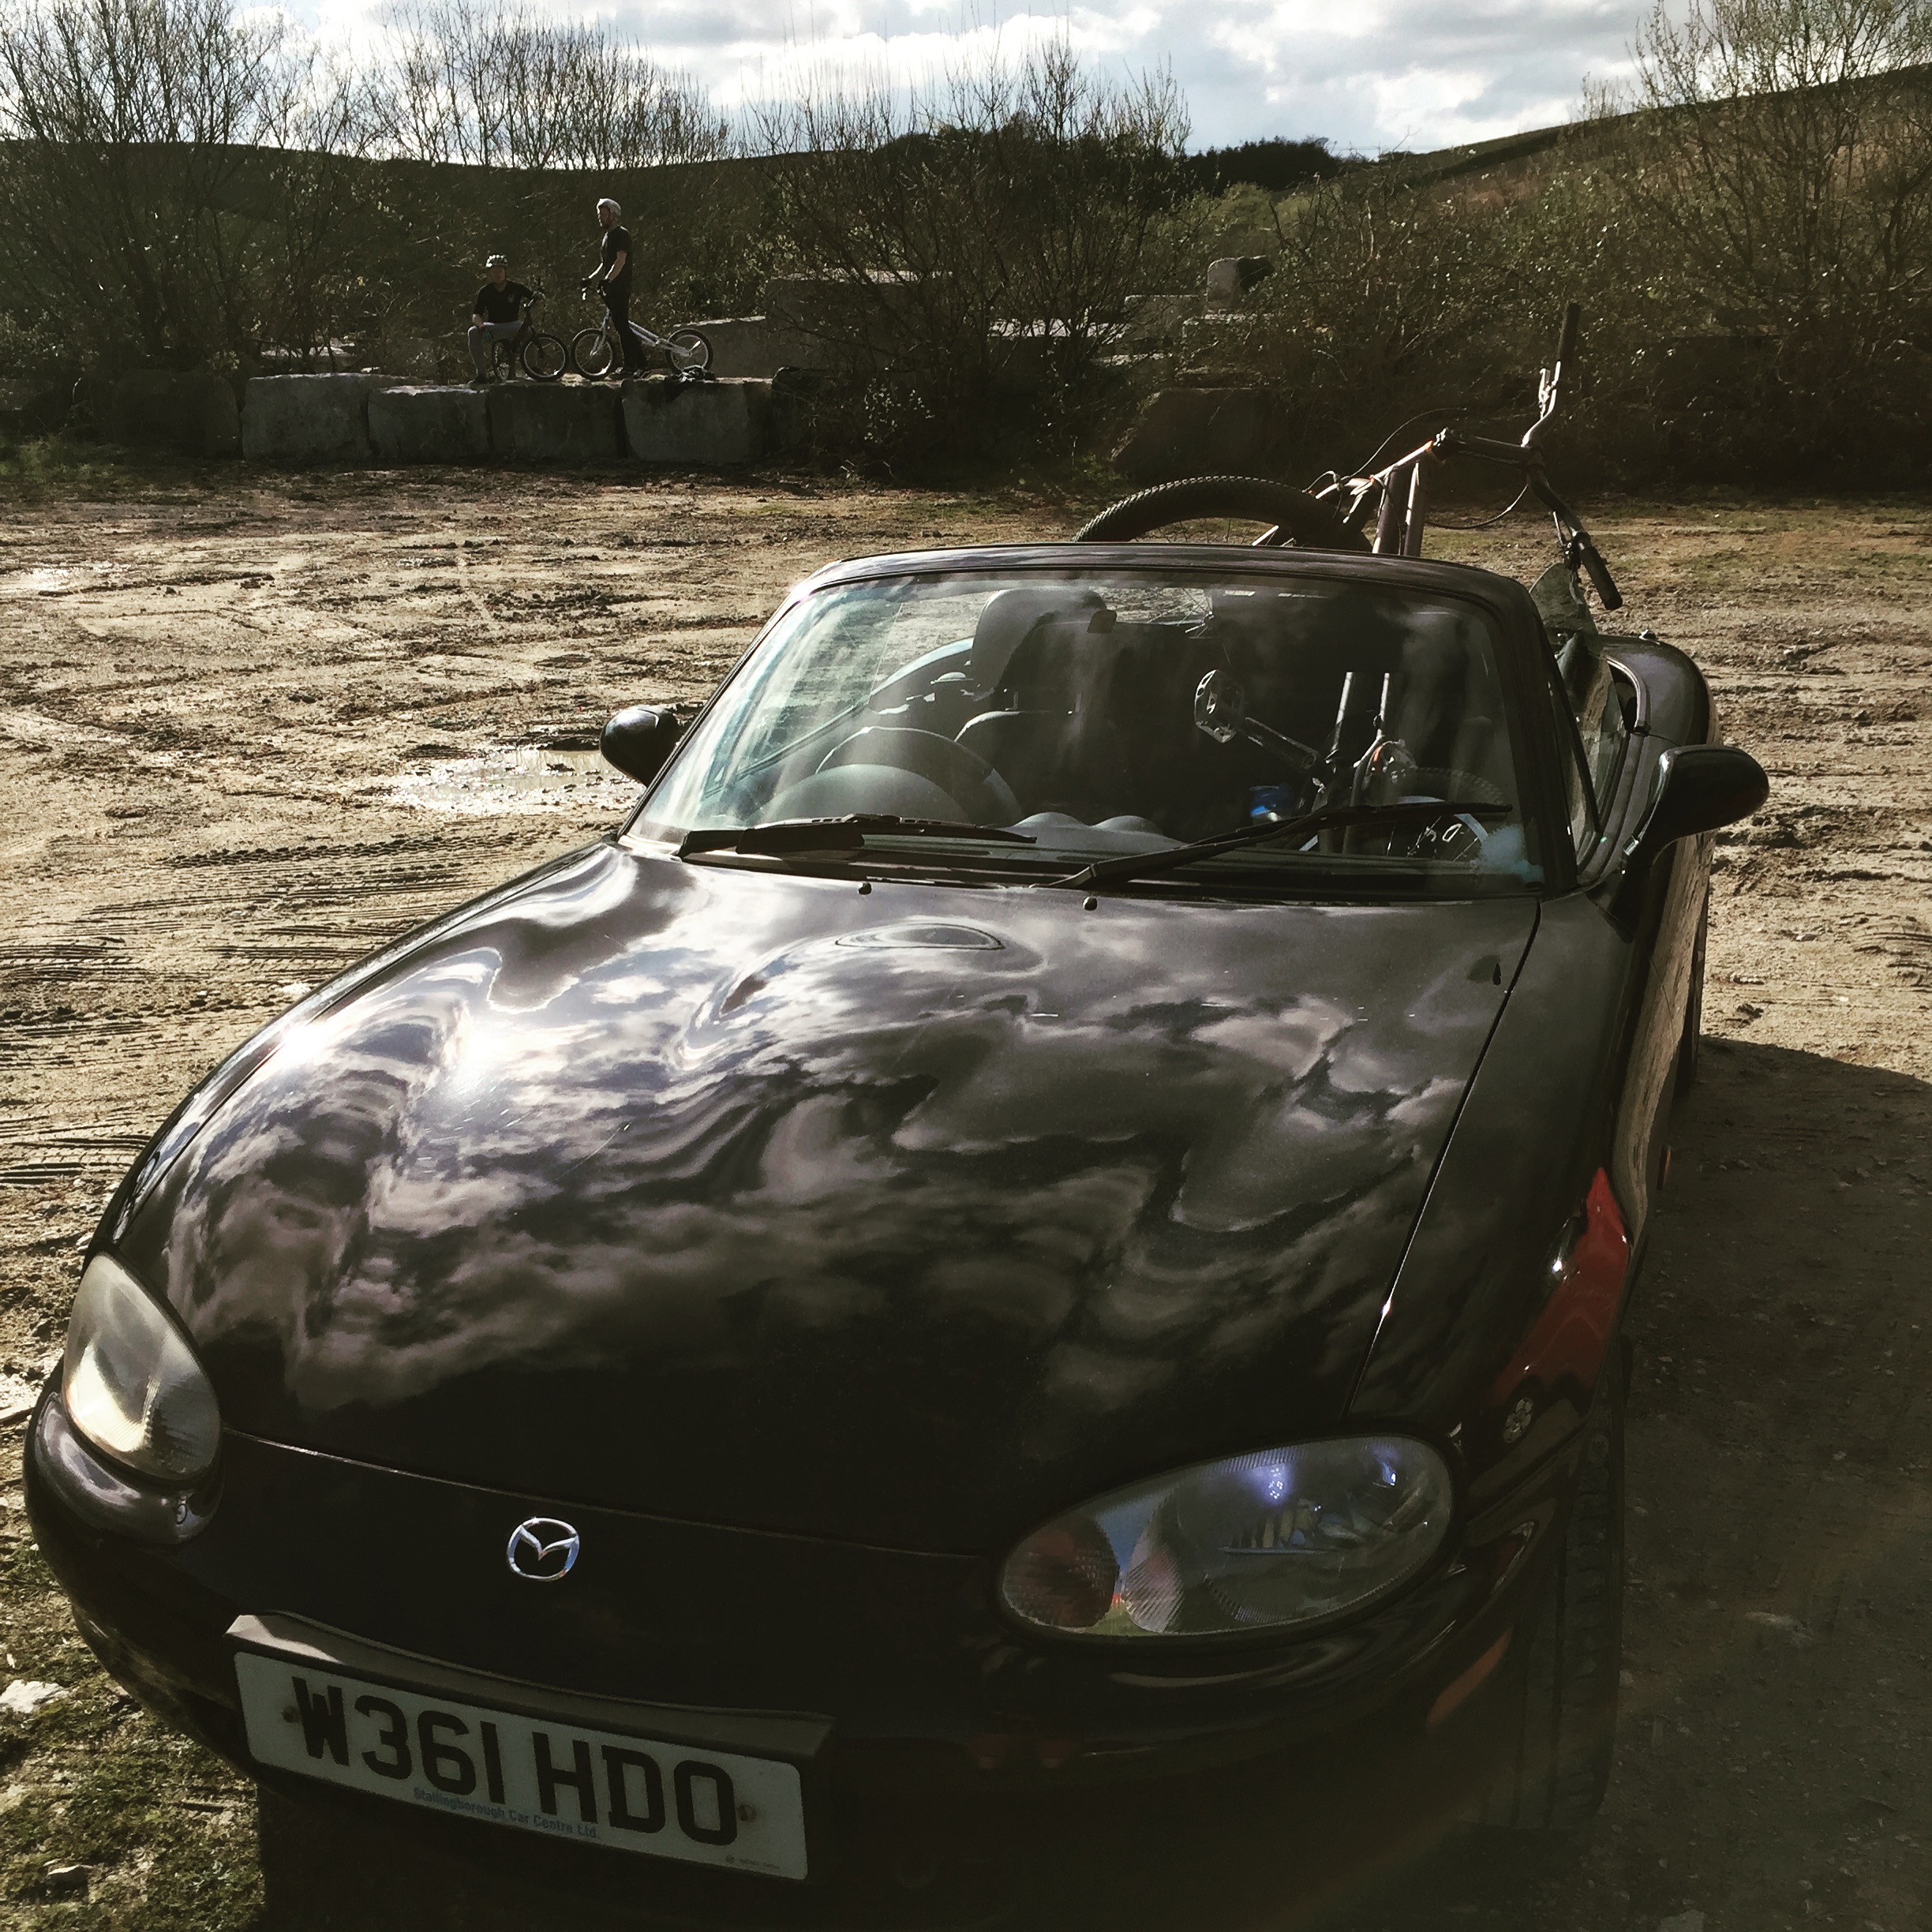
Mx came out with the Echo
-
3
-

The Car Thread
in Chit Chat
Posted
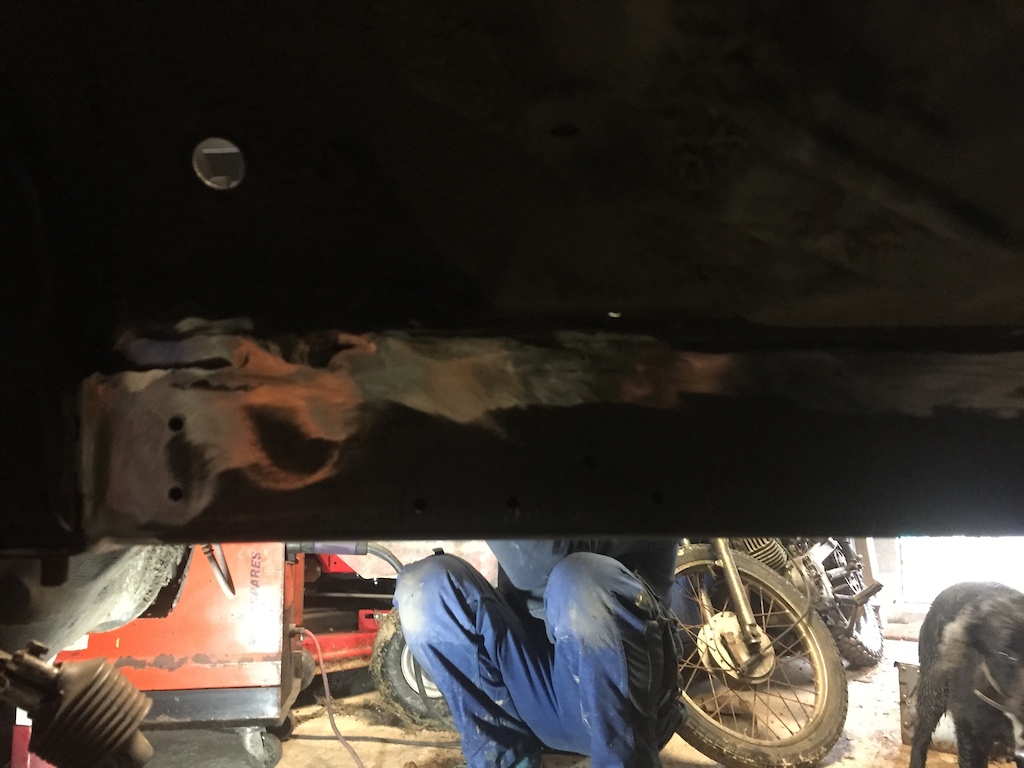
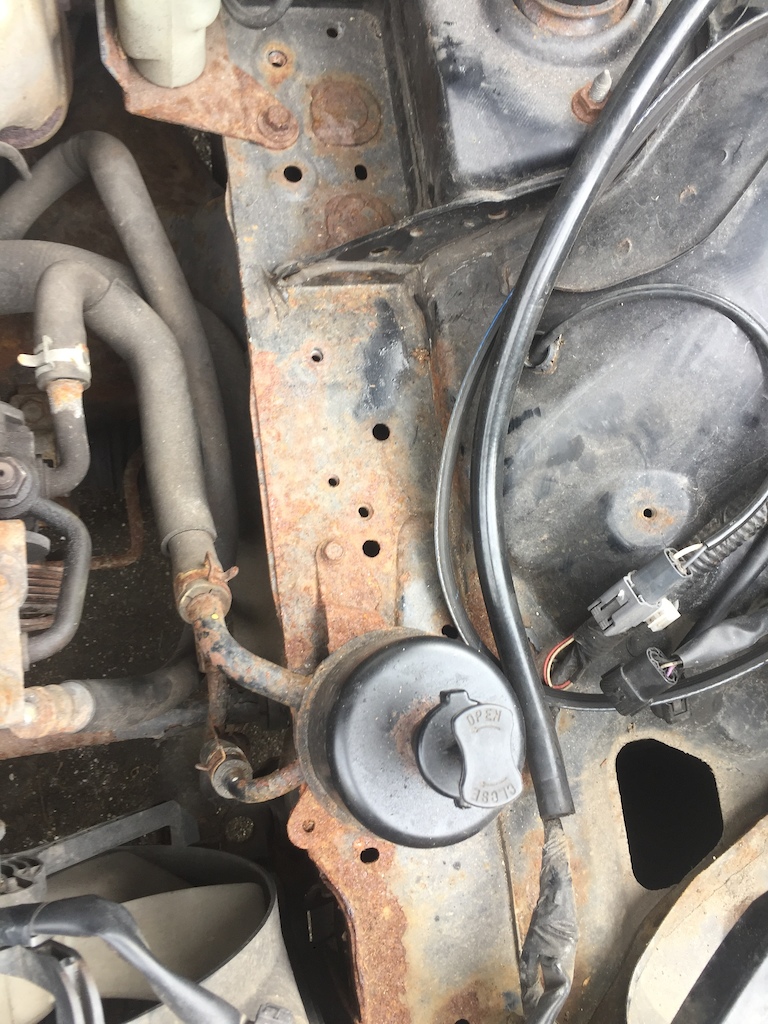
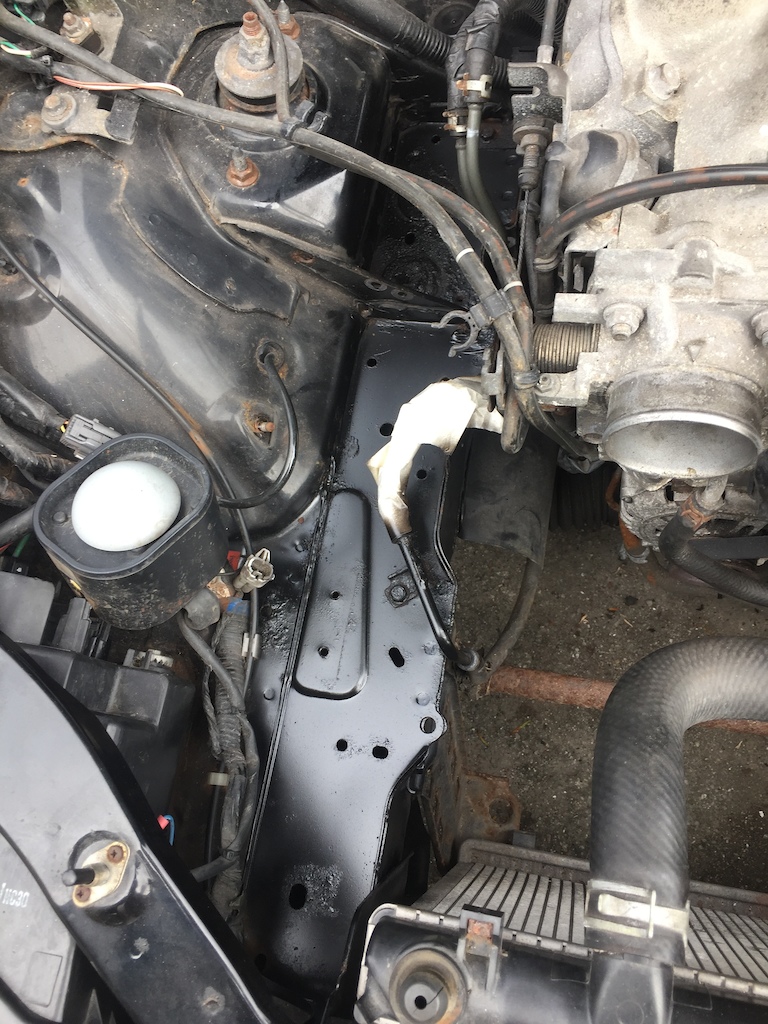
So got a few hours in on the weekend ; wire brushed the subframe and gave it a couple of coats of raptor.
Also cleaned up the entire length of the chassis rails, some small patches of corrosion near the brake lines / front subframe mounts and gave it all 2 layers of raptor.
I REALLY don't understand how anyone can repair the chassis rails without taking the engine out!