forteh
-
Posts
5935 -
Joined
-
Last visited
-
Days Won
68
Content Type
Profiles
Forums
Gallery
Everything posted by forteh
-
I'm afraid that my garden isn't particularly big enough to pitch a tent in, whilst I might have some floor space is a little inconvenient with the kids etc. I could probably let you camp out on our company car park though, not grassed but private land so should be OK to pitch up with permission. Literally 5 minutes drive from the track. edit: on second thoughts you would need to be up and out the way around 7 sharpish. Let me think about that one as it might be possible.
-
Assuming that the head is off and the piston is at tdc, use oil and a syringe to measure your deck and crown volume (might have issues with seepage past the rings so worth repeating multiple times on different pistons or pack the back of the rings with a f**ktonne of grease if possible). You can then either use the throw of the crank and bore to calculate the bdc volume or repeat the oil measurements at bdc. Invert the head and repeat the procedure with the compression chamber, don't forget the plugs. Are you trying to measure the cr for information purposes or for ignition timing and fueling reasons?
-
Of course once normalised you can then temper the steel, as mark said the temper you use is dependent on the application. Or use a steel and/or manufacturing method that doesn't require further heat treatment, case in point standard and the ox platinum air hardening tubes If you're looking into furthering your heat treatment knowledge it might be worth dropping George French @ gsport a mail and see if he can offer any advice; I know he used t45 for his frames as it's stronger than 4130 but I suspect he would still be familiar with frame heat treatment in general. edit: upon further research it would appear that t45 doesn't require post fabrication heat treatment. I guess it would be a fair bit more expensive mind.
-
As far as I'm aware, normalising afterwards is all that is required, just need to restructure the steel in the haz. Someone with more experience might advise further, I would speak to @aener as he's built his own frames
-
Isn't this the part where you post photos of you wearing nothing but baby oil, fake tan and budgie smugglers?
-
Having watched and absorbed the sram service videos I'm quite happy to strip and rebuild it, would have to invest in the tooling to do it properly but I understand you can do it all without. There's nothing particularly complicated in there, just a lot of bits and pieces to replace
-
Chase up the trials whores in Facebook, they're Burton and Derby way, I'm down the road in Lichfield but rarely get time to ride at the moment
-
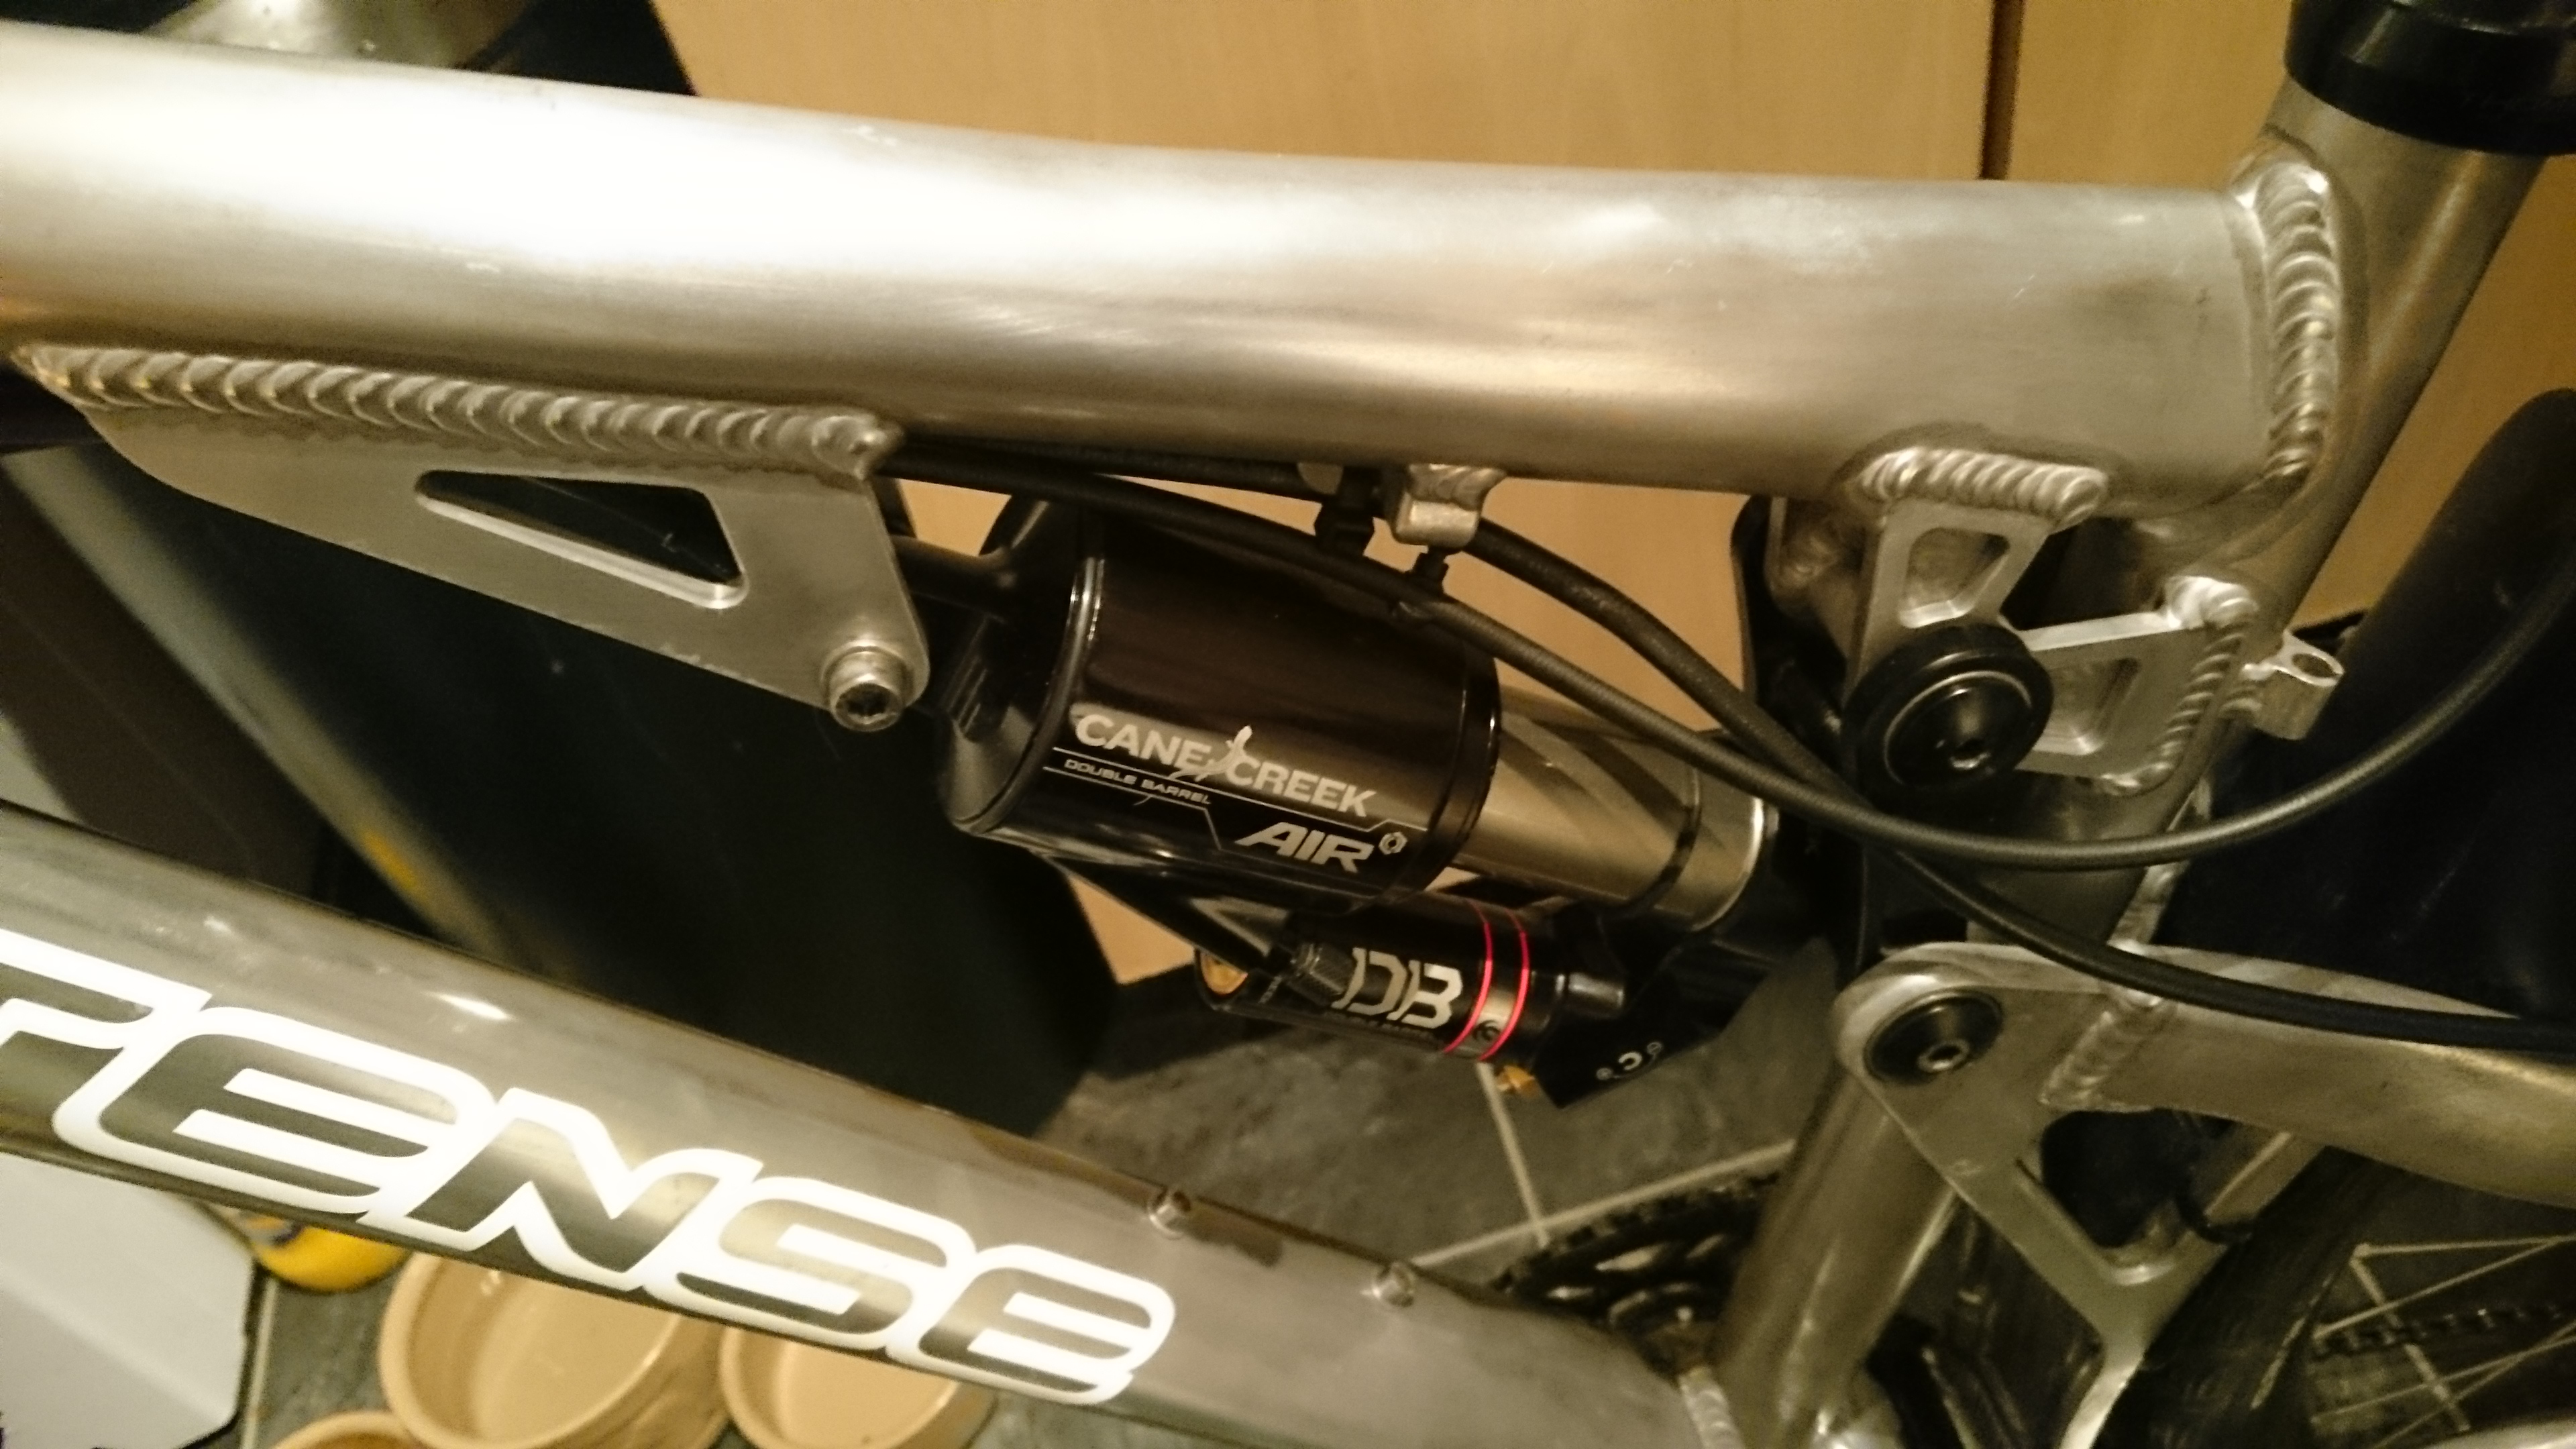
Just for the hell of it Also realised my reverb could do with a full service, pretty sure the top bushing is shot (a little fore and aft play at the dust seal) but whether to send it off to tftuned for 85 quid or spend 40 quid on a service kit and do it myself?

-
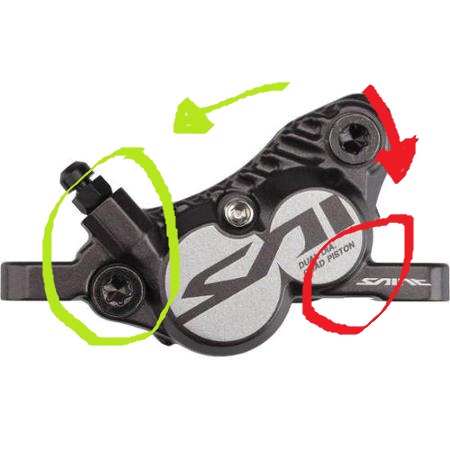
Yup that would figure, the fixing is holding the bolt slot in compression (how castings like to be), the flex (what castings don't like) would then be introduced in the span between the post mount and the main body, failing at the stress raiser which is thinnest section at the bolt hole.
-
Pretty much although I guess some calipers will be stronger than others though. Essentially if you're using the caliper backwards it's putting forces through it that it was never really designed to withstand. Look at the attached artistic impression, the green arrow is the normal direction of forces through the caliper, note the large amount of the body in compression (inside the green circle), the red arrow is the backwards direction of forces. Now consider the relative amount of material in the red circle compared to the green. I'm betting the caliper snapped on the rear most mount in the red circle
-
Brake calipers aren't designed to withstand rearwards forces, let alone shock impacts from landing backwards with the wheel locked
-
They lack power compared to modern brakes (hence the need for 203/185 rotors) but they work fine, the lack of silly power does mean that it's far easier to modulate the brakes and not just lock up. I've struggled to get the front pads bedded in (using hope organics) because around cannock chase I simply cannot get enough heat into it on any of the descents, it's slowed me down faster than the heat builds. One of the gert massive hills on the brecon beast ride sorted that out and it's been much better since. Personally I would like them to be a little more powerful but beggars can't be choosers. I could probably drop to a 185 front rotor but I don't have one to match, neither do I have a 165 caliper (to go on the +20 adaptor) to fit it.
-
Works for me, I've got a car that I can comfortable camp in
-
Ah yes, I had missed that differentiation, you need the flush fit headset not the external cup type
-
Unfortunately you do (unless hope have done majick), you need a 44mm ID headtube to fit the larger lower race in, a standard 1 1/8" headtube is around 35mm ID and tapered steerer tubes are 38mm. It might be possible but you would likely have to add around an inch to the height of the lower headset stack and the movement on a cantilevered bearing like that would be phenomenal and completely negate the benefits of the stiffer steerer.
-
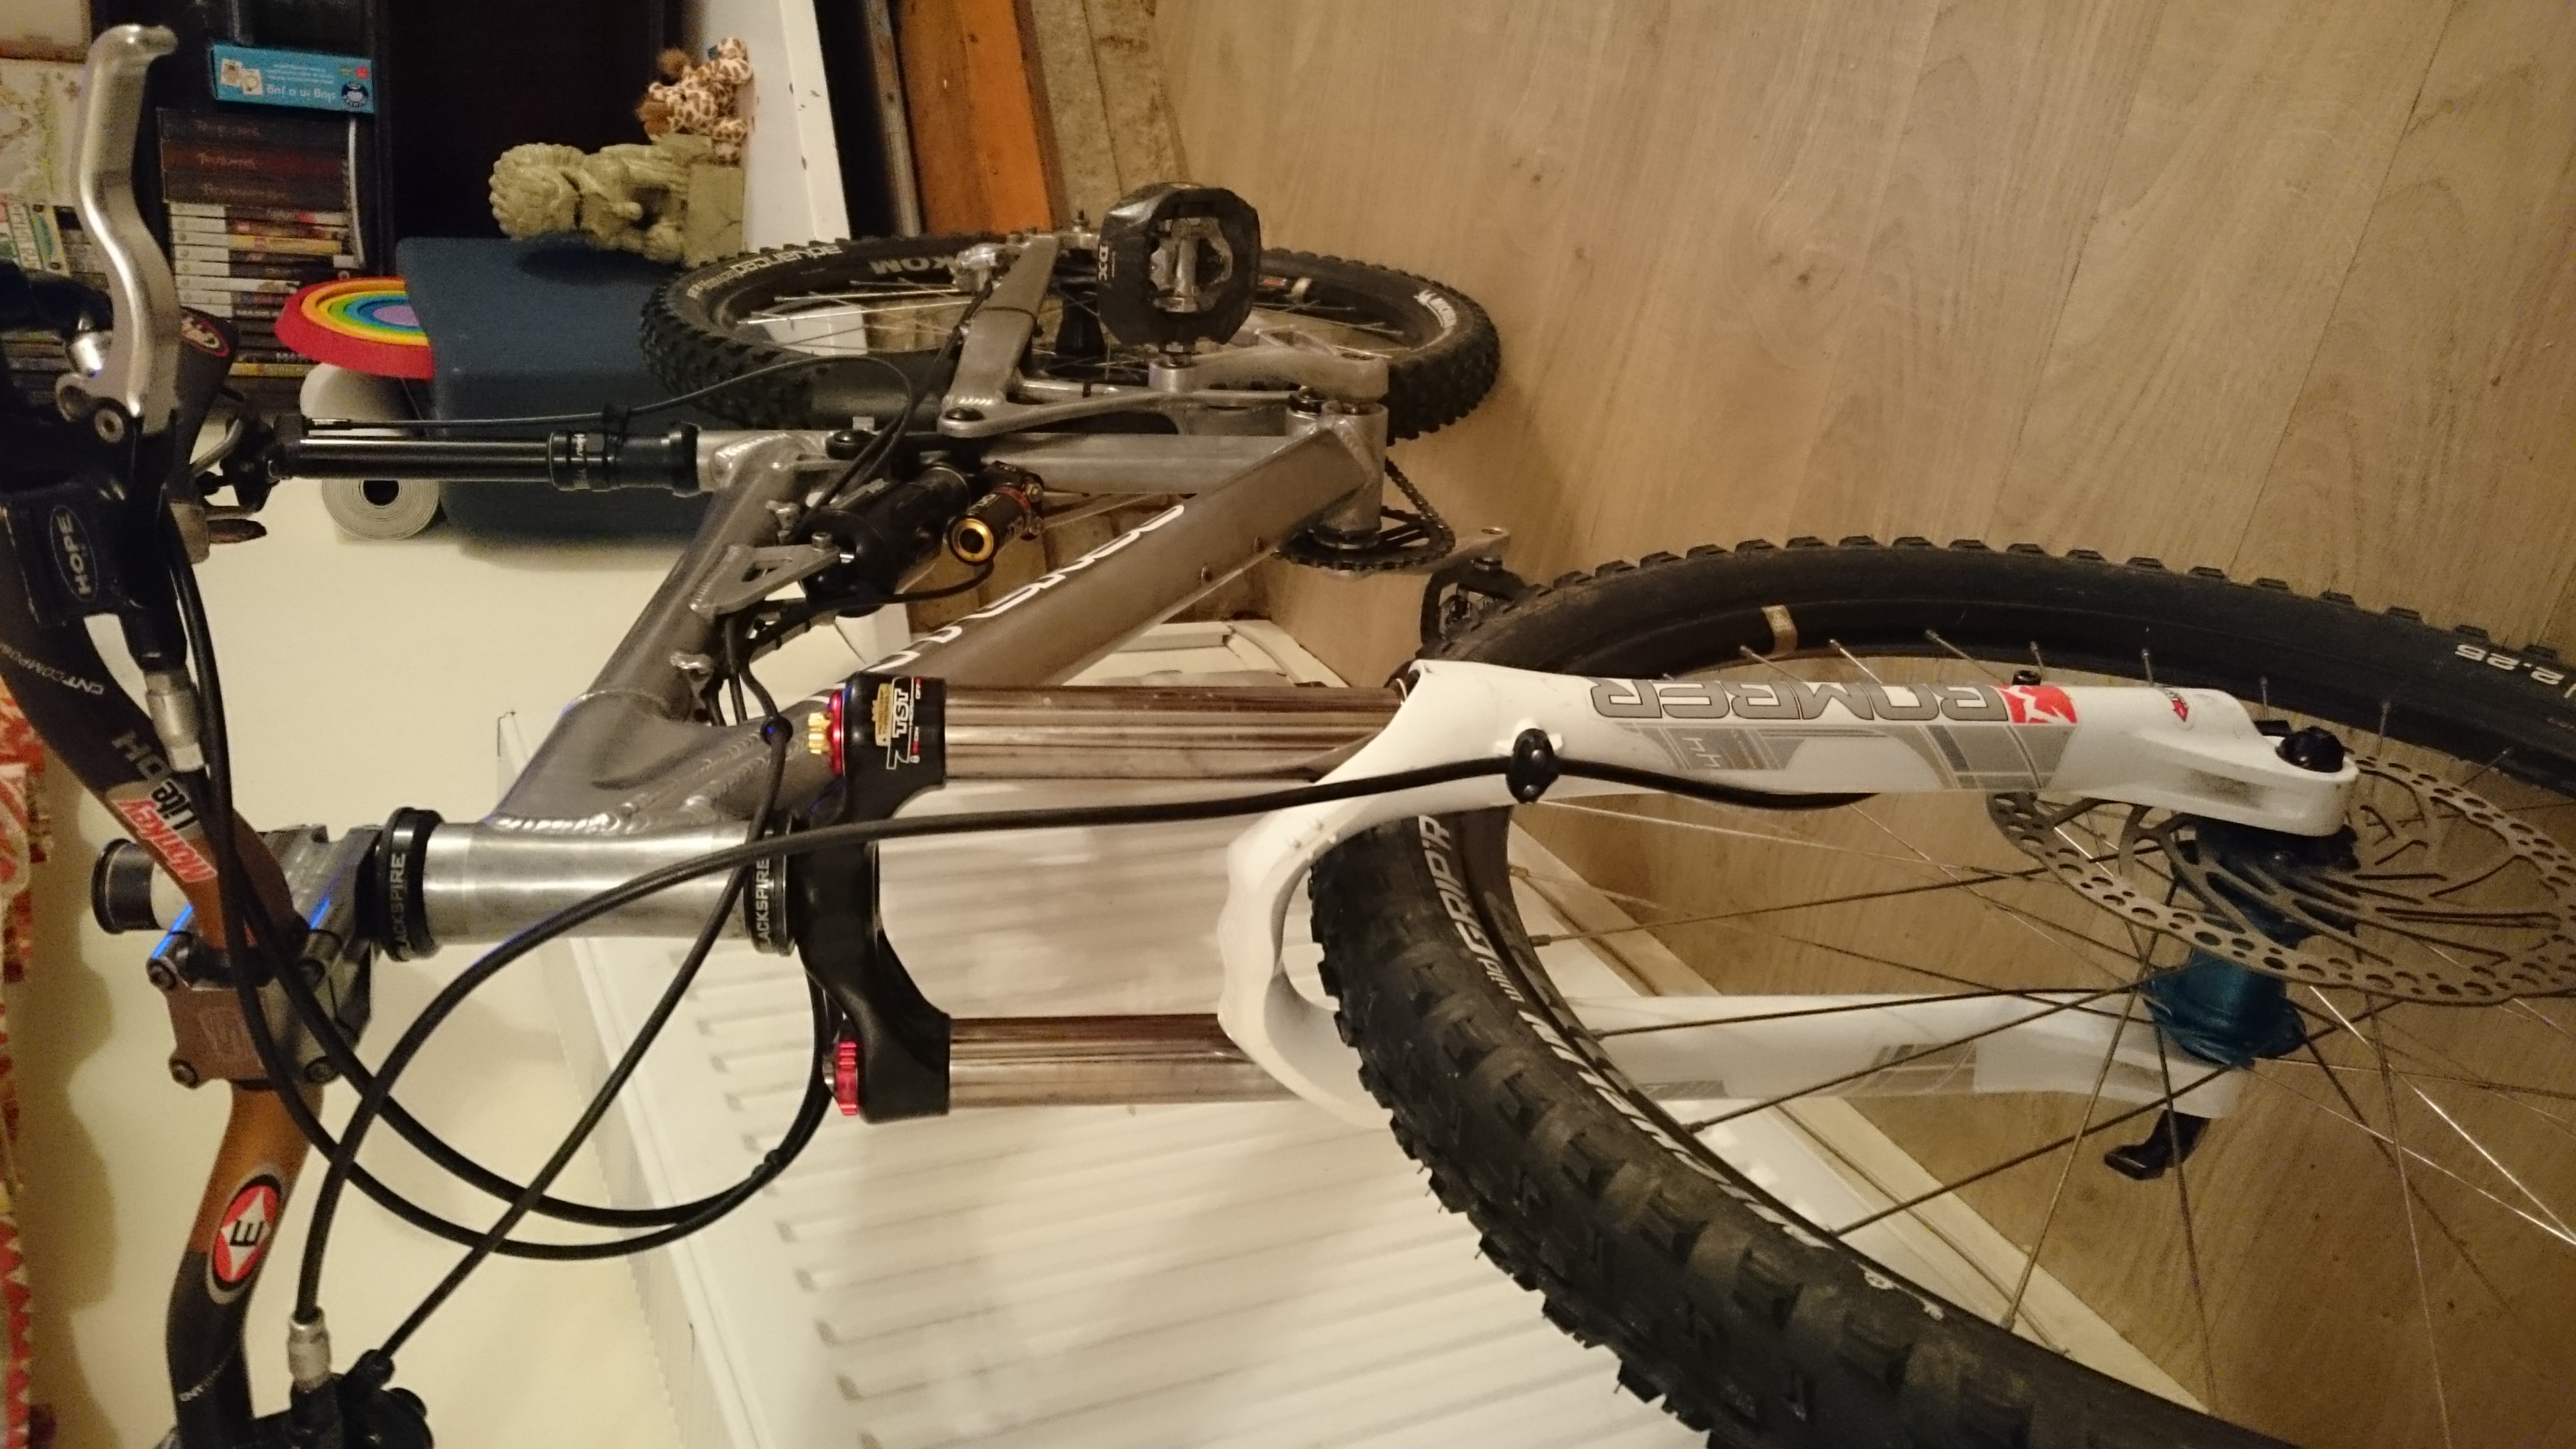
Cane creek have made these for a few years now, unfortunately it doesn't help those in the dark ages with 1 1/8" non integrated headset frame, i.e: me That said, I now have 2 sets of marzocchi 44s* with 1 1/8" straight steerers so shouldn't have any issues for the forseeable future *pending getting the components machined.
-
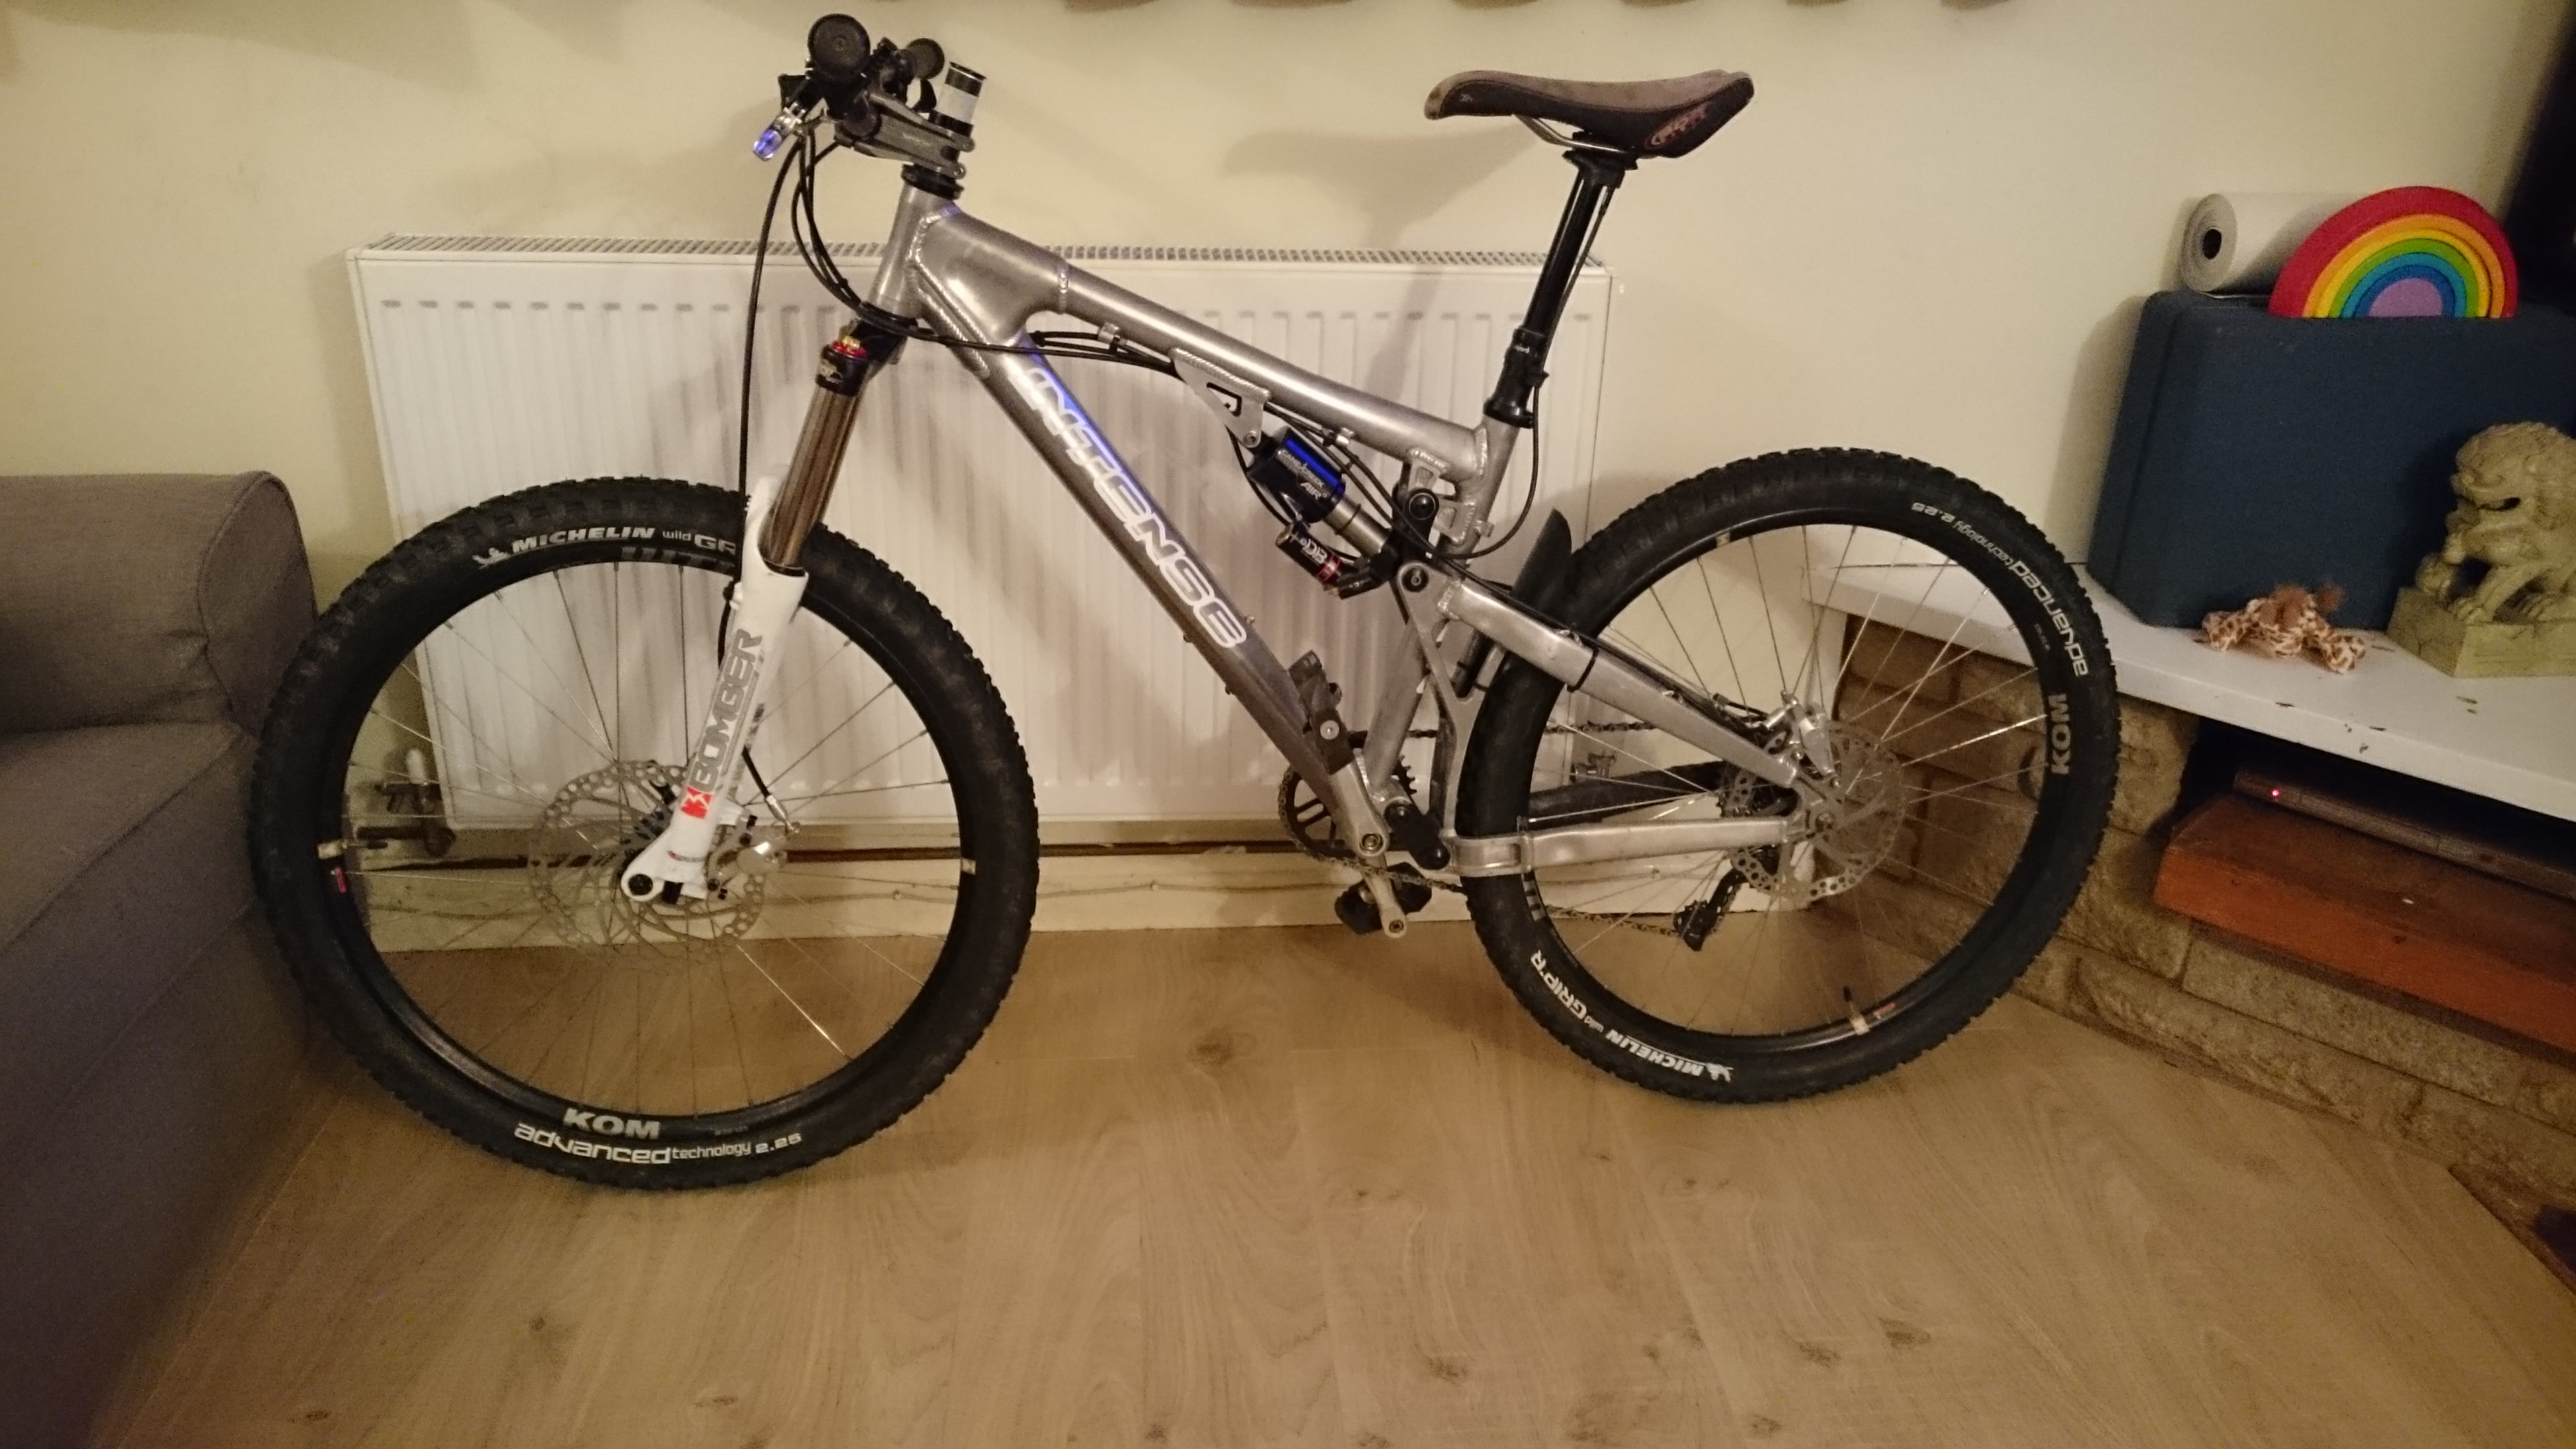
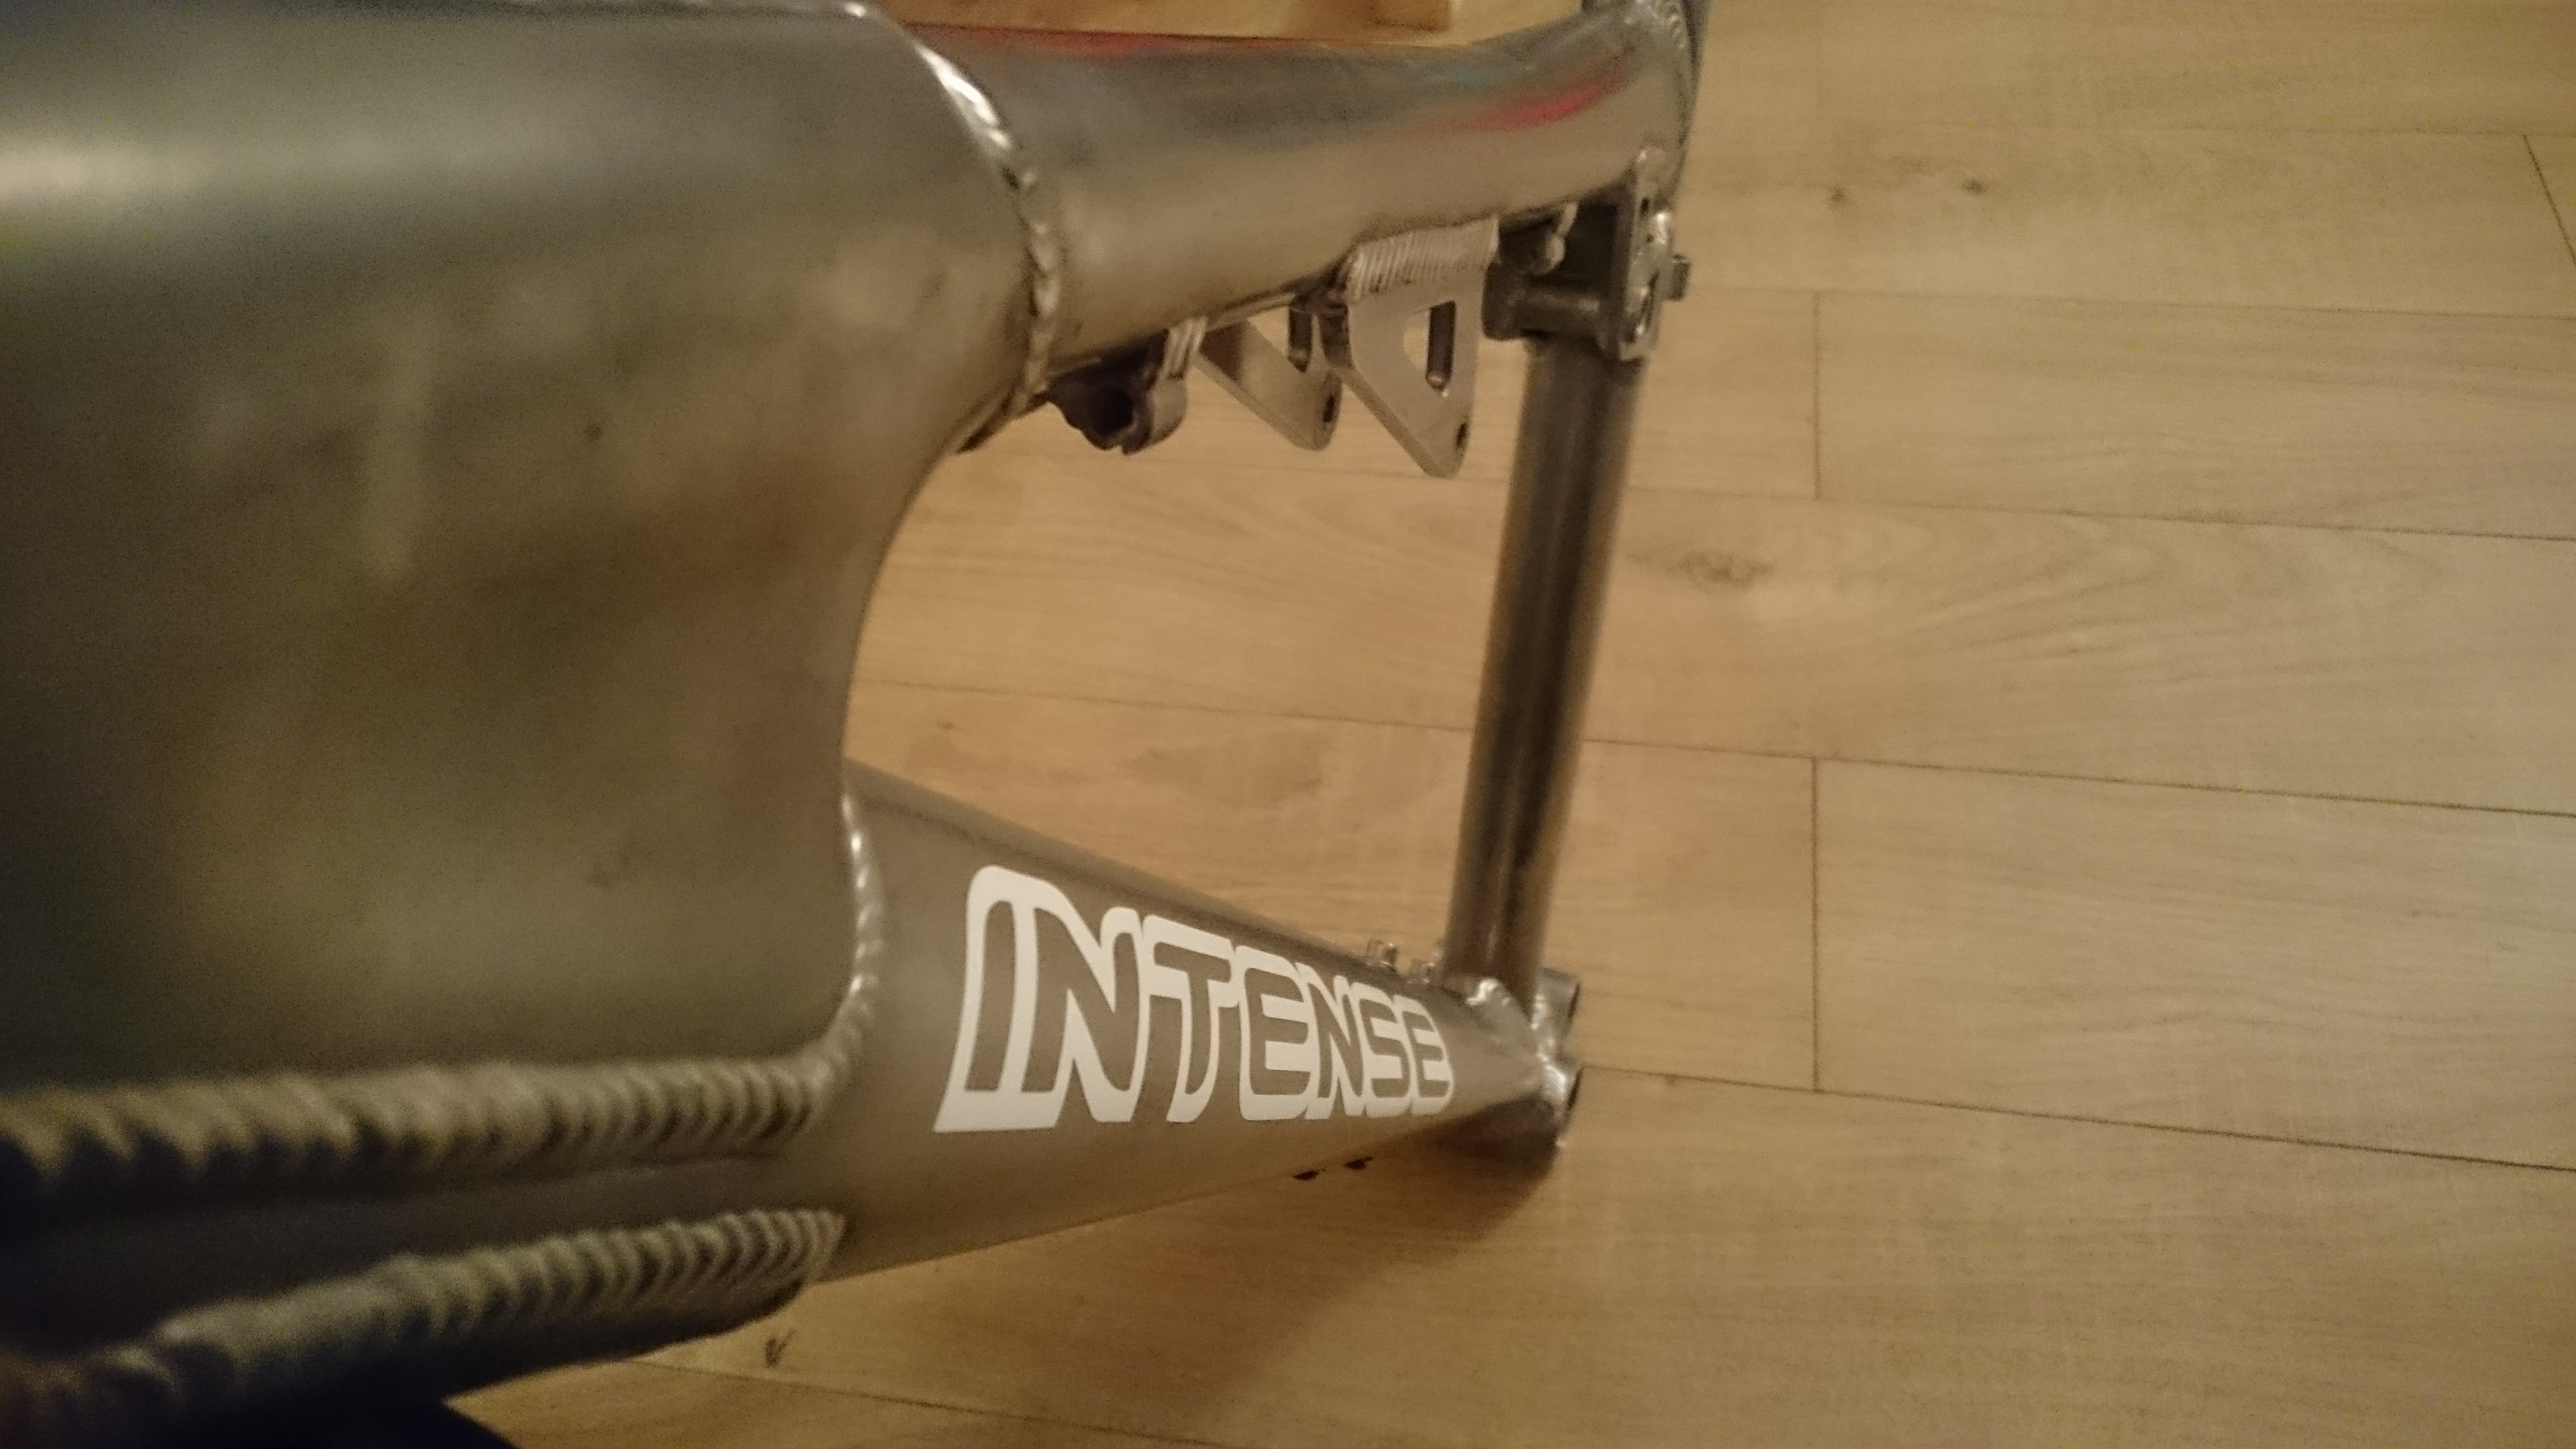
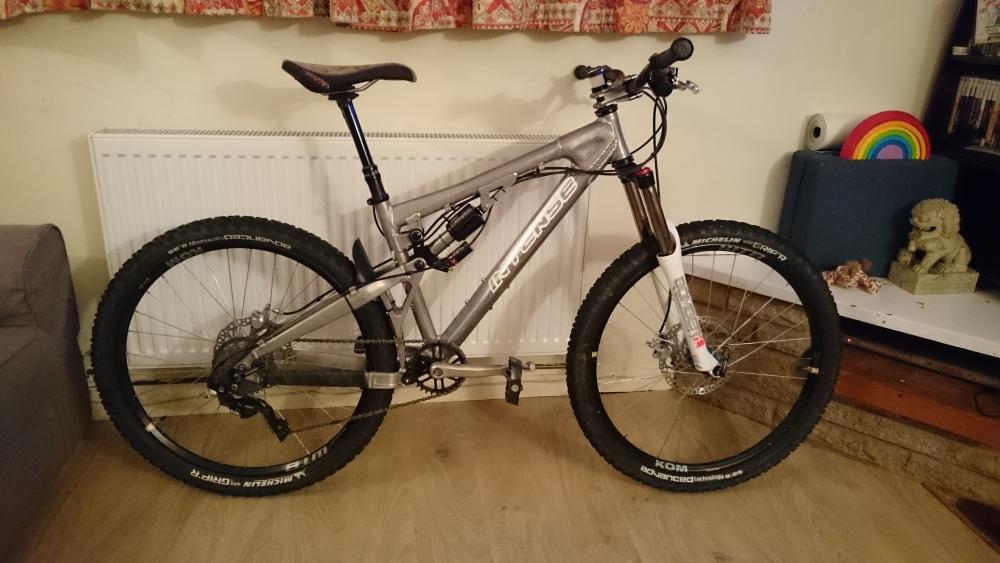
It is a short wb, the 5.5 is known for being a very steep twitchy frame that you have to keep on top of otherwise you're eating shit. I like it though, similar geometry to the chameleon which I've been riding since 98 so somewhat familiar with the ride. I dare say compared to some modern gravity sleds it's probably scary in the really fast and steep but nothing at cannock phases it at all and it works as a perfect trail bike
-
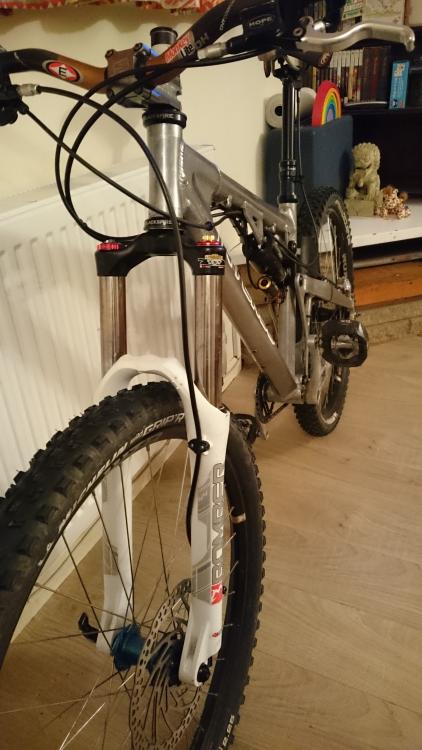
Something like this, I f**king love the look of it if you don't mind me saying Ignore the long steerer, hoping to service the forks tomorrow and cut it down.

-
It's not evil, it just stings a little when you forget to brush the sticky active goop off your skin
-
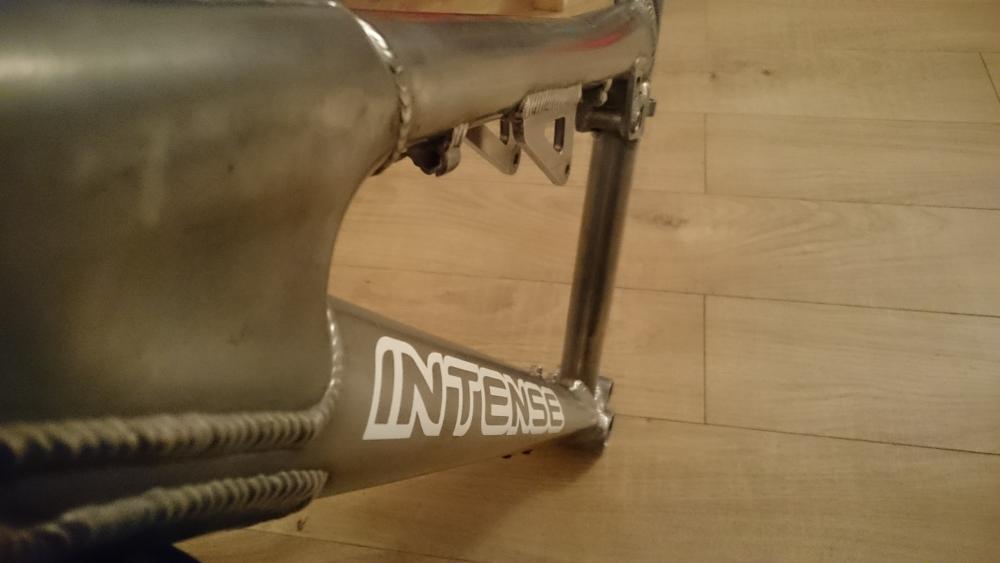
Yup, theres still some left that I'm going to pass on to my mate who wants to strip an old touring frame This happened, hoping to assemble the bike this afternoon
-
Ah no worries, I know they're not hugely complicated but one of those things whereby I don't have access to a lathe so can't do them myself If you could pass the drawings on it would be appreciated, the more prices I have the better.
-
Machinists of TF, I call on you for a bit of project work. I require the two components attached to be machined, it's some pretty fine fiddly work but nothing too major if you have the tooling. The ability to screwcut M8x0.5 and M6x0.5 male threads is essential, I will supply a ground off M8x0.5 plug tap for the female thread if need be. It's components RC3-003 and RC3-008 that I need made. If you fancy a bit of a project then have a look at the attached drawings and let us know if you're up for it and we can discuss costs RC3-001.PDF RC3-003.PDF RC3-008.PDF
-
Sourced some suspension shims for my shimstack damper mod from k-tech, turns out they're only 15 miles up the road! I wasn't going to bother with the shimstack mod but after lots of further research it makes for a far better compression circuit. Only needed a minor change to the design of the compression adjuster shaft to facilitate the shims whilst retaining the ability to revert back to the original marzocchi poppet valve
-
I don't carry a tube over cannock chase simply because you're never much more than a couple of miles back to the car should the worst happen. I haven't had a puncture on the mountainbike in over a decade so eventually I'm going to get caught short I did have a spare tube with me for the brecon ride but didn't need it obviously. For pressure work on your weight in lbs, divide by 7, -1 for front and +2 for rear. So I'm about 160lbs kitted up which gives me 22psi front and 25psi rear, try it and be pleasantly suprised
-
If there's a plastic rim tap on there and it is stuck to the rim then it should be good to go. The bike accelerates quicker, smooths out the small ripples (assuming you're not a retard who runs at silly pressure) and the tyres have a good pop to them when you hit a bigger root. It also sounds really weird at first because there is alot of hollow echo inside the tyre and impact sounds are magnified. I have UST compliant rims (WTB kom which use their version of UST but it's the same profile) when I taped my rims I went round once, overlapped the valve hole by a few inches and pressed it all down into the crevices of the rim profile. Cut a small cross in the tap over the valve hole, push the valve through (I added a smear of sealant around it to help initial seal) and tighten it by hand. Put the tyre on and see if you can get it to inflate with a track pump (if you have a compressor it should go straight on), if it doesn't blow into the bead well easily then partially lift it in as above (I seat about 60% of the bead around the circumference until it starts getting tight on the tyre lever). Once I've lifted the bead on it inflates like an innertube. Pump up to 35-40 psi and brush a heavy washing up liquid solution around the bead to try spot any leaks, if it bubbles through then you need to either shake the sealant into the leak till it stops. I prefer to smear the tyre bead with sealant on my finger before mounting, it lubricates it when blowing on and seals much faster. Once you've stopped the major bubbles, pump up to 40 psi and go ride; it will likely lose some pressure for the first few rides so keep a mini pump with you. If you completely loose pressure you shouldn't have any issue pumping back up with a mini pump as long as the bead is still on the rim.